Cherry Danishes
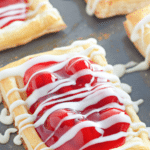
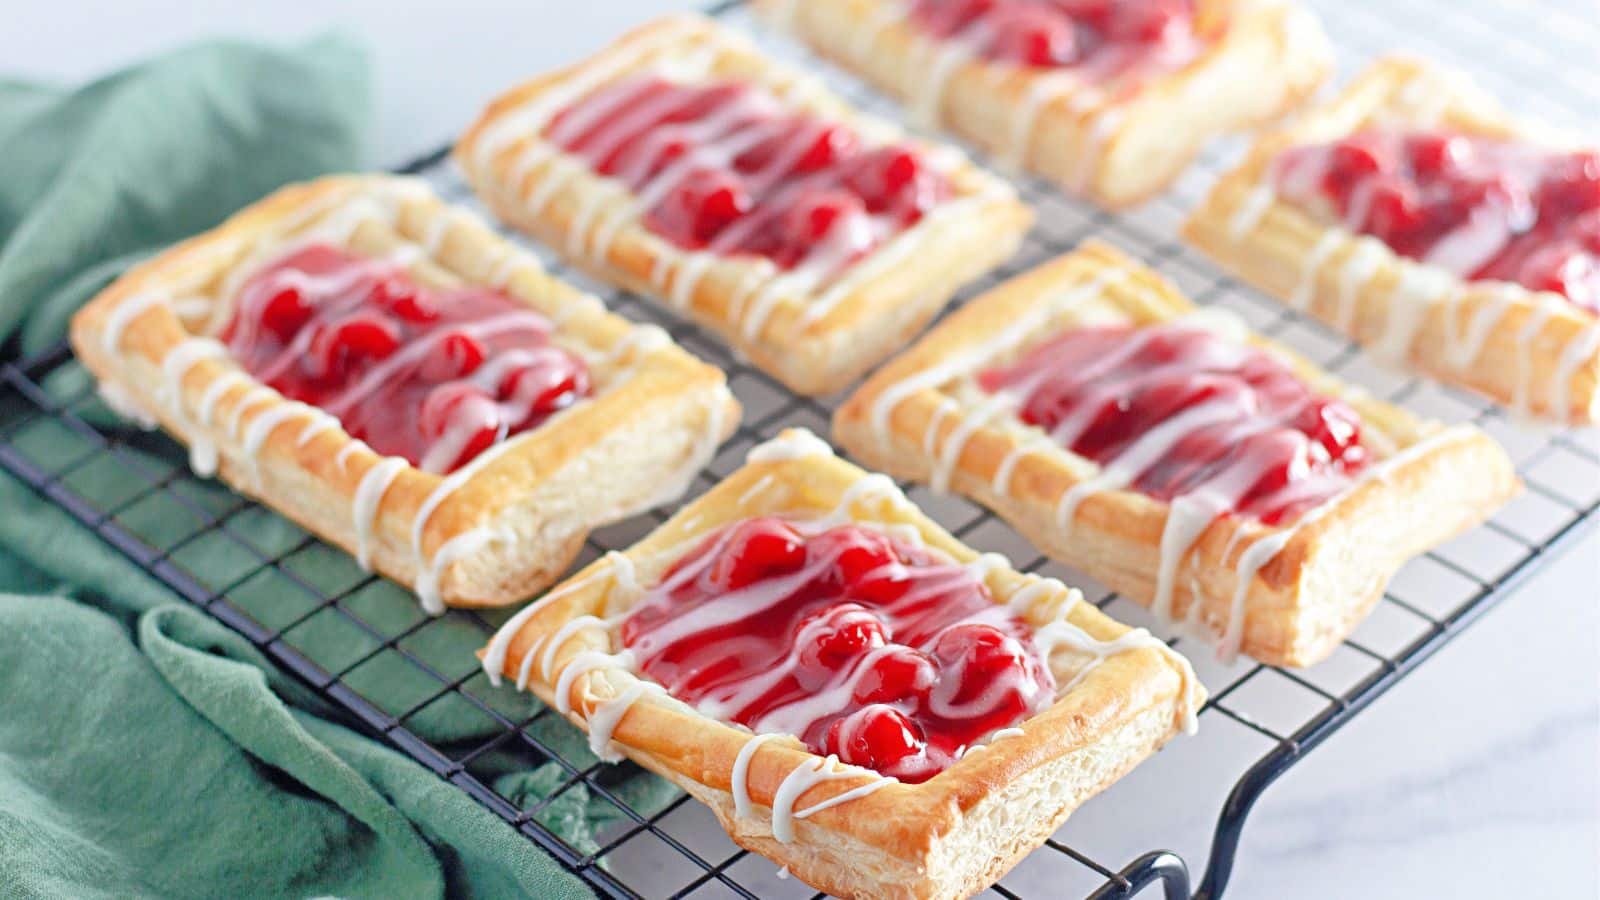
These Cherry Danishes are filled with a rich, creamy, sweet, and tangy cream cheese mix and cherry pie filling. Then, they’re baked until golden, flaky, and nicely puffed. They have all the flavor we love without all the work.
We’re big fans of Danishes, but we don’t love all the work that goes into the traditional method of making them. We decided to get all the flavor with less of the work by using a simple cream cheese filling, replacing homemade filling with canned pie filling, and using pre-packaged puff pastry. The result? A delicious Danish with all the flavor and so much less hassle!
Table of contents

❤️ Why You’ll Love This Recipe
- Simple Ingredients: It only takes a few basic ingredients found in any grocery store to make these.
- Easy: It only takes a little mixing and prep to make these Danishes.
- Classic Flavor: We used a few shortcuts, but we didn’t sacrifice flavor. Every bite is full of everything you love about cherry Danishes.
- Versatile: These are the perfect sweet breakfast, dessert, afternoon snack, or addition to any party.
🛒Ingredients
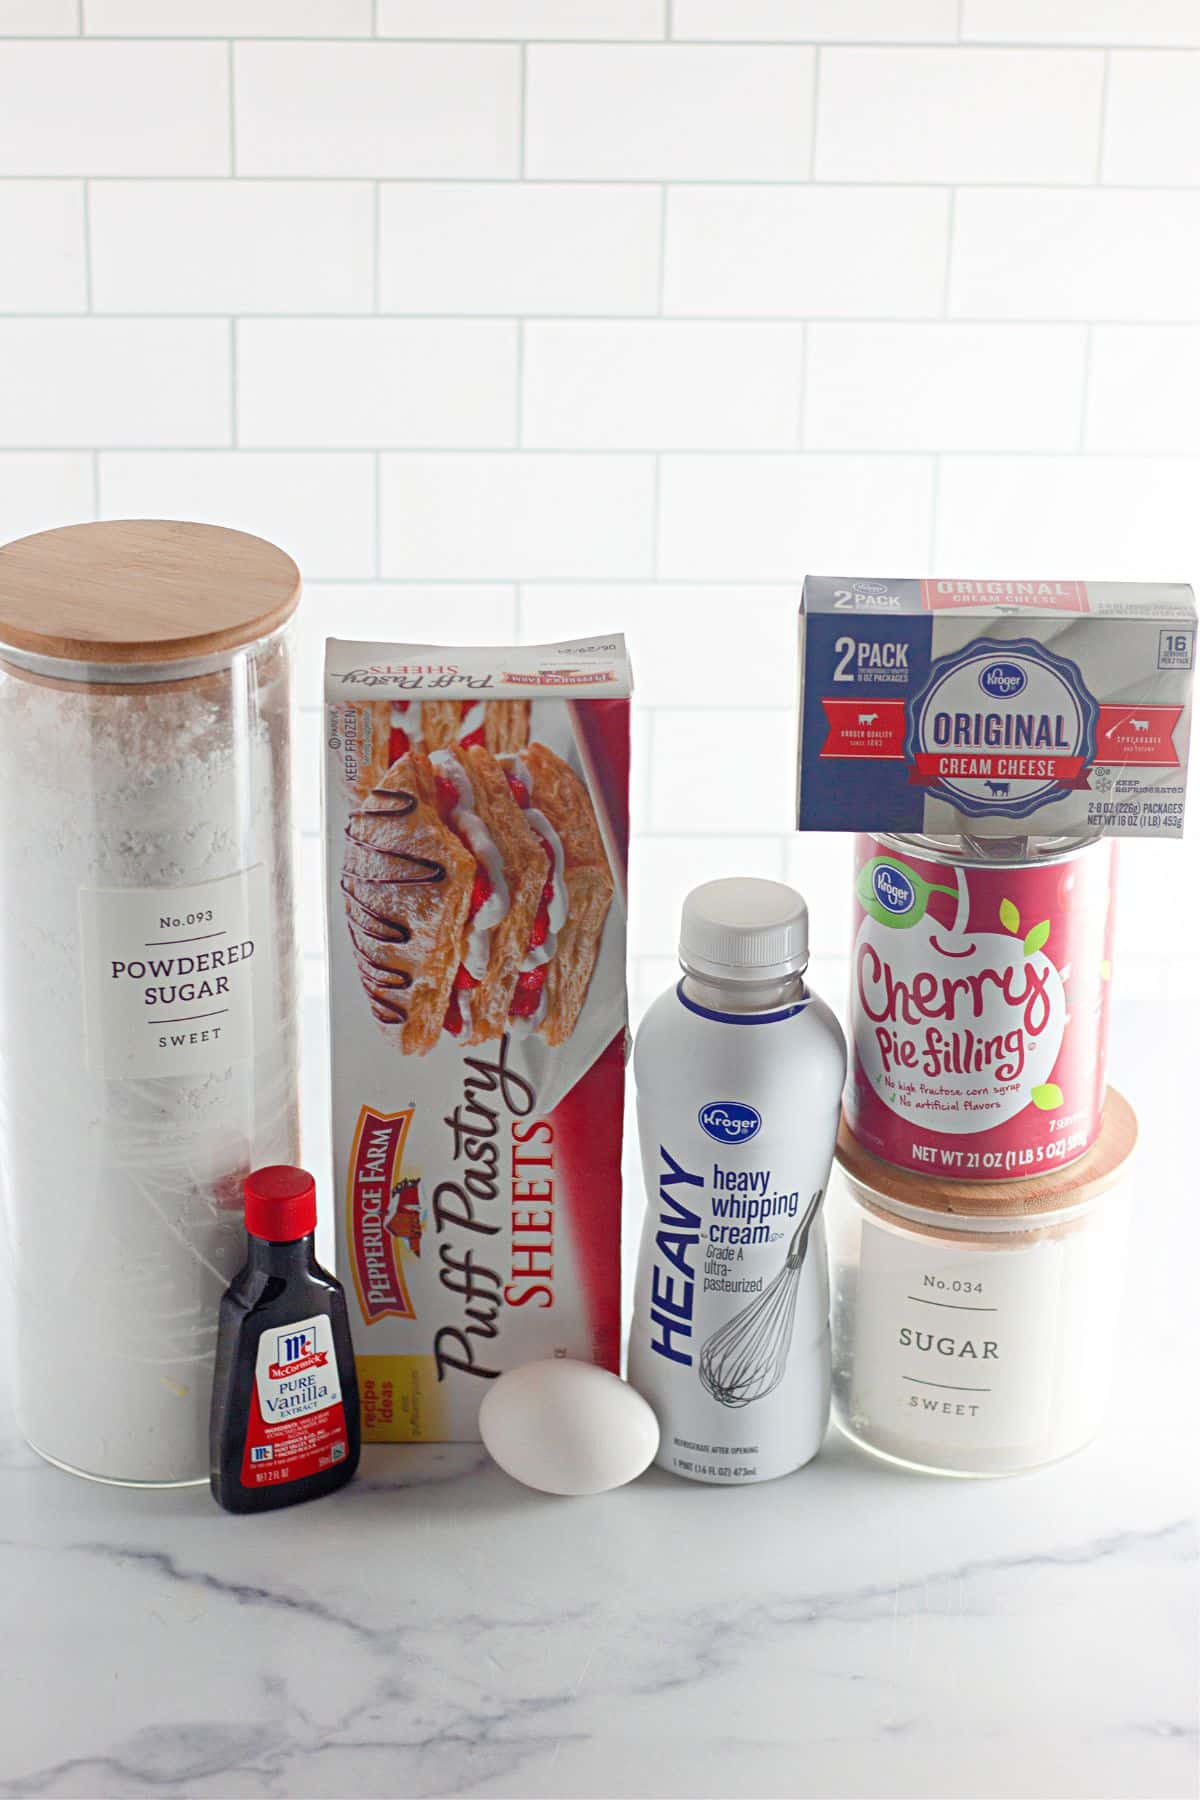
We’ve made this list to help you save time on your next trip to the grocery store. You can find the full amounts needed in the printable recipe card at the bottom of the post.
- Frozen puff pastry – thawed
- Cream cheese – softened
- Sugar
- Vanilla extract – divided
- Egg
- Water
- Cherry pie filling
- Powdered sugar
- Heavy cream
🔪 How to Make Cherry Danishes
This is a quick overview of the steps needed to make this recipe. You can find the full instructions in the recipe card at the bottom of this post.
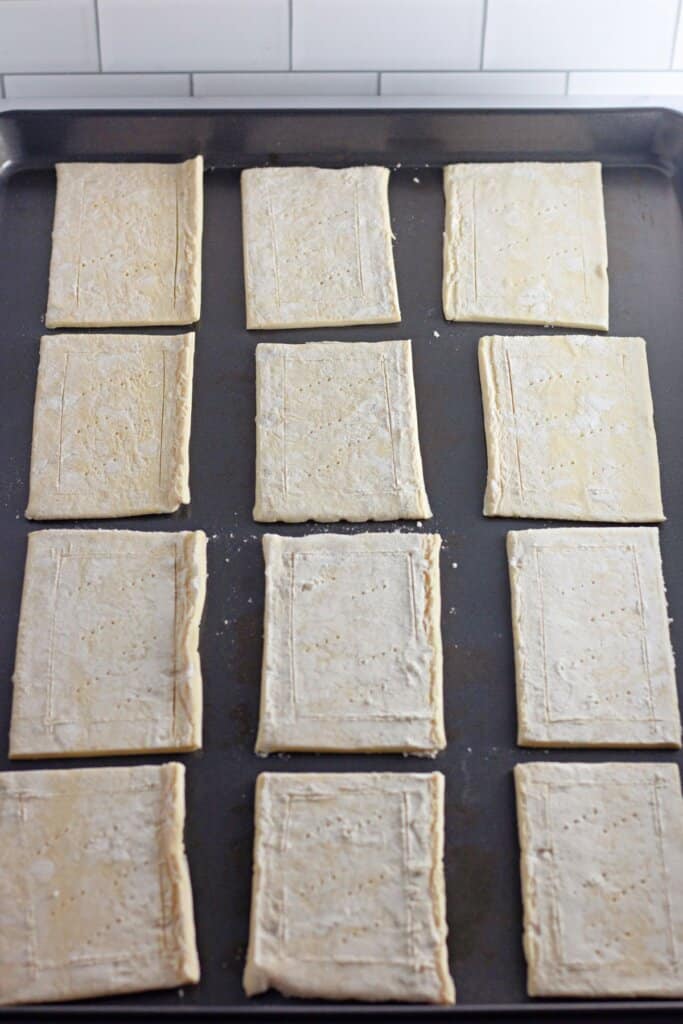
- Cut two pastry sheets into 6 rectangles. Then, score a 1/2-inch border around each and poke the middle of the rectangles several times.
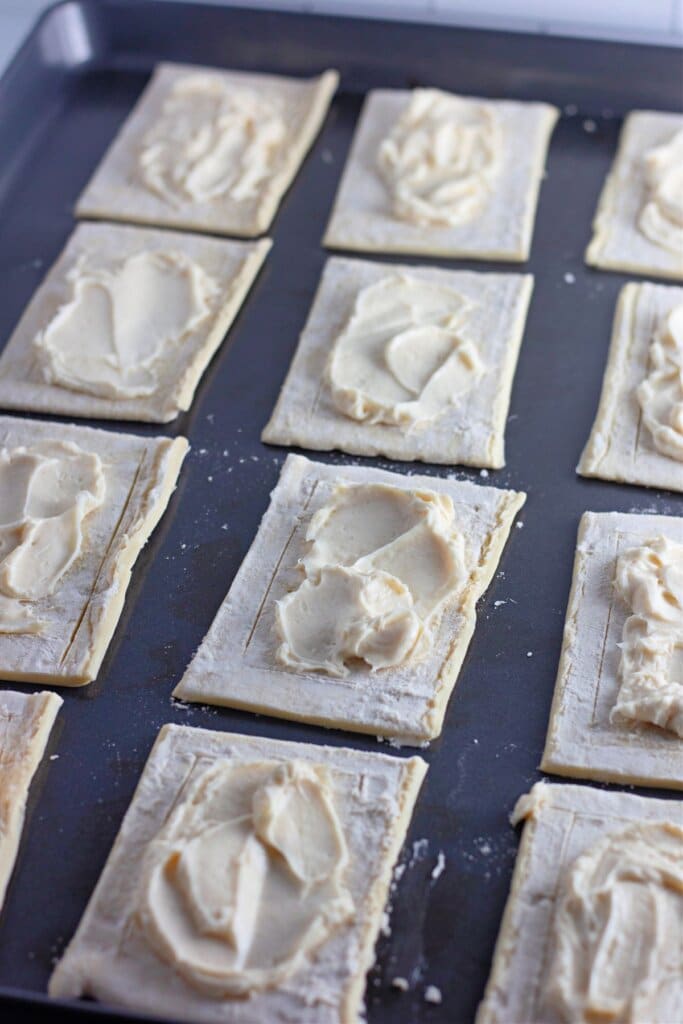
- Beat the cream cheese mixture ingredients until combined. Then, spread it evenly up to the scored border on each pastry rectangle.
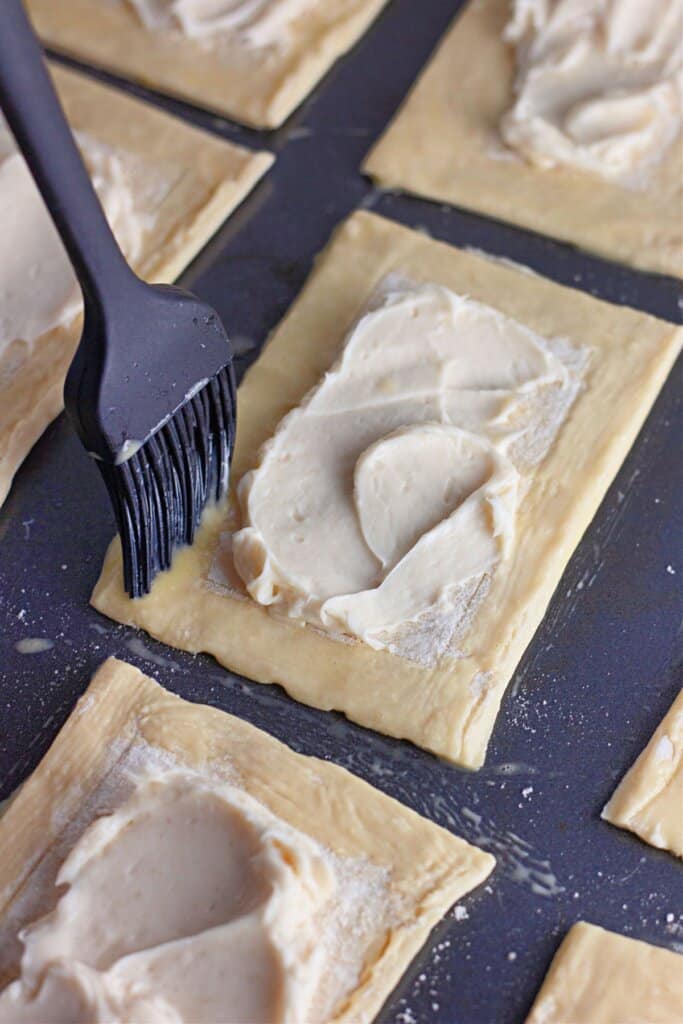
- Brush the borders with egg wash. Then, bake at 400 degrees until the pastries are golden and puffed up.
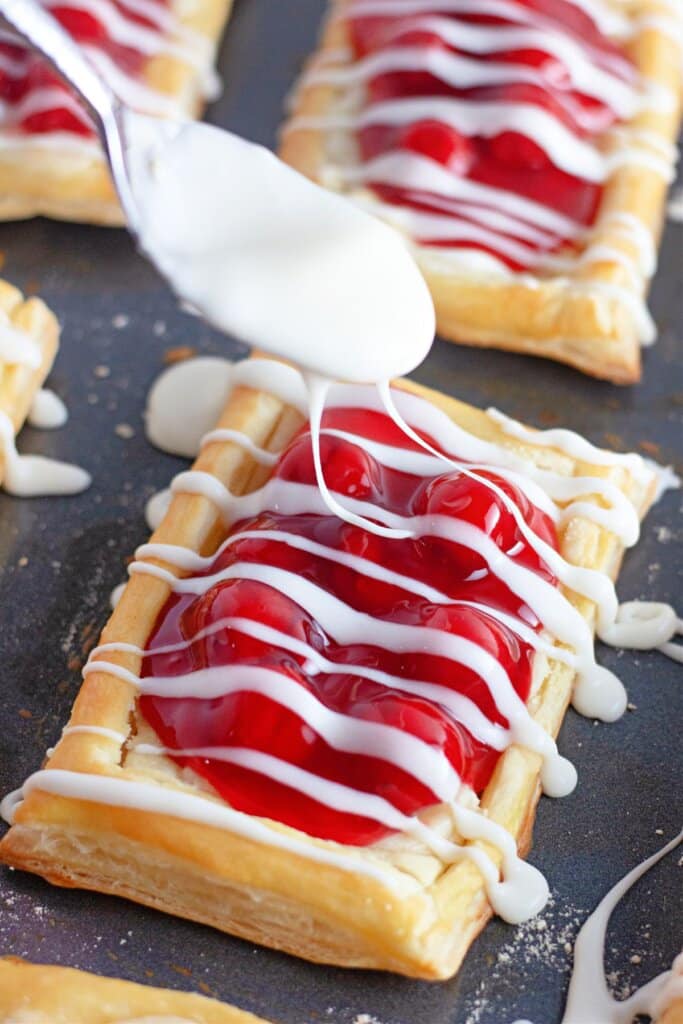
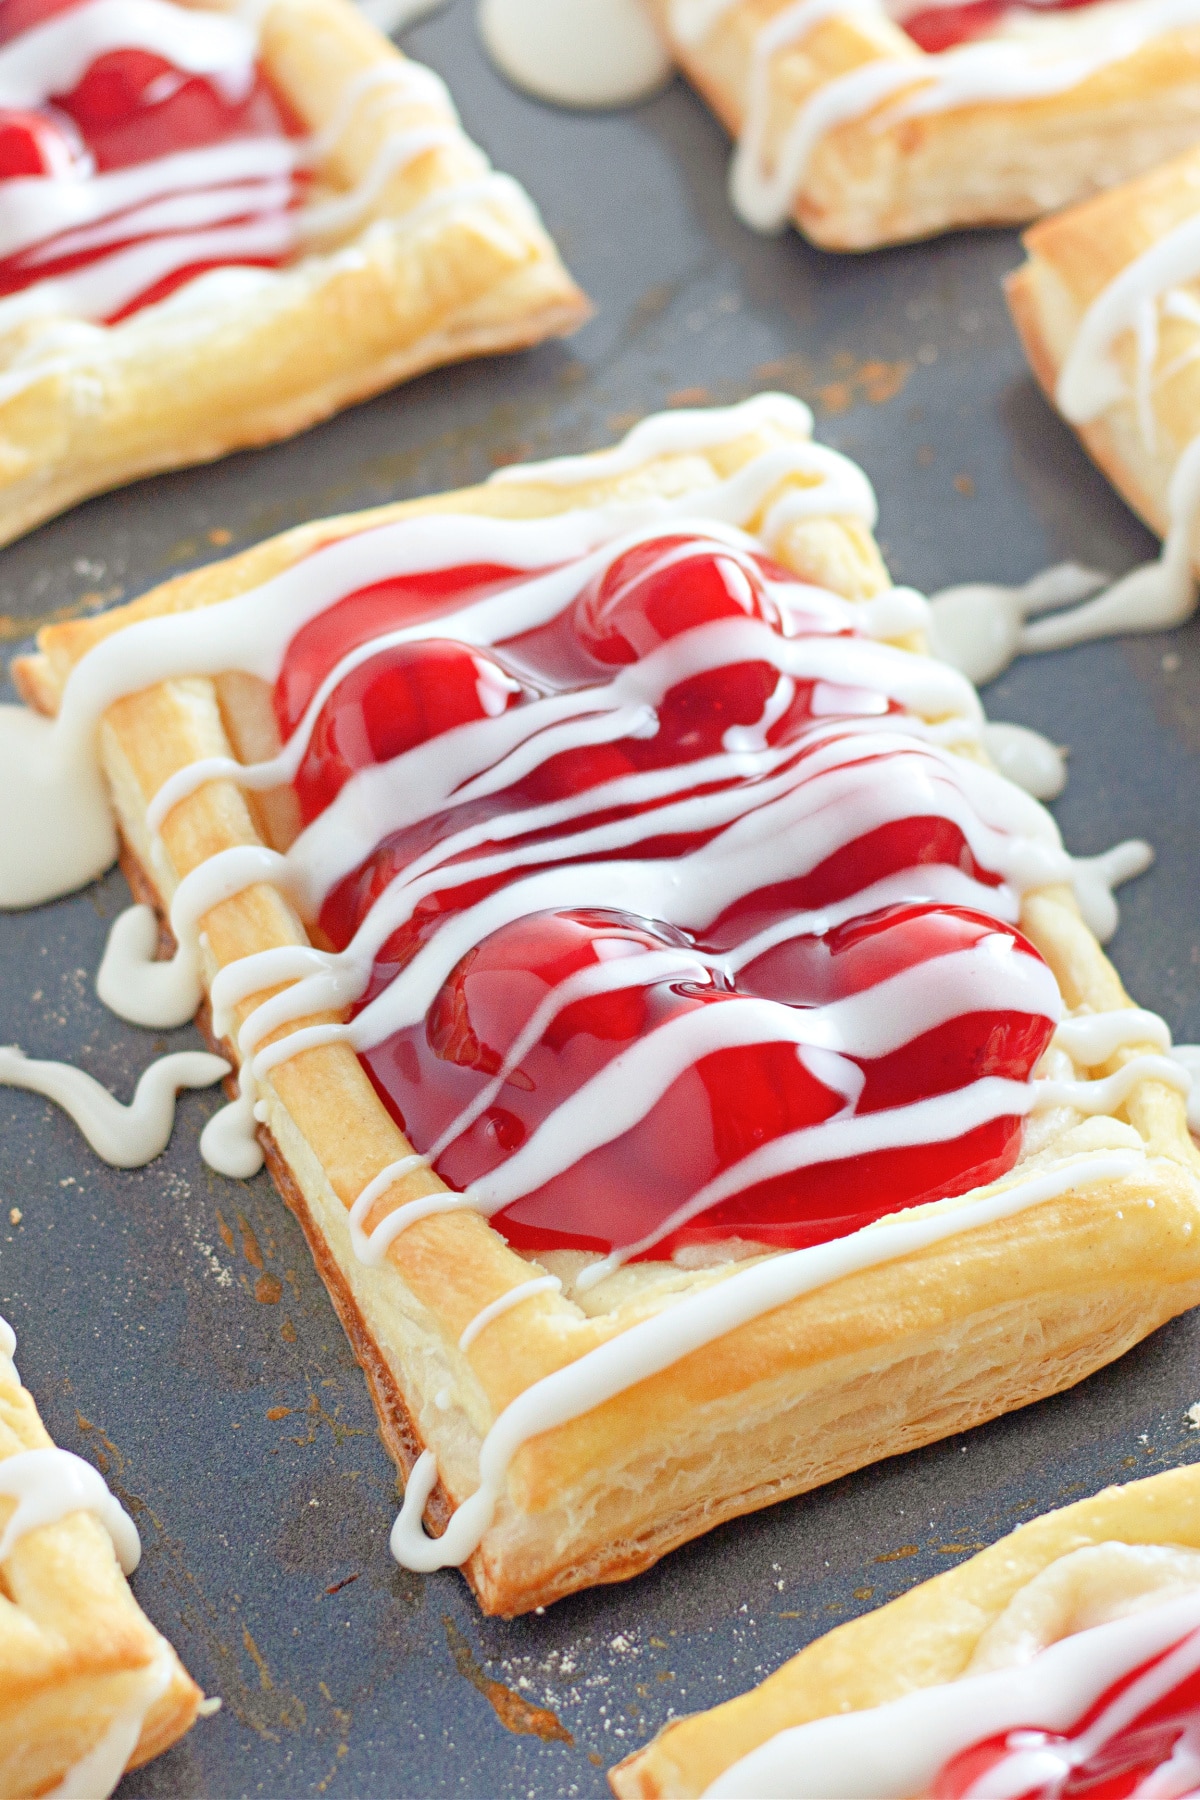
- Transfer the Danishes to a wire cooling rack. Then, while they’re still warm, spread just enough cherry pie filling over each to cover the cream cheese mixture. Top with drizzle.
🥄 Equipment
- Measuring cups and spoons
- Mixing bowls
- Baking sheet
- Wire cooling rack
🥫 Storage
Refrigerate these cherry Danishes for up to 4 days in an airtight container.
Bring to room temperature before serving. Or microwave them for a few seconds for warm pastries.
Serve With
Serve these Danishes with a glass of milk, a cup of coffee, or a cup of tea for breakfast or an afternoon snack.
We also love pairing these with savory breakfast options for a larger breakfast or brunch. Try them with our croissant breakfast casserole, slow cooker sausage and egg casserole, or overnight egg casserole.
💭 Tips
- Be careful when scoring the outer border on your pastry sheets. You want to cut about halfway through them, but no deeper.
- Be sure to evenly prick all over the area inside the scored border of your puff pastry. This ensures that the edges puff up while the centers stay relatively flat.
- These cherry Danishes should always be refrigerated. We know a lot of people store cream cheese Danishes at room temperature, but that leaves them open to forming bacteria. It’s dangerous!
⁉️ FAQ
Do you have questions about this recipe? Here are the answers to the most commonly asked questions.
You sure can! Any cherry filling – including the extra cherry variety – will work. You can also use other fillings like peach, apple, blueberry, or any of your favorites.
If you don’t poke enough holes in the inside area of the Danish before baking, the steam will be trapped, and it will puff up. Be sure to evenly poke holes all over the interior portion to ensure the steam releases and the pastry doesn’t rise.
No. In fact, it’s completely unnecessary for your puff pastry to bake. The real magic of egg wash is the color it gives the pastries. An egg wash is the only way to get that golden, glossy look.
🍽 More Recipes
If you love the rich, buttery flavor and texture puff pastry brings to dishes, then we have some more tasty recipes for you to try. Try sweet puff pastry apple donuts or apple rose tart puff pastry. For savory flavor, try our pizza puff pastry pockets or puff pastry pizza bites.
🧾Recipe Card
Want to make this recipe? Print the recipe card below, or pin this recipe, so you can find it later.
Cherry Danishes
Equipment
- sharp knife or pizza cutter
- Fork
- baking sheet
- medium bowl
- Hand mixer
- Small bowls
- Whisk
Ingredients
- 17.3 ounces frozen puff pastry thawed
- 8 ounces cream cheese softened to room temperature
- ¼ cup granulated sugar
- 1 ½ teaspoons vanilla extract divided
- 1 egg
- 2 tablespoons water
- 21 ounces cherry pie filling
- ⅓ cup powdered sugar
- 2 tablespoons heavy cream
Instructions
- Preheat oven to 400F.
- Lay the two sheets of thawed puff pastry out flat on a clean work surface.
- Use a sharp knife to cut each sheet into 6 rectangles, making 12 total rectangles.
- Use the knife to score a ½ inch border around each rectangle (only cut about ½ way down into the dough). This will allow the outside ½ inch border to puff up while baking and the middle to stay flatter.
- Use a fork to prick several areas around the middle of each rectangle of pastry.
- This helps to keep the center from rising too much while baking.
- Place the pastries onto one large or two medium baking sheets, about 1 inch apart.
- In a medium mixing bowl, use an electric mixer to beat together the cream cheese, granulated sugar, and 1 teaspoon of the vanilla extract.
- Scoop the mixture onto the pastries and spread out evenly over the center area, but not onto the ½ inch border.
- In a small bowl, whisk together the egg and water.
- Use a pastry brush to lightly brush the egg wash onto the ½ inch border of each pastry.
- Bake the pastries at 400F for 18-20 minutes until the pastry is puffed up and golden brown.
- Remove from the oven and transfer the pastries to a wire cooling rack.
- While the pastries are still warm, add a spoonful of the cherry pie filling to the center of each pastry and spread out just enough to mostly cover the cream cheese layer.
- In a small bowl, whisk together the powdered sugar, heavy cream, and remaining ½ teaspoon vanilla extract.
- Drizzle the frosting over the cooled pastries.
Disclaimer
Any nutritional data I provide is an approximation and actual dietary information can vary based on ingredients and proportion sizes.


I highly recommend these to anyone who found this post! The puff pastry was perfectly flaky, and using pie filling made everything so easy!
This cherry danish was so delicious! I love the balance of flavors with the sweet & the tangy!
Love a good danish with my coffee for breakfast. Totally easy to make and I just love extra glaze on mine!
These turned out beautifully! The pastry was flaky, and the cherry filling was just the right amount of sweet.
Cherry danishes are my favorite! I simply can’t say no to your recipe. Thanks a lot for sharing it!