Valentine Cheesecake

Valentine Cheesecake
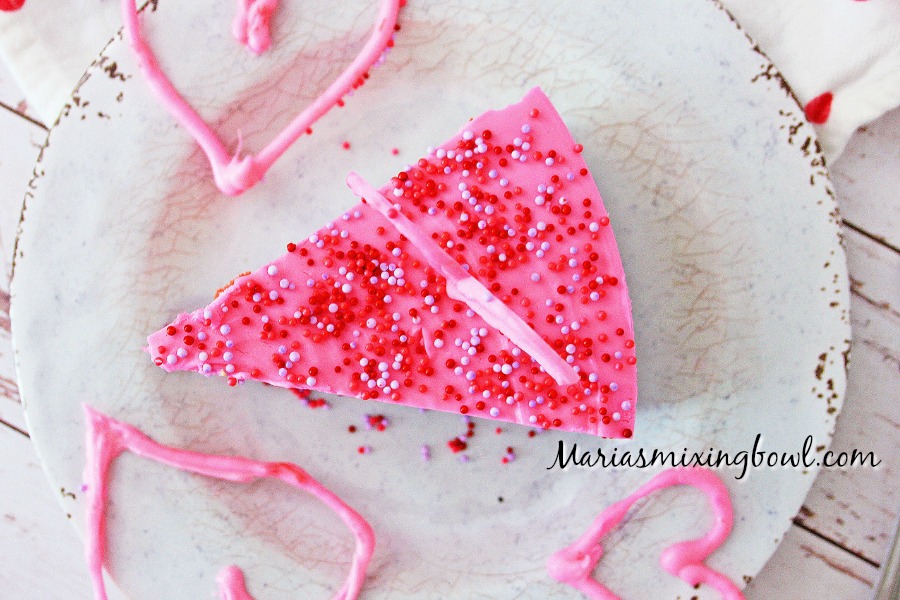
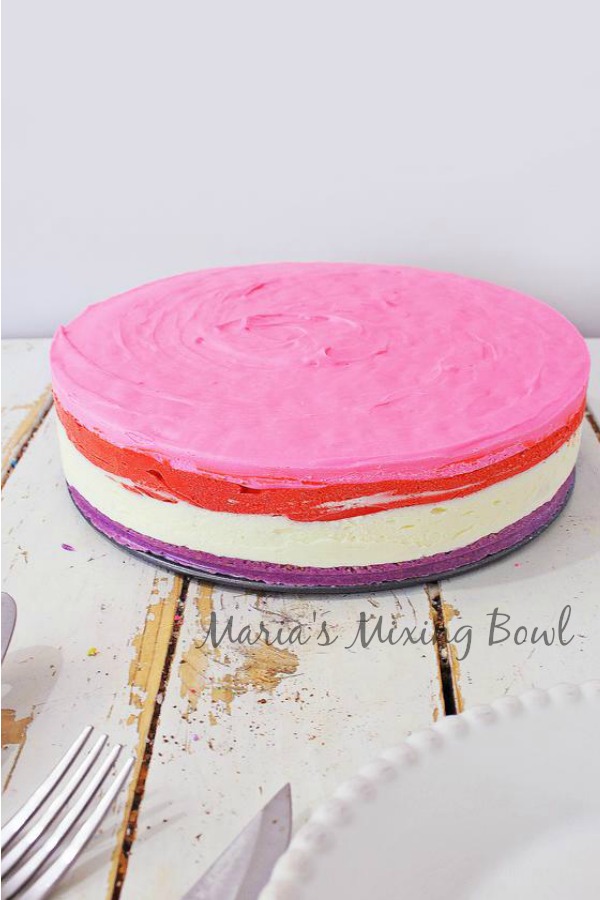
You haven’t had cheesecake until you’ve whipped up this delicious Valentine Cheesecake. With three different layers and colors, this is certain to make anyone fall in love!

This fun and festive Valentine Cheesecake will impress everyone with your cooking skills! Share this cheesecake with your family and friends (or enjoy the entire cheesecake for yourself! It’s totally up to you!)
We love to celebrate Valentine’s Day at our house because the day is all about love. And when it comes to what we love, well…we love to bake, cook and eat.
This Cheesecake makes a gorgeous presentation, whether you’re serving it after dinner, at an afternoon party, or at midnight when you just have to have another piece.
It’s so simple to make just a bit time consuming because you have to freeze the cheesecake layers in between. And it’s NO-BAKE!! This cheese cake is frozen so you can make it ahead, and serve it when you’re ready. It’s sweet and tangy, and everyone will love this dessert. Keep this one with your favorite recipes.

This cheesecake can be used for so many occasions. Change a few colors out and you have a whole new cake. Birthdays, Easter, baby showers, any and all celebrations.
It’s so simple to make. The best part is it’s NO-BAKE!! And it’s frozen, so you can make it ahead, and serve it when you’re ready. No fuss no muss.
The best way to do so is to do it together and this Valentine cheesecake is where it’s at! We’ve made a ton of cheesecakes in our days together but this one just might be one of the most unique and colorful options that there is.

If you’re looking to offering something totally sweet to your sweetie this Valentine’s Day, you aren’t going to want to miss out on this colorful and fun cheesecake recipe!
How do I make my cheesecake?
Place the Spring-form pan back in the freezer.
Leave the pan in the freezer for about an hour, and when the white layer is set to the touch (it’s almost frozen) add the red layer of cheesecake on top of the white layer, and spread evenly in the pan.
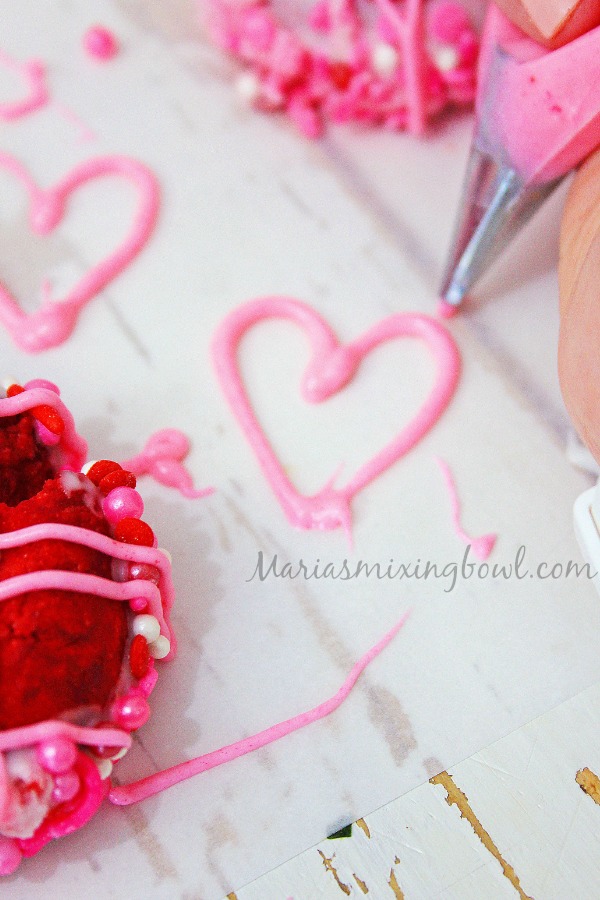
Making The Chocolate Hearts:
These pink white chocolate hearts are super cute! And they are so easy to make.Just put some of your melted chocolate in a squeeze bottle and draw the shape of a heart onto parchment paper. Let the chocolate dry completely and put your hearts on your cookies. Feel free to add a few more drizzles of chocolate if you want to decorate your cookies a bit more.
PIN IT!!

How do I ensure that my pink-colored layer won’t turn into bright red as well for this cheesecake recipe?
It’s all about the number of food coloring drops that you add to this recipe. Start by adding in a few drops and mixing to make certain that you don’t add in too many to get a bright red color. For one layer of the cheesecake, you do want red but for the other, you’re going for a light pink color. And keep in mind that once you add in too many red drops, there’s no way to lessen that color! This is why you slowly add to make certain that you don’t over add in the red!
Is it easy to freeze a cheesecake?
It actually is! Freezing a cheesecake is a totally simple process and we highly recommend doing this if you can’t consume it all within a few days. Frozen cheesecake will easily last for a couple of weeks without worry and will give you a little bit of time to start craving it again to be able to thaw and enjoy!
With Valentine’s Day approaching, the time is now to get your recipes ready! This Valentine’s Cheesecake is one recipe that we give two thumbs up to because it tastes amazing and looks beautiful as well.

OTHER DESSERT YOU WILL LOVE:
Valentine’s Thumbprint Cookies
Valentine’s English Toffee
German Chocolate Fudge
Copycat Starbucks Lemon Loaf
Valentine Cheesecake
Ingredients
Cheese Cake
- 2 'Keebler' brand Shortbread crusts - already prepared
- 4 8 ounce packages of cream cheese - softened
- 1 cup sugar
- 2 tbsp. powdered sugar
- ½ cup sour cream
- 2 tsp. lemon juice
- 1 tbsp. vanilla extract
- Red food coloring gel
- Pink food coloring gel
- Purple food coloring gel
Whipped Cream:
- 2 cups heavy whipping cream
- ¼ cup powdered sugar
- 1 tsp. vanilla extract
Instructions
- Line a 9 inch spring-form pan with Parchment paper, and set aside.
- Place the 2 shortbread crusts in a large bowl, and break up the crusts into crumbs.
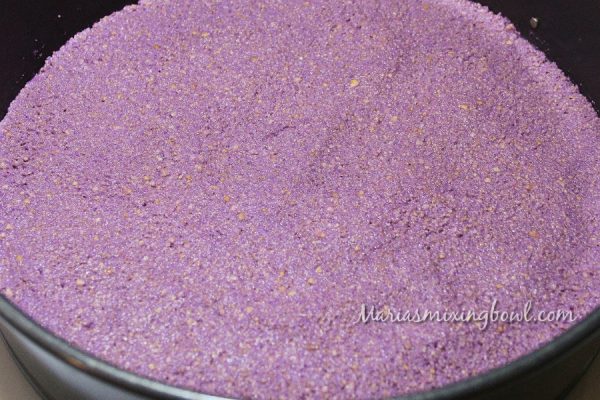
- Add about 1 teaspoon of purple food coloring gel to the shortbread crumbs, and mix well, making the crust purple. If you need to add a little more purple food coloring gel for a brighter color, add 2 or 3 drops at a time until you get the color desired.
- Place the purple crumbs in the Spring-form pan on top of the parchment paper, and smooth out evenly.
- Place the Spring-form pan in the freezer.
- In the mixing bowl of a stand mixer, place the 2 cups of whipping cream, 1/4 cup of powdered sugar, and teaspoon of vanilla, and mix on low until blended. Turn mixer up to high speed, and whip the cream until stiff peaks form.
- Place the whipped cream in the refrigerator. Rinse the mixing bowl, and dry with a paper towel.
- Add the softened cream cheese, and sugar to the mixing bowl, and blend until the cream cheese, is creamy.
- Add the powdered sugar, sour cream, lemon juice, and vanilla, and blend well to completely blend the ingredients.
- When the cream cheese mixture is fluffy, and well blended, remove the mixing bowl from the stand mixer, and gently fold the whipped cream into the cream cheese mixture until completely incorporated.
- Divide the cheesecake mixture into thirds; leave the white portion in the mixing bowl, and place the other two parts into two separate containers, with an equal amount in each container.
- Using food coloring gel, drop 4 drops of red food coloring gel in one container, and 6 pink drops in the other container.
- Stir the food coloring gel into the cheesecake, making one part red, and one part pink, and the white left in the mixing bowl. If the red is not bright enough, and another drop or two until you get the bright red color desired. Do the same with the pink until you get the desired pink color.
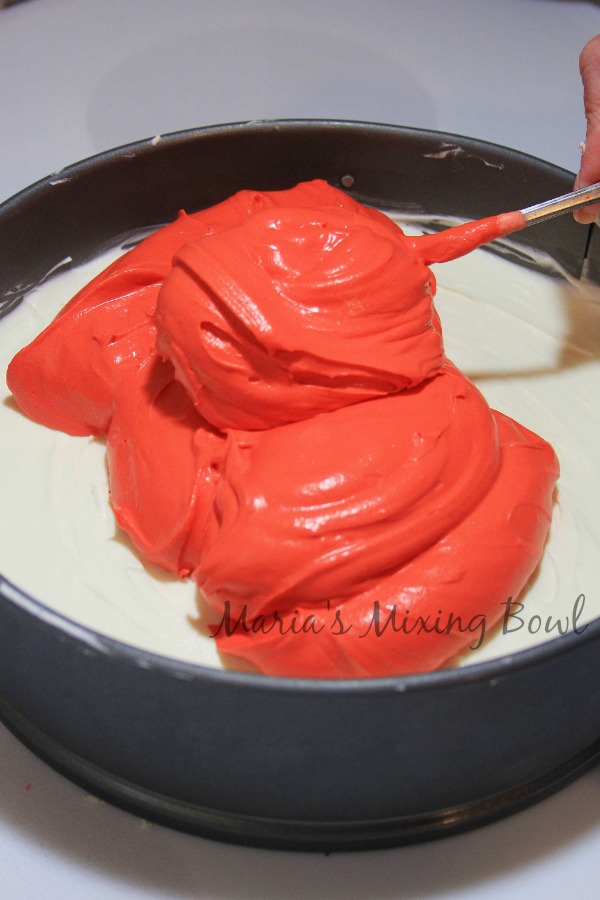
- Place the red cheesecake and the pink cheesecake in the refrigerator. Remove the Spring-form pan with the purple crust from the freezer, and pour the white layer of cheesecake on top of the purple crust, and spread evenly.
Place the Spring-form pan back in the freezer. - Leave the pan in the freezer for about an hour, and when the white layer is set to the touch (it’s almost frozen) add the red layer of cheesecake on top of the white layer, and spread evenly in the pan.
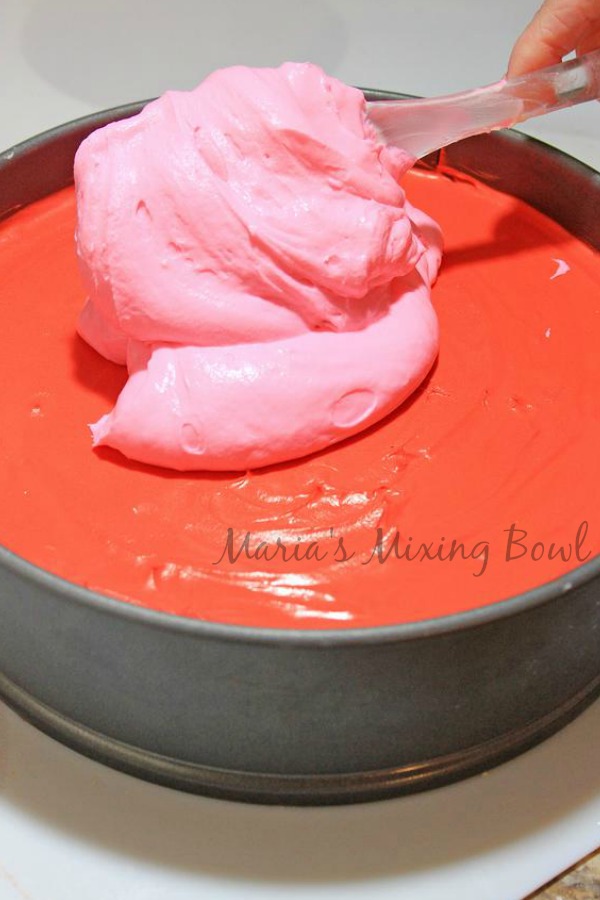
- Place the Spring-form pan back in the freezer, and leave it for about an hour, and check to see that’s it’s almost frozen, and pour the pink cheesecake on top of the red layer, and spread evenly in the pan.
- Place the Spring-form pan back in the freezer and leave for an hour.
- After an hour, place parchment paper and foil over the pan, covering and sealing the cheesecake.
- Leave the cheesecake in the freezer until time to serve.Cut into 2 inch pieces, decorate with hearts if desired serve and Enjoy!
Notes
Keep the Cheesecake in the freezer for up to 14 days. If you have 2 mixing bowls for your electric stand mixer, you can just put your mixing bowl in the refrigerator with the whipped cream, and use your clean mixing bowl, instead of rinsing it out.
Disclaimer
Any nutritional data I provide is an approximation and actual dietary information can vary based on ingredients and proportion sizes.


One Comment