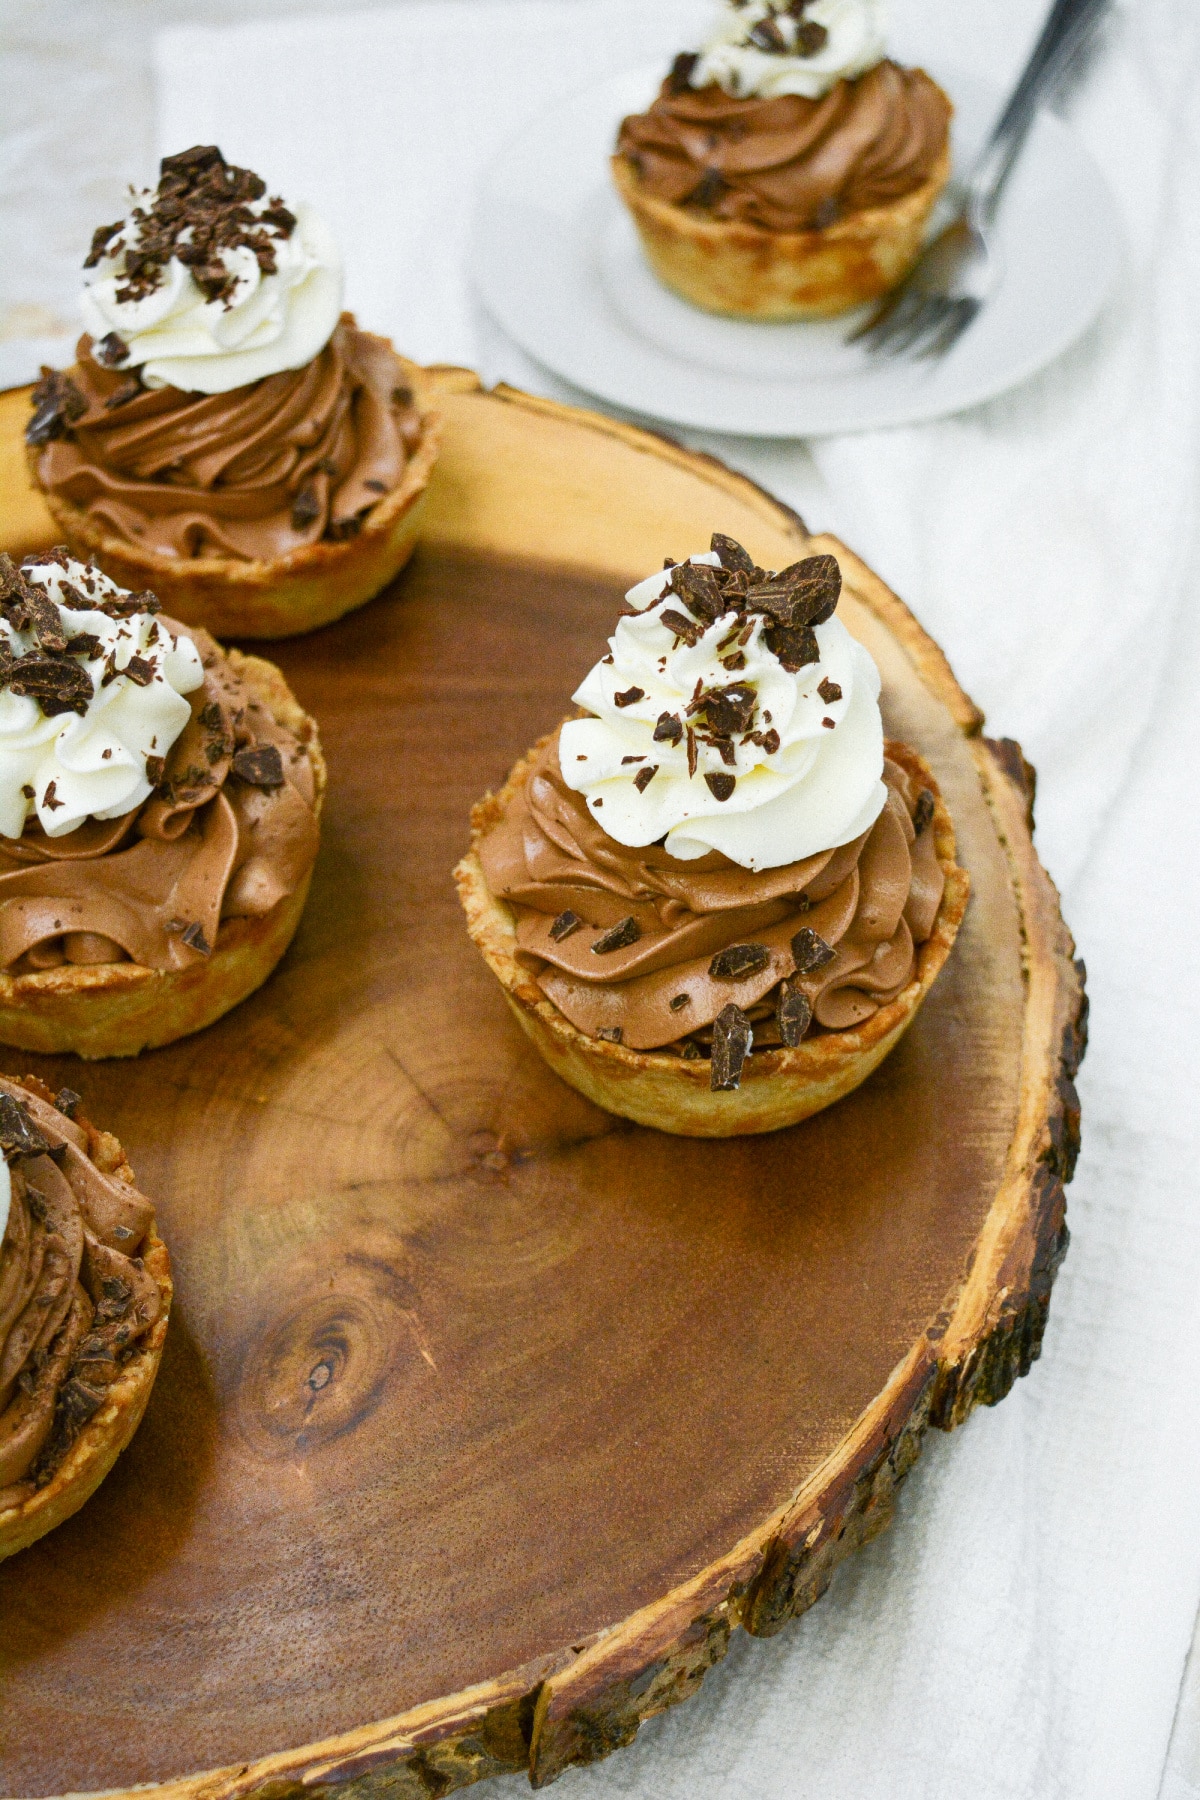
Mini Chocolate Silk Pies

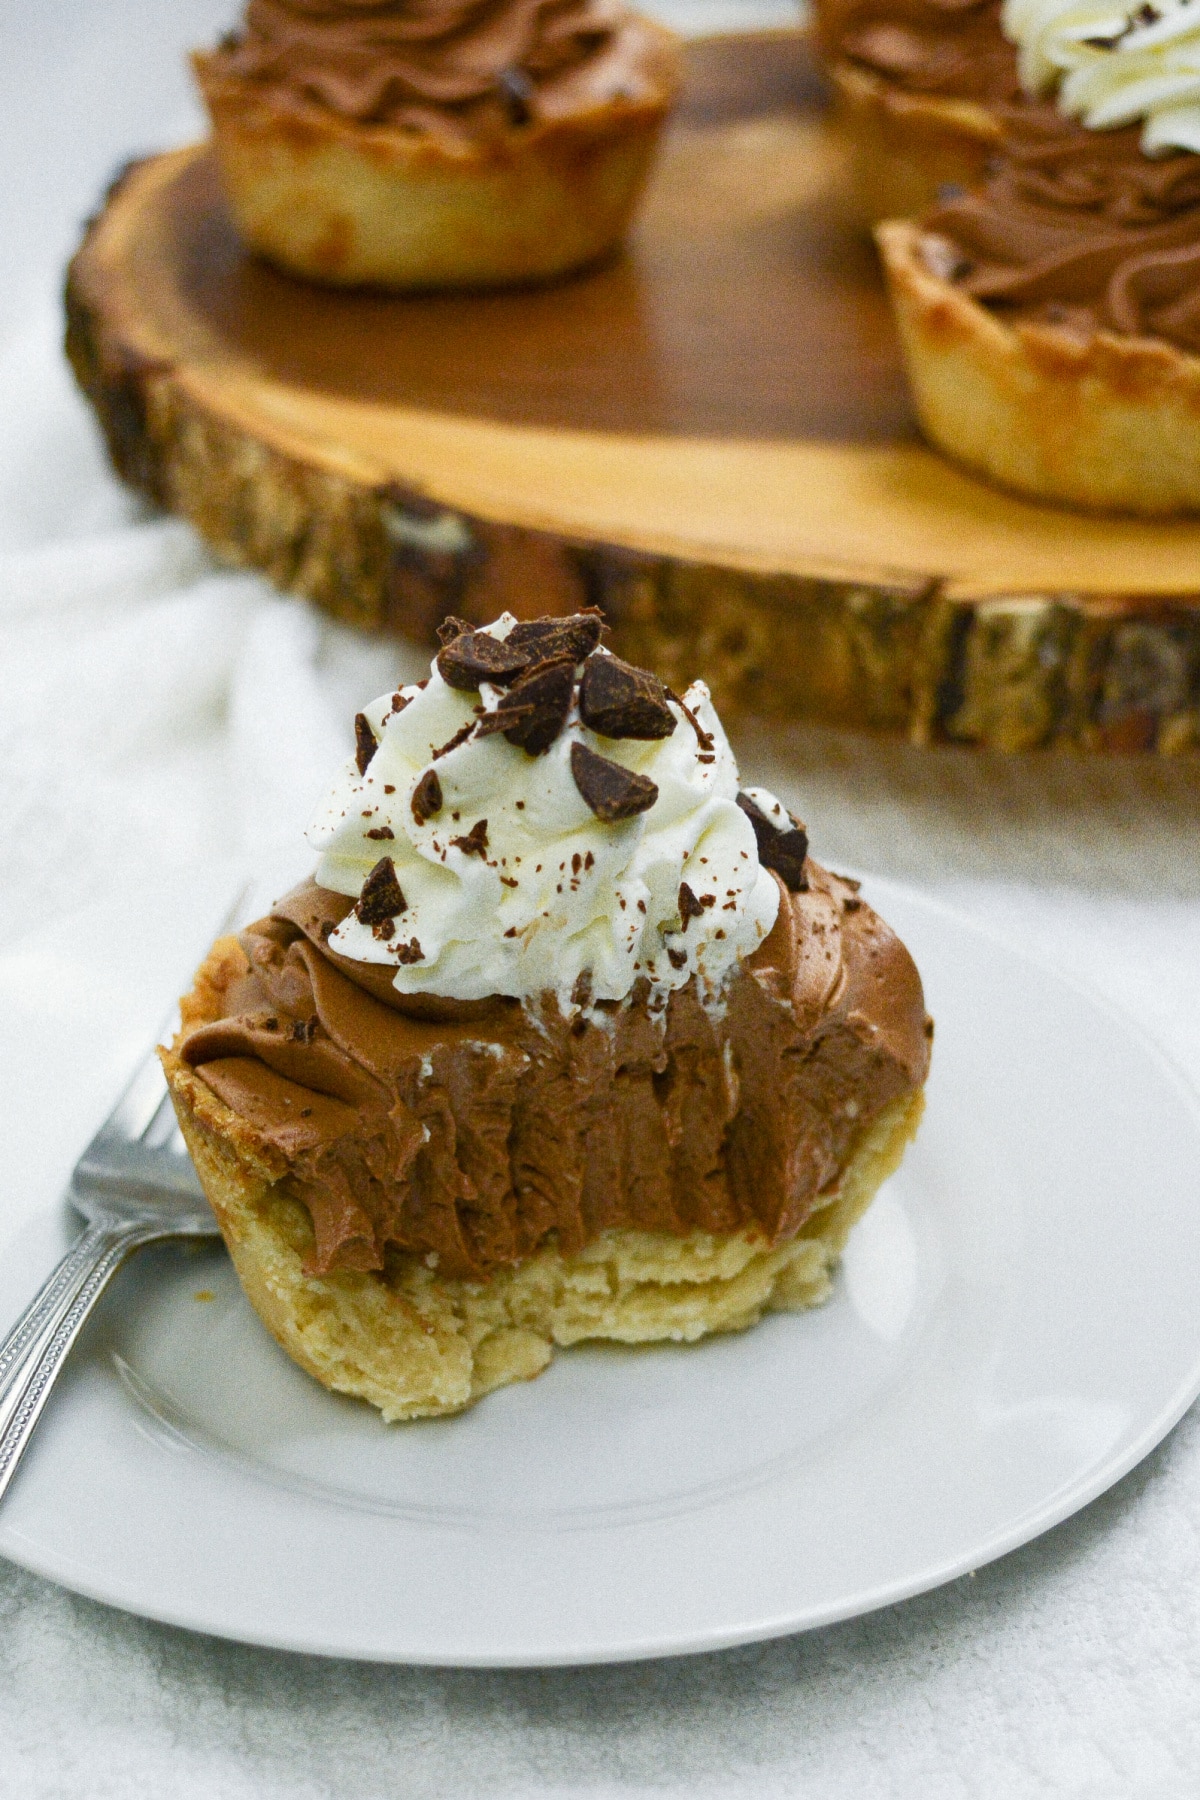
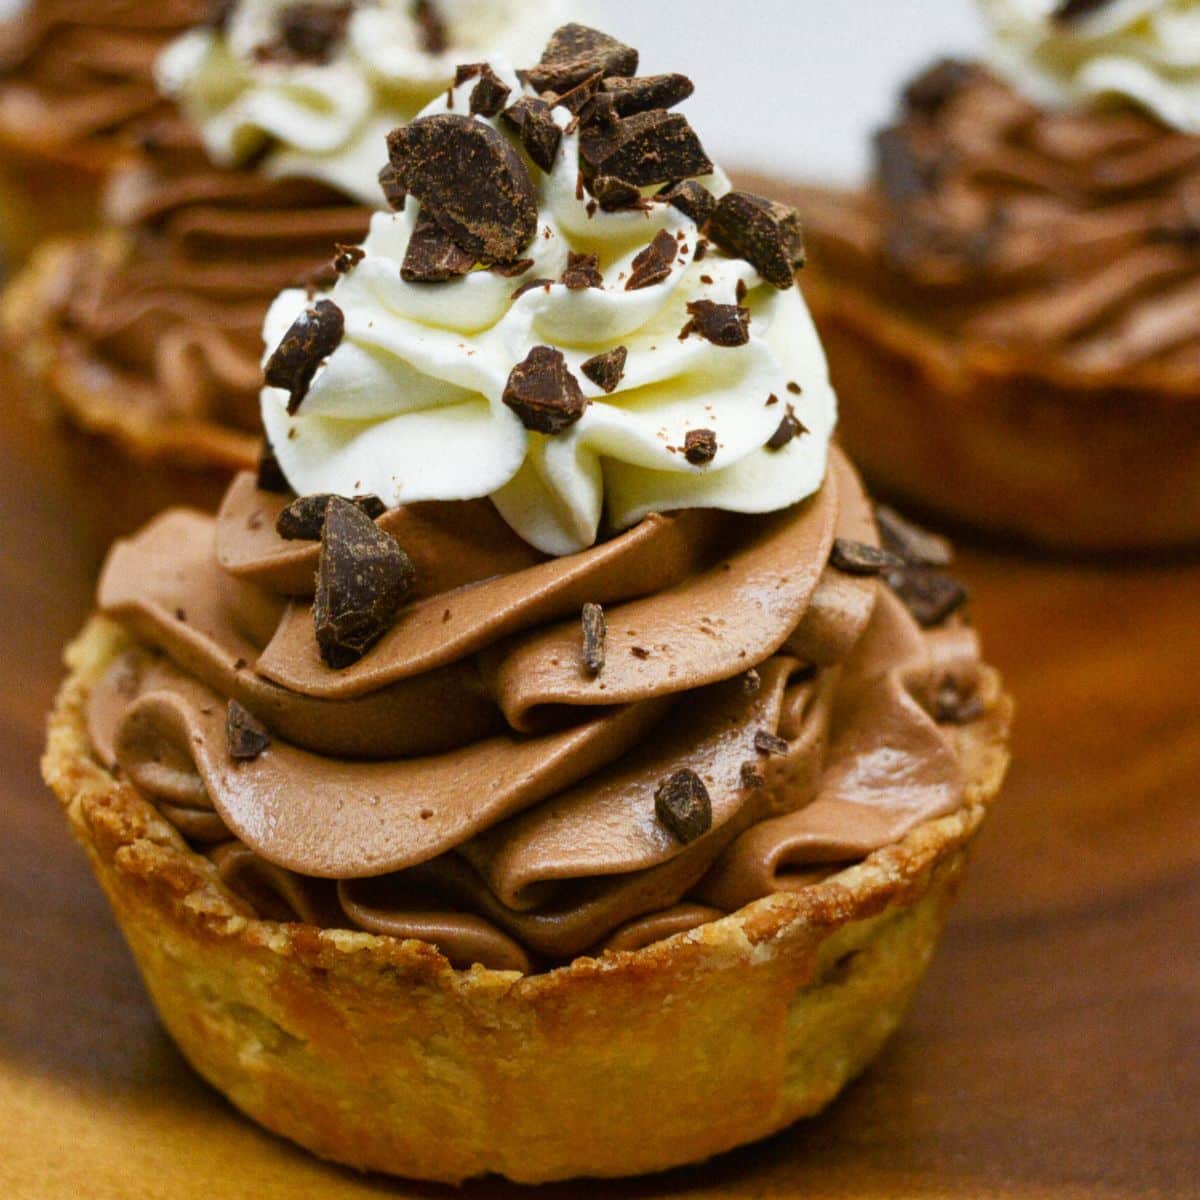
These Mini Chocolate Silk Pies are decadently delicious and so easy to make. Homemade pie crust dough is baked in jumbo muffin tins and then filled with an easy homemade chocolate filling. Then, it’s all topped with homemade whipped cream!
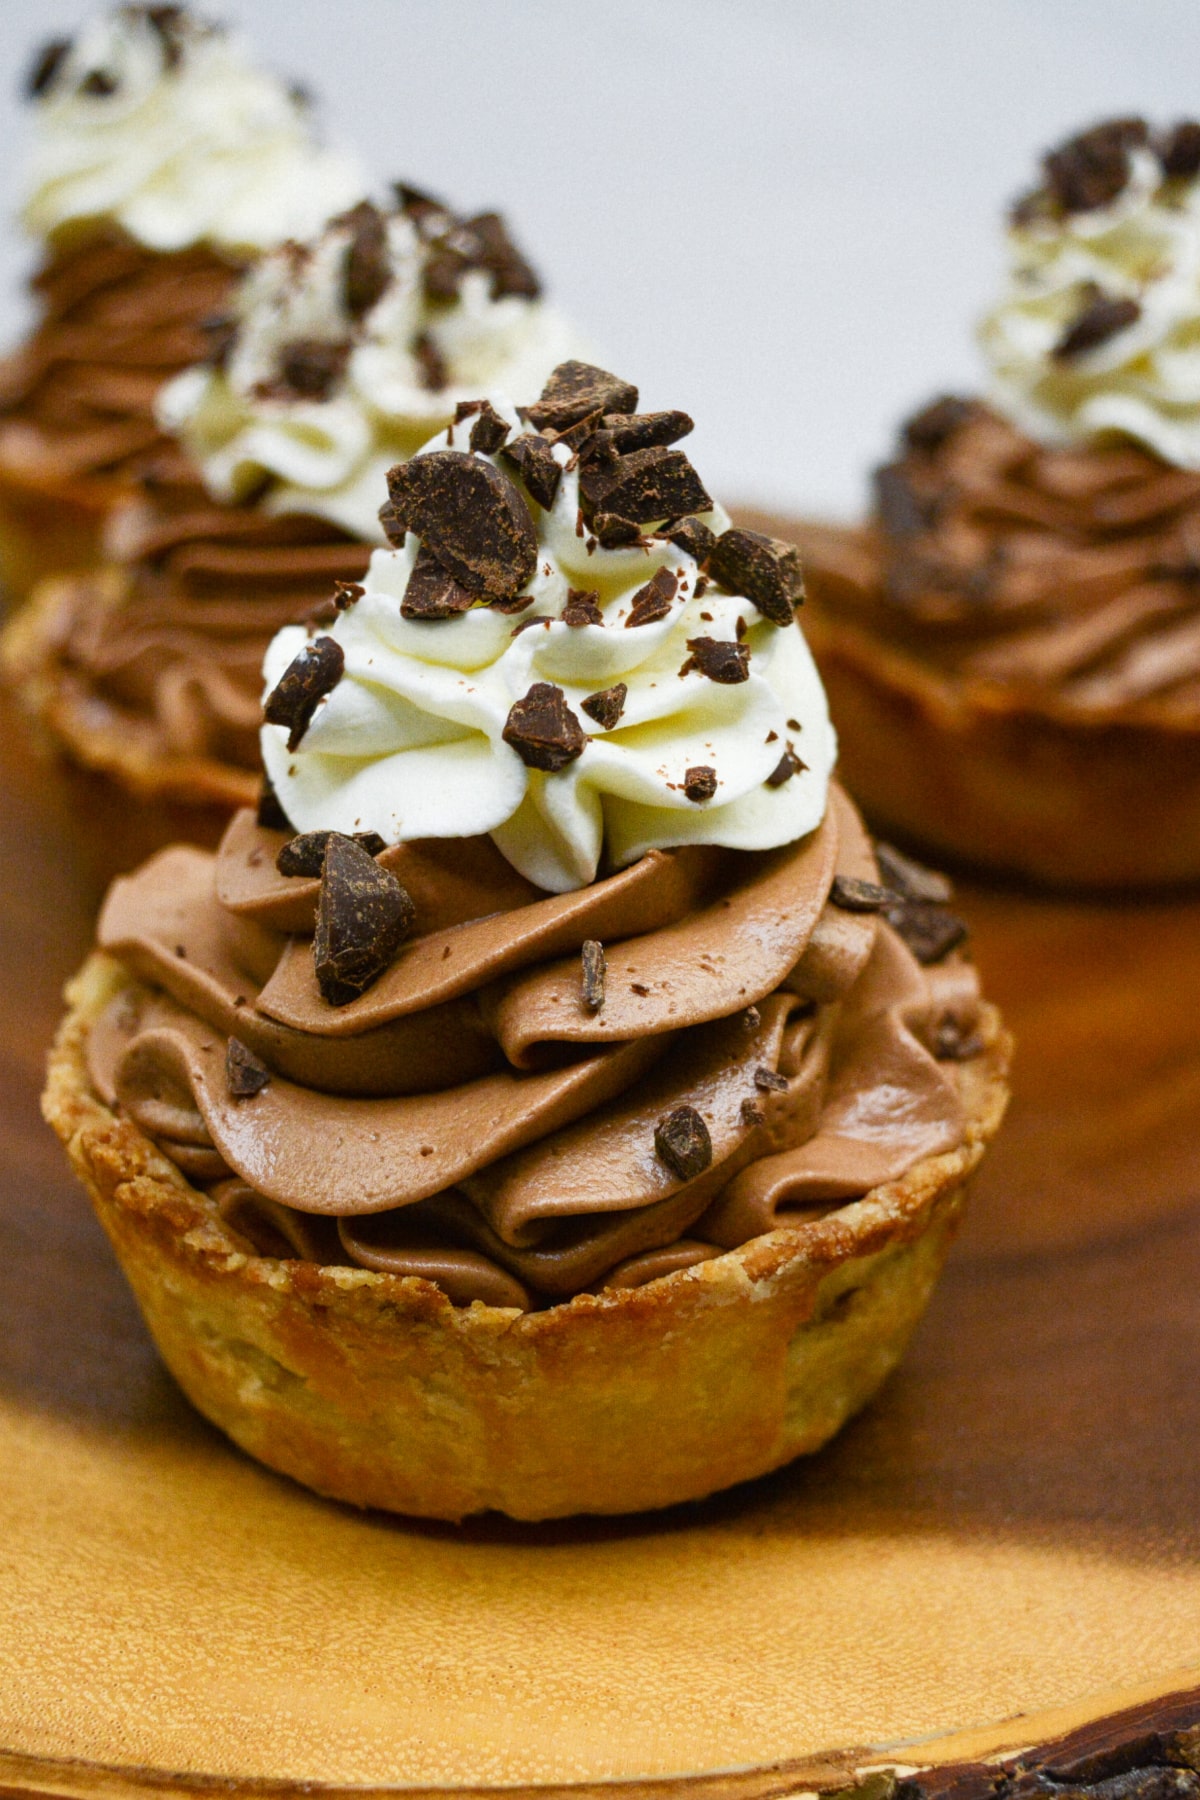
If you love chocolate silk pie, you will adore these mini pies. We love serving these to family and friends because they’re a fun-sized version of the classic chocolate silk pie that we all know and love. And they’re super-easy to make!
Table of contents
❤️ Why You’ll Love This Recipe
- It only takes a few basic ingredients to make.
- It’s an easy recipe that anyone can make.
- It’s fast! You’ll be in and out of the kitchen in about 30 minutes.
- The chocolate filling is absolutely decadent.
🛒Ingredients
Both the pie crust and the chocolate filling are made with simple ingredients that you can find in your kitchen and/or a quick trip to the grocery store.
All the ingredients for the recipe are listed here, but you can find the exact amounts in the recipe card at the end of the post.
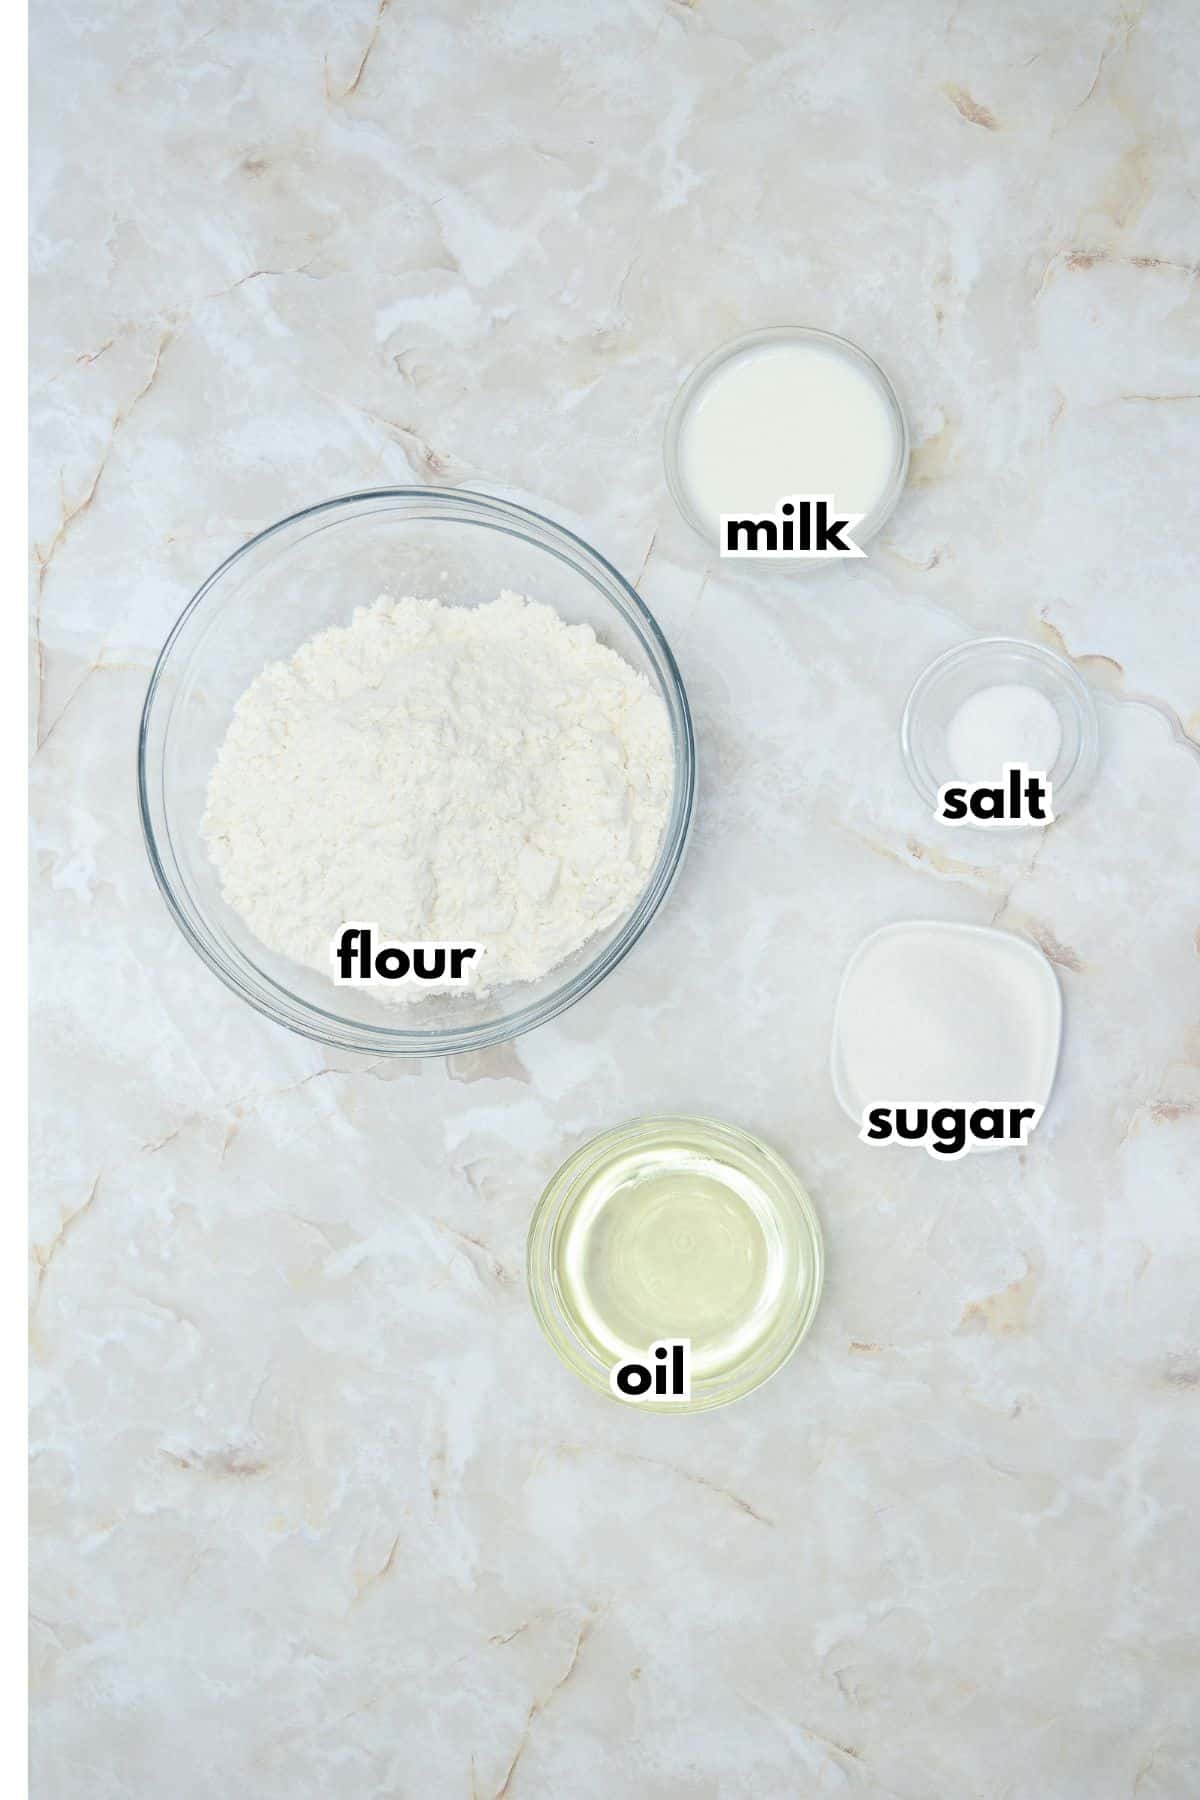
For the Crust
- Flour
- Oil
- Milk
- Sugar
- Salt
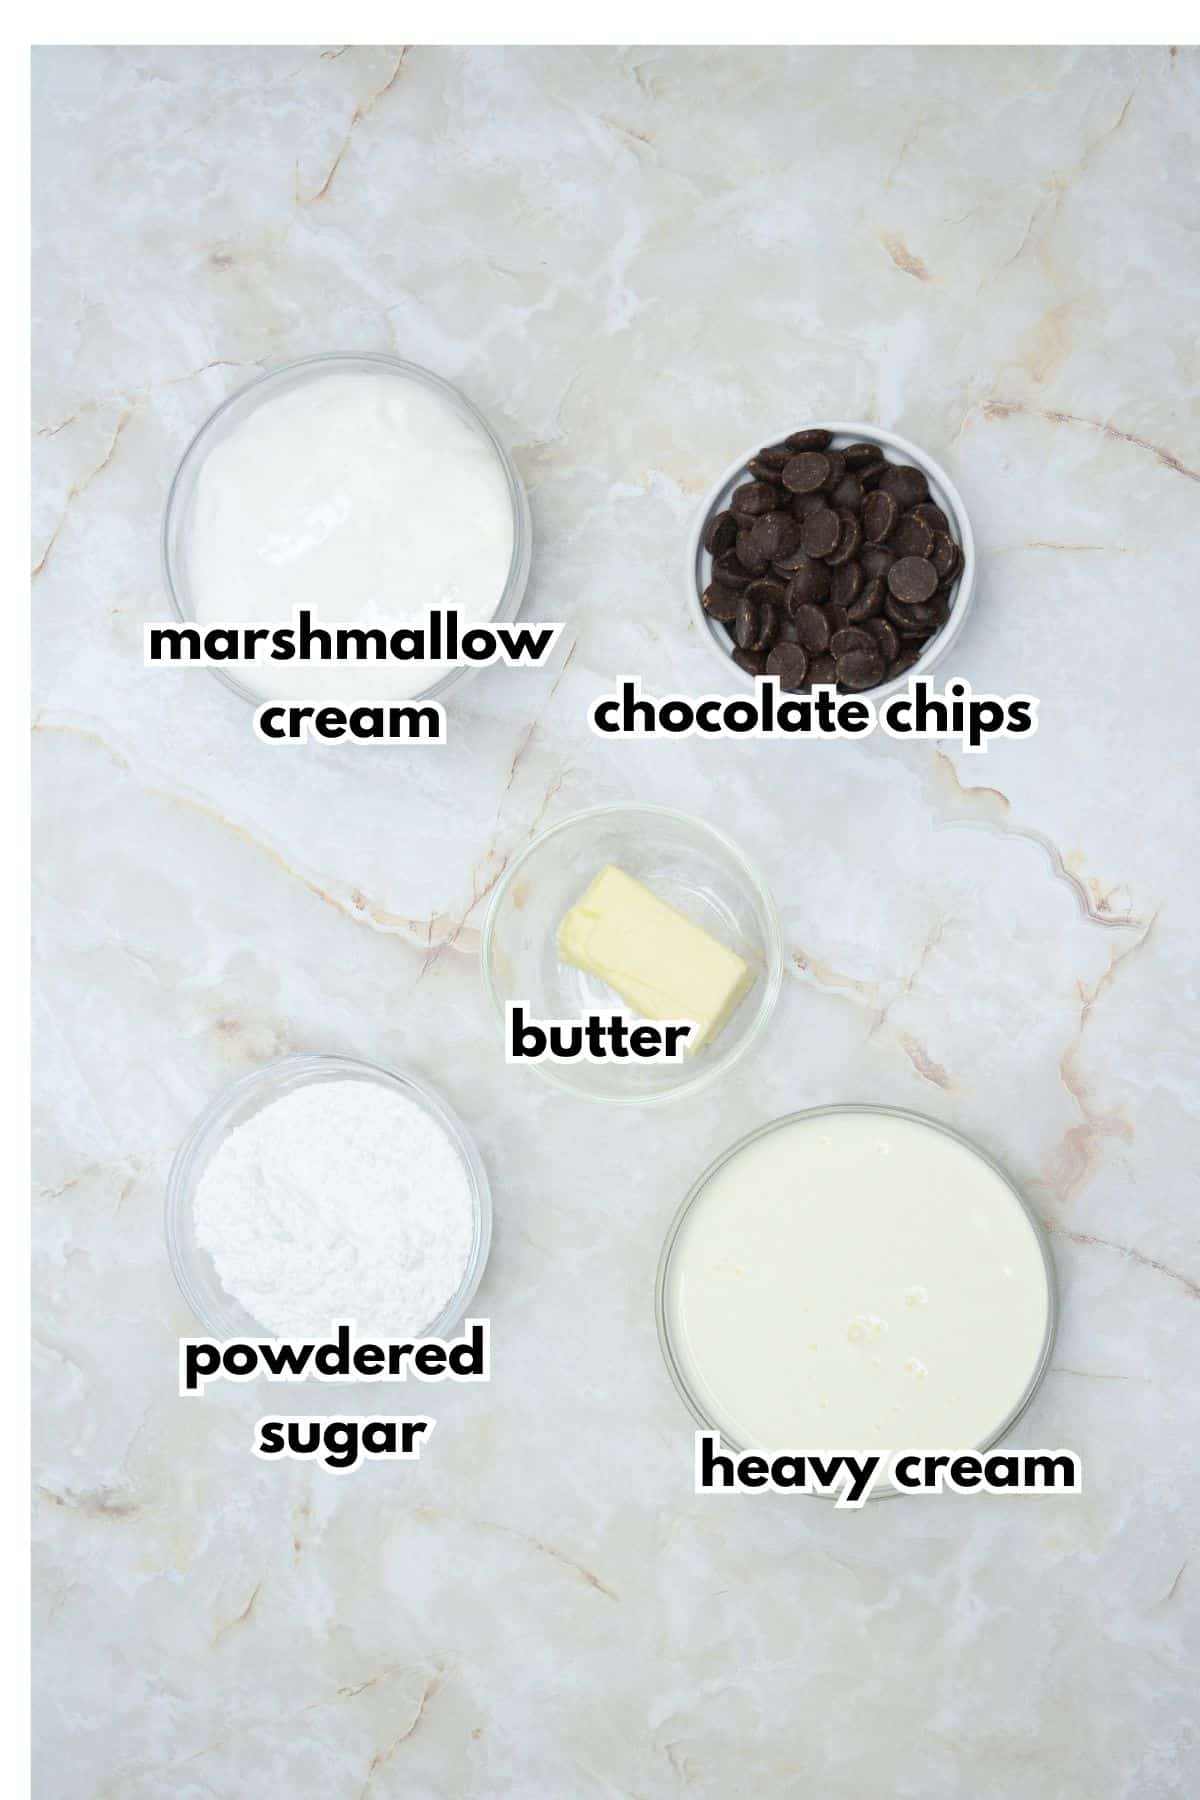
For the Chocolate Filling
- Marshmallow cream
- Dark chocolate chips
- Unsalted butter
Whipped Cream and Topping
- Heavy cream
- Powdered sugar
- Additional chopped chocolate chips
🔪 How to Make Mini Chocolate Silk Pies
Making these pies couldn’t be easier. The crust is simple to make and only takes a few minutes to bake. The filling is just as easy!
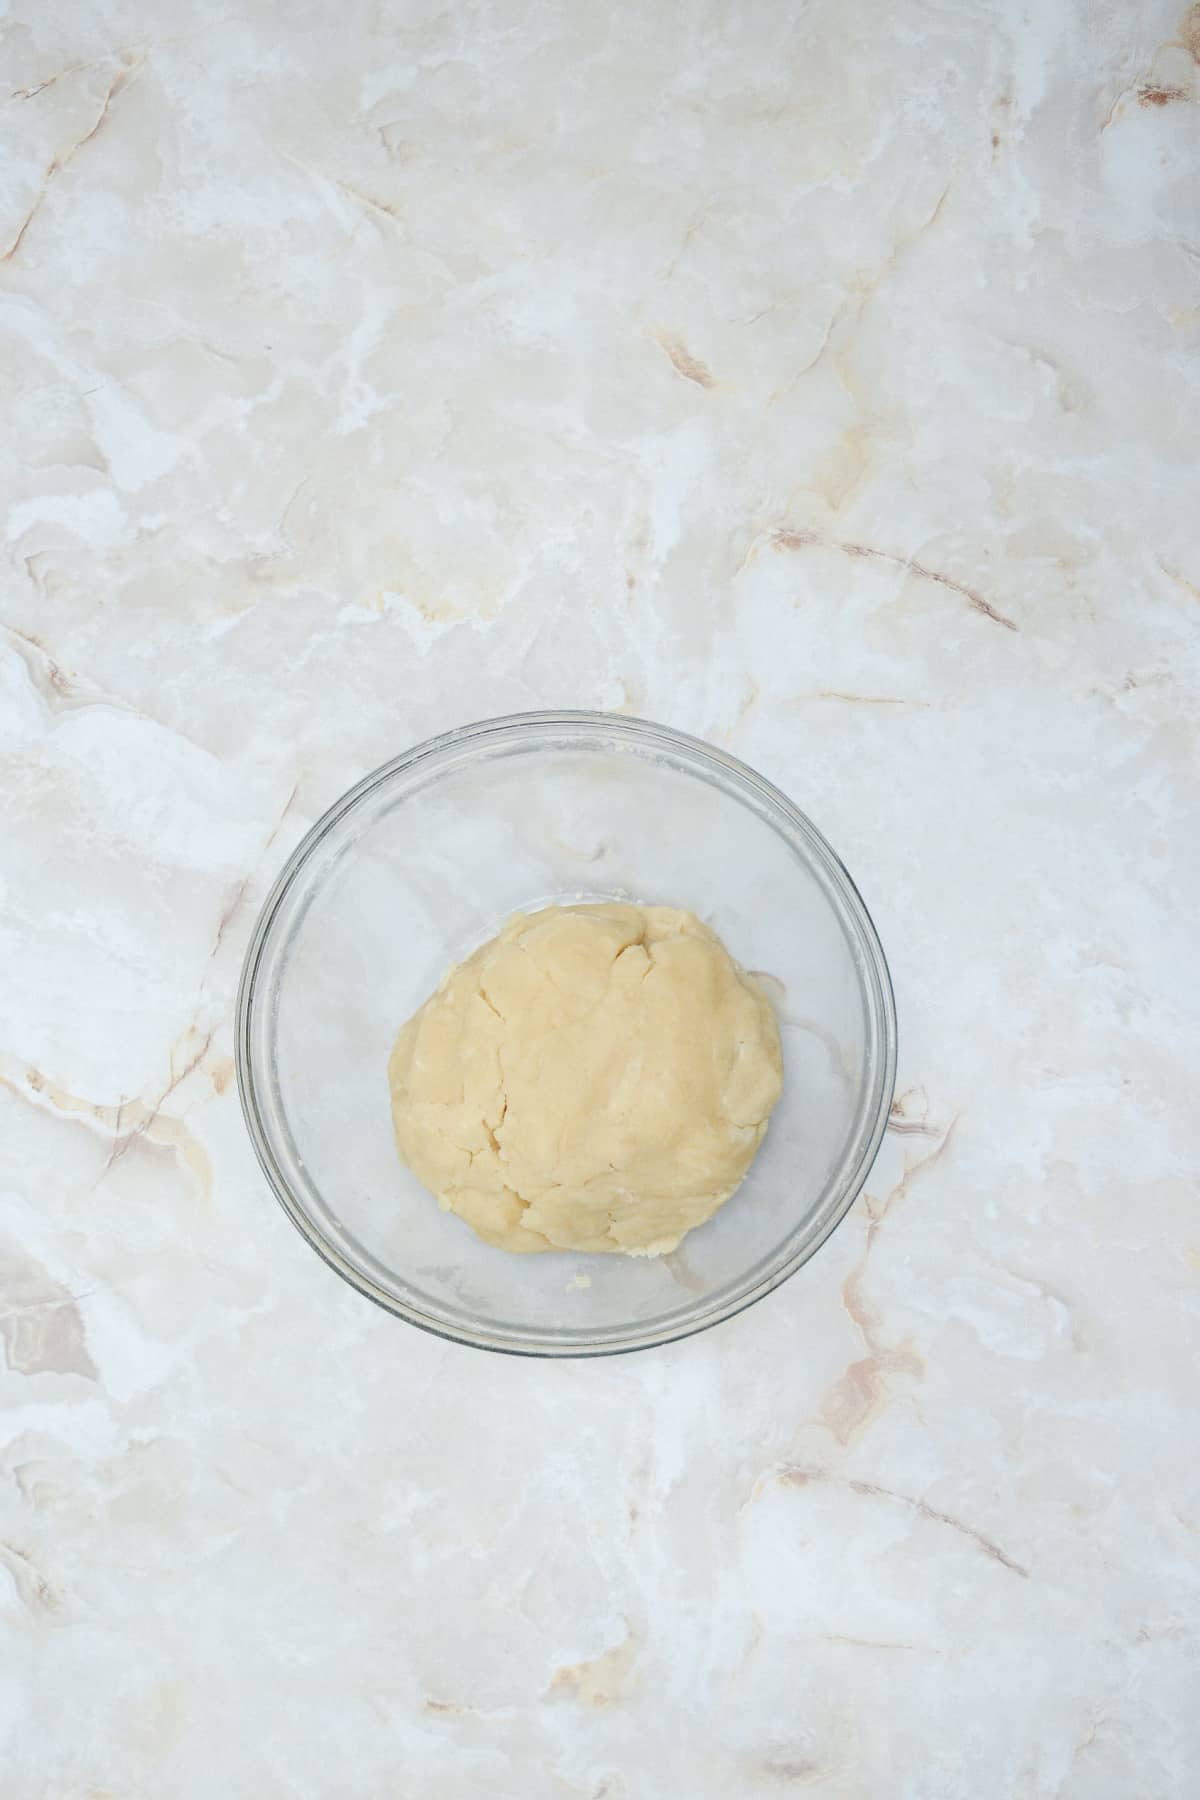
Step 1: Make the Crust
Stir flour, oil, milk, sugar, and salt together in a small bowl until combined.
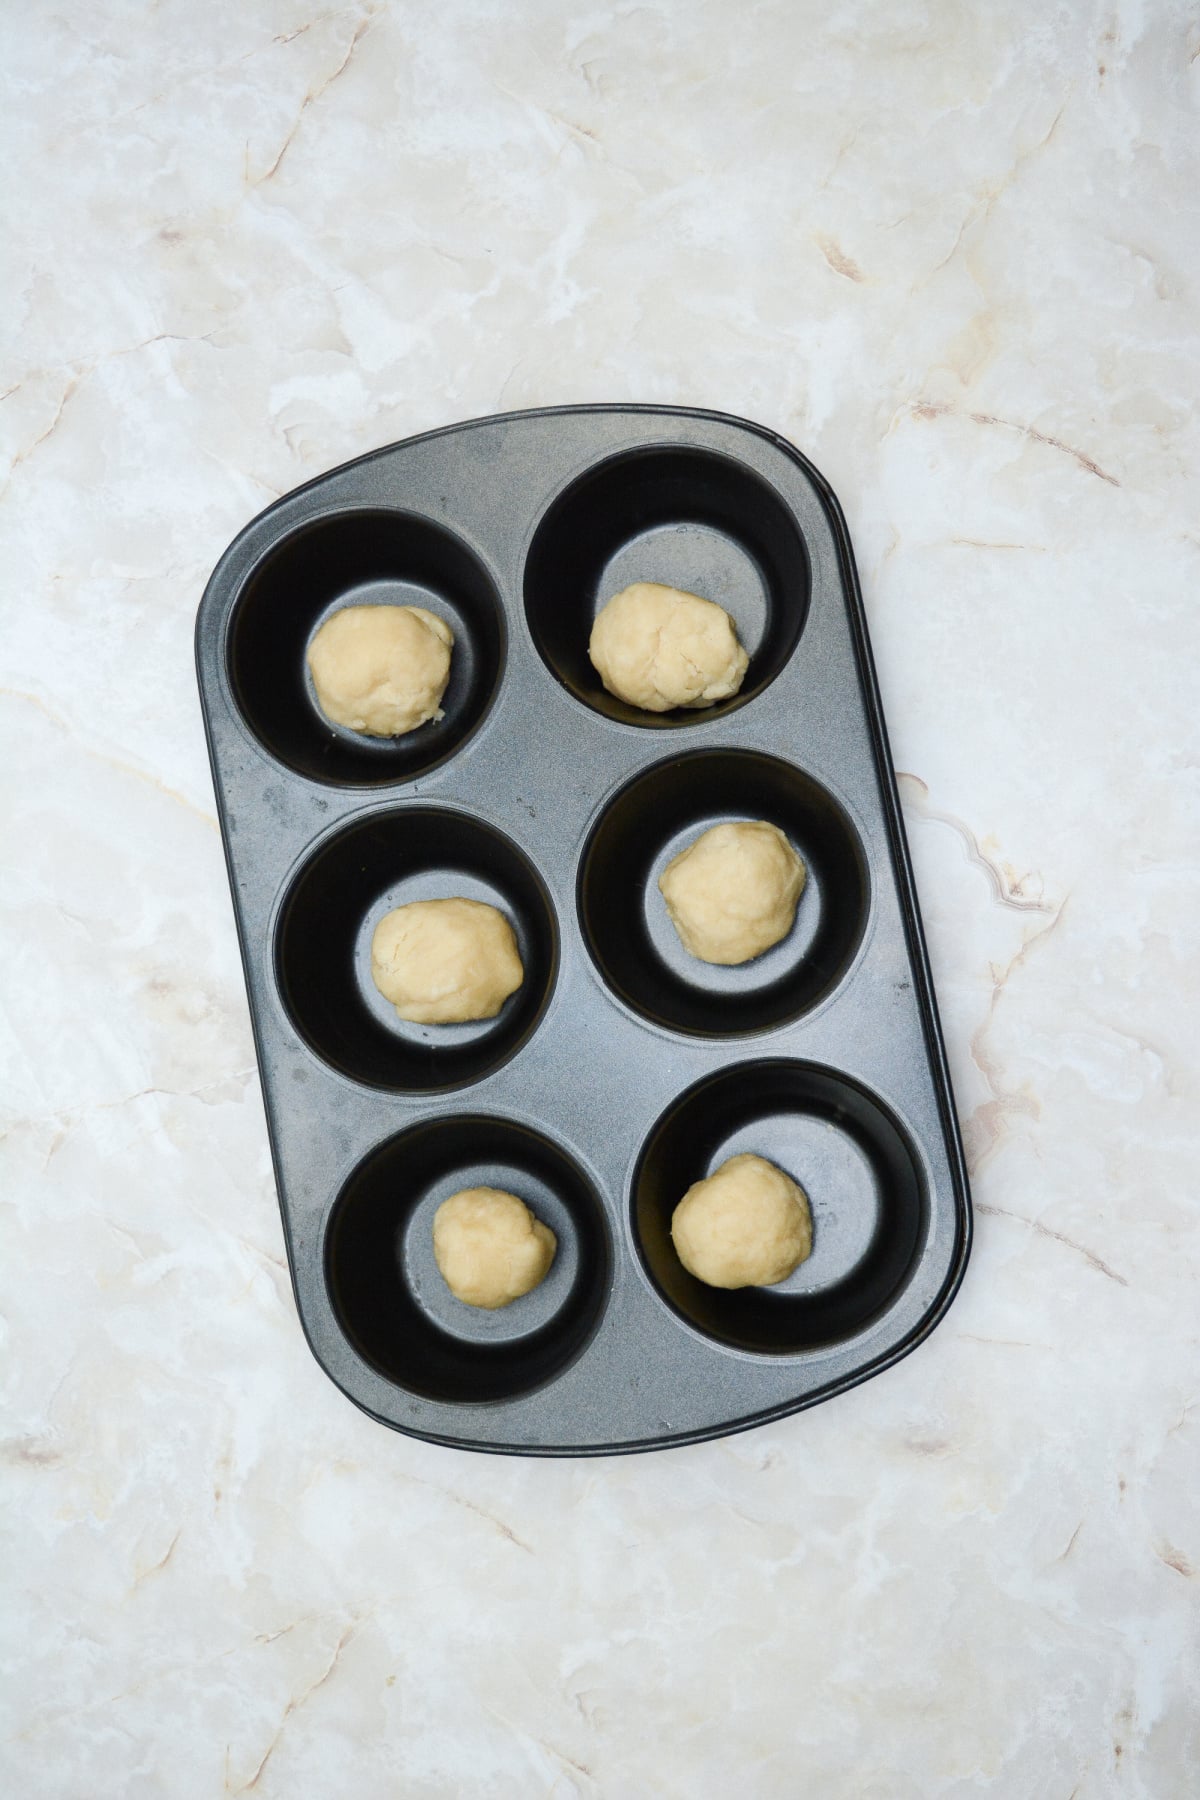
Step 2: Press and Poke
Divide the dough into equal parts and press it into the bottom and sides of a jumbo muffin pan. Then, poke holes in the bottom and sides of the crust with a fork.
Step 3: Bake
Bake for 15 to 18 minutes until the middle is set and the edges are browned. Set aside until ready to fill.
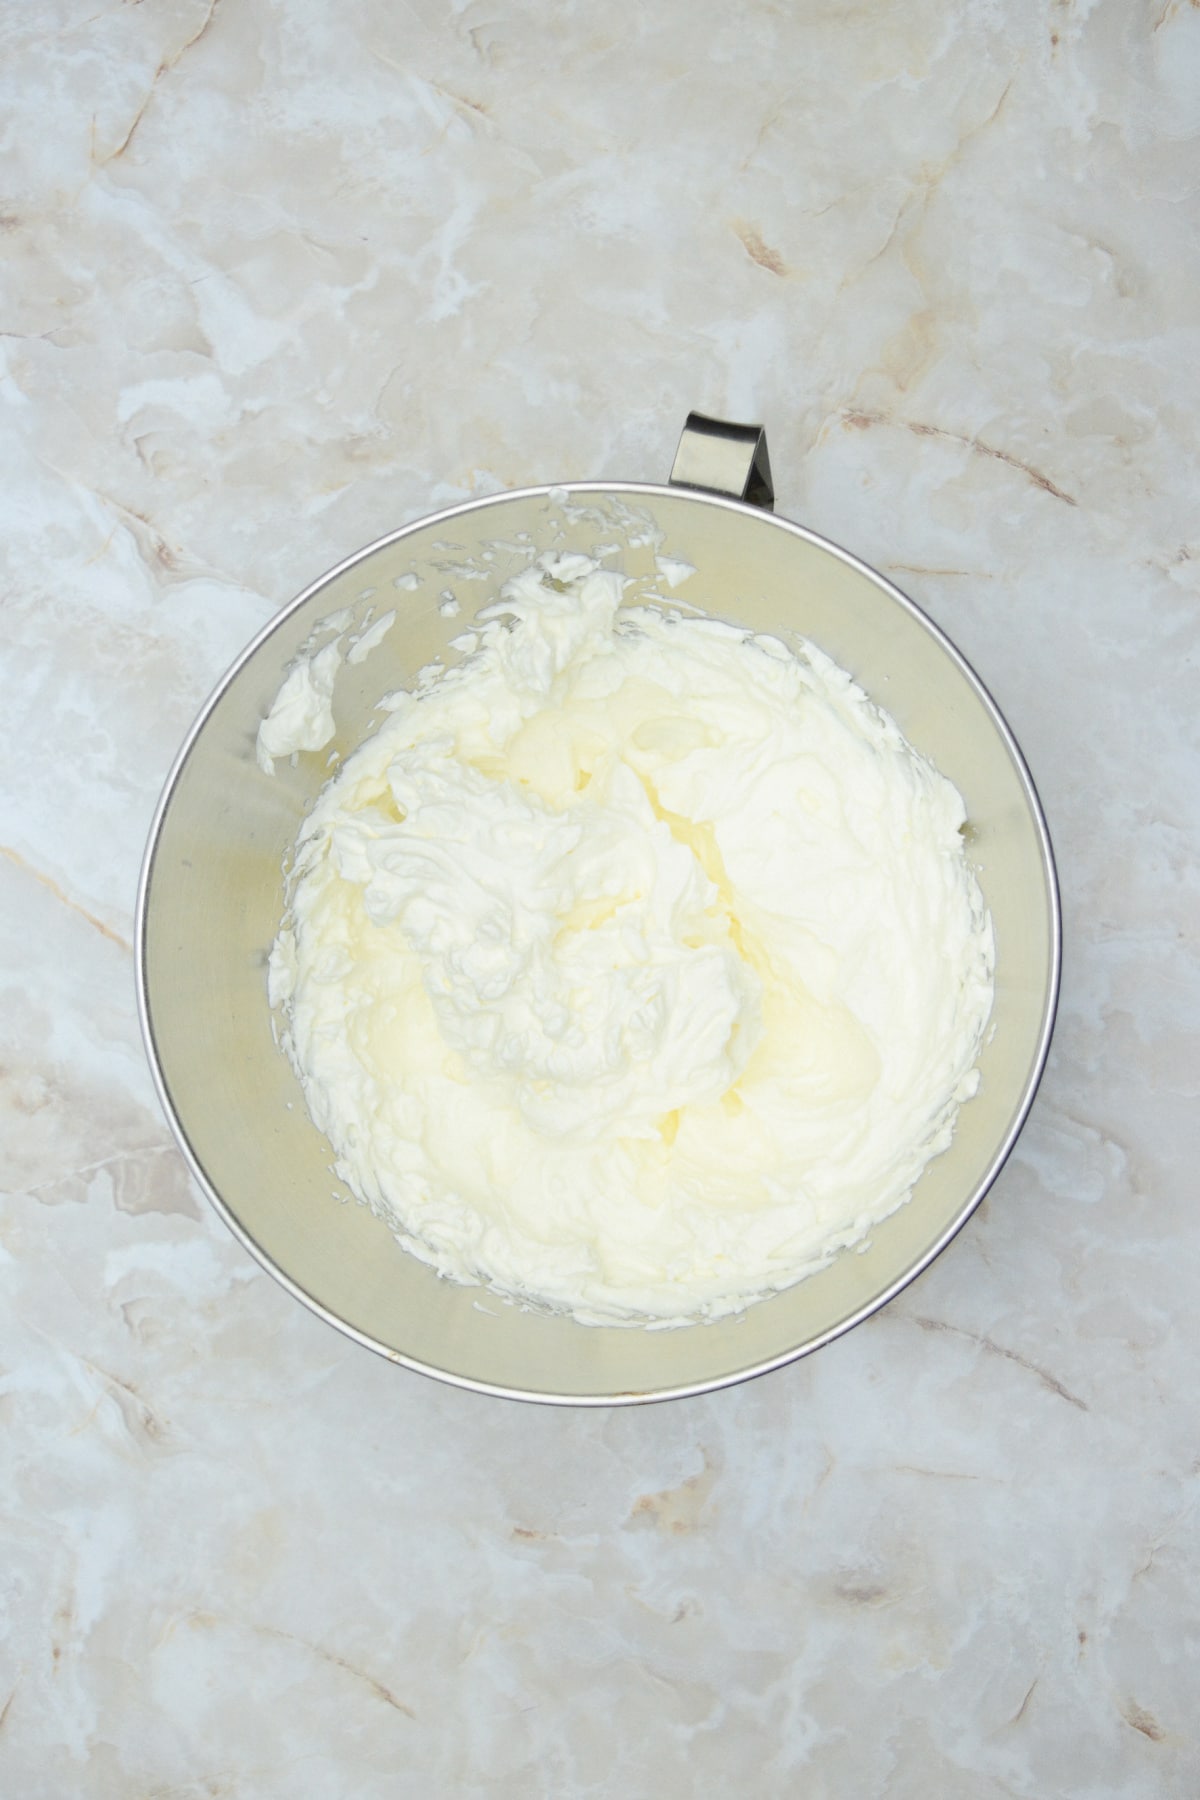
Step 4: Make the Whipped Cream
Whip the heavy cream with powdered sugar on high speed with a stand mixer for 3 to 5 minutes until stiff peaks form. Set aside.
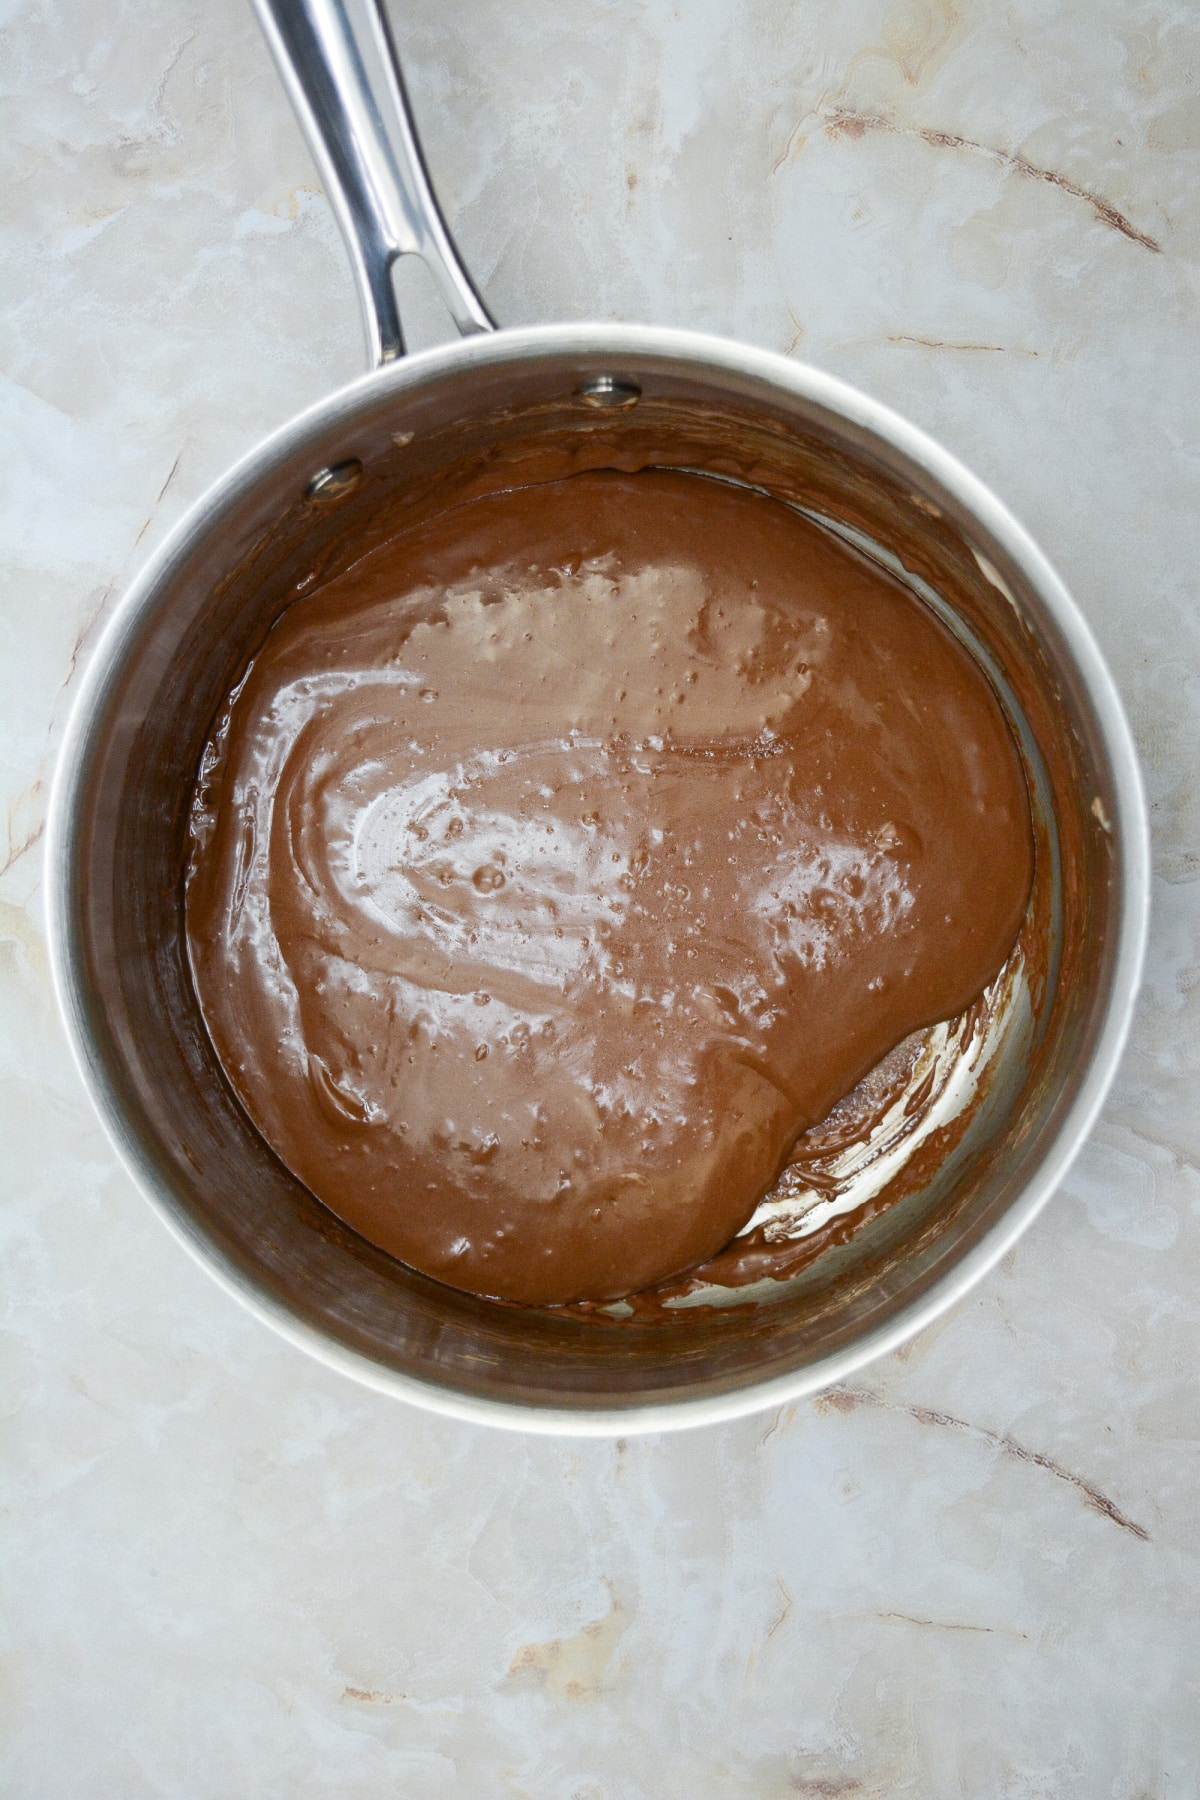
Step 5: Make the Filling
Melt the marshmallow cream, butter, and chocolate chips in a large saucepan on low heat, stirring occasionally, until smooth. Remove from the heat and cool slightly, then fold in half the whipped cream until smooth.
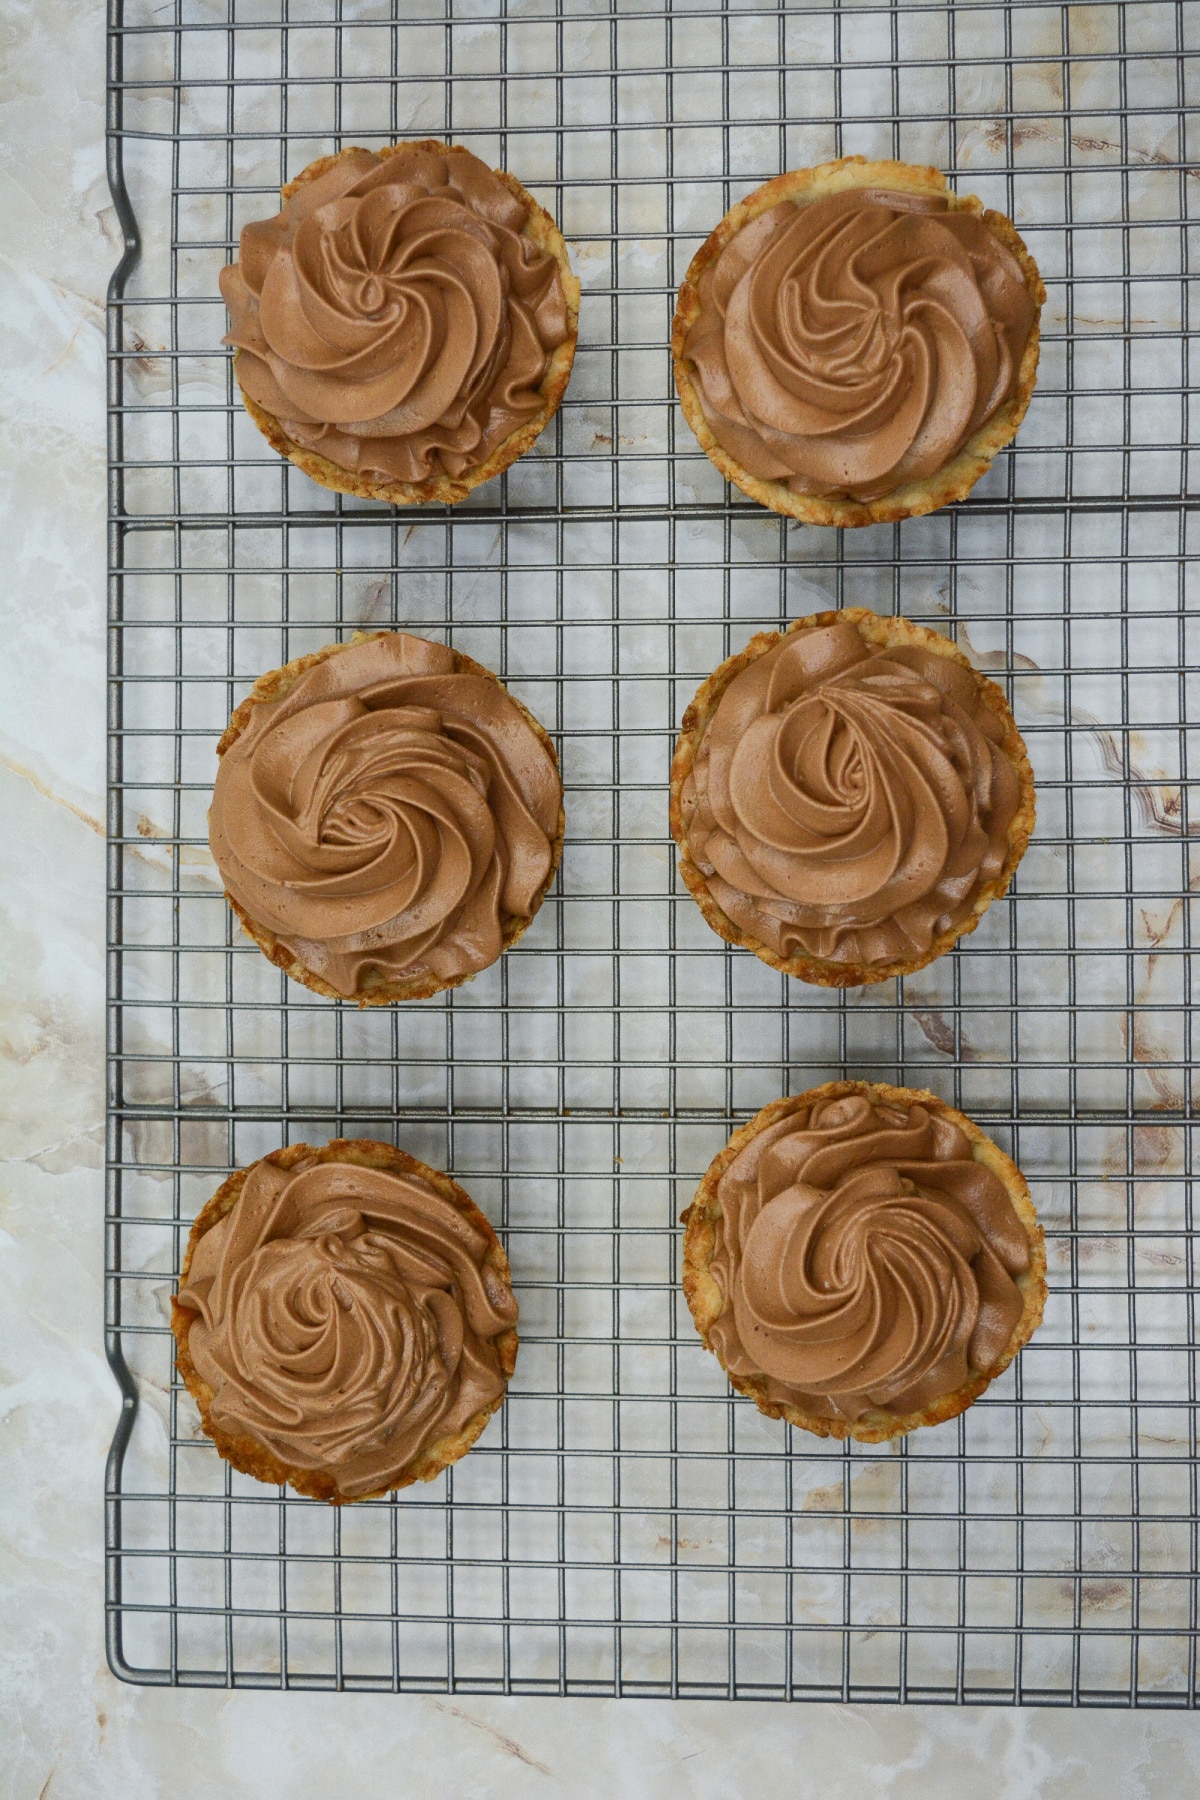
Step 6: Fill the Pie Shells
Place the chocolate filling into a pastry bag with a large star tip and pipe a heaping mound of filling into each pie shell.
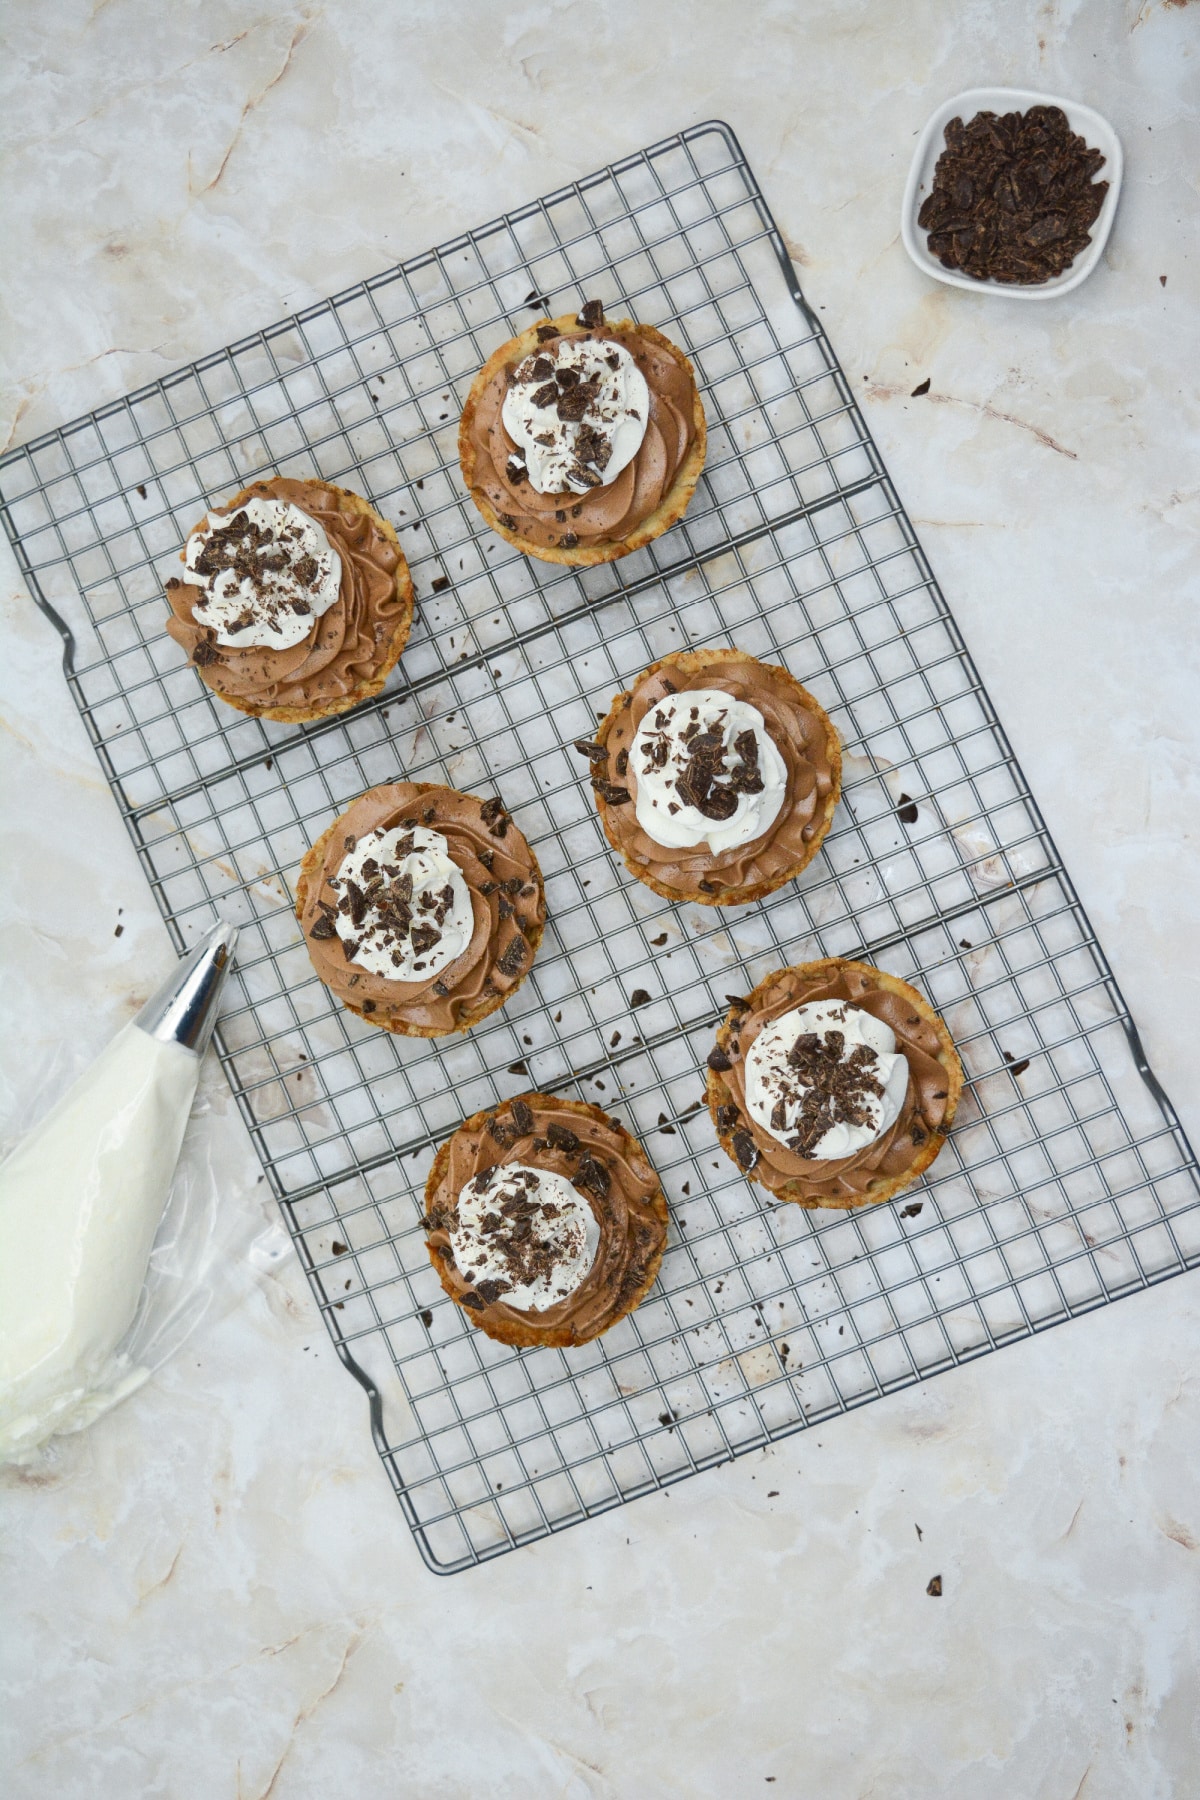
Step 7: Decorate and Chill
Add the reserved whipped cream to a pastry bag with a large star tip and pipe a small dollop on top of each chocolate pie. Sprinkle with additional chopped chocolate chips and chill until ready to serve.
📝Variations
Do you want to change up this recipe and make it your own? Here are some ways that you can do that!
- Chocolate Chips – Make different pies by using dark, semi-sweet, milk, or even white chocolate chips.
- Espresso Powder – Try adding a bit of espresso powder to the chocolate filling for deeper flavor.
- Pre-Made Pie Crust – You can cut rounds to fit your muffin tins out of pre-made pie crust if you prefer.
If you love mini pies like this one, then check out our mini crustless pumpkin pie.
🥄 Equipment
- Measuring cups and spoons
- Jumbo muffin tins
- Stand mixer
- Large saucepan
- Pastry bags
- Large star tip
🥫 Storage
Refrigerate these mini chocolate silk pies for up to 2 days in an air-tight container. Do not freeze them.
What to Serve with Chocolate Pie
These little pies make an excellent dessert after almost any kind of meal. They’re also perfect as part of a larger dessert spread alongside all your other favorite sweet treats.
💭 Tips
- We recommend that you use homemade whipped cream and NOT whipped topping in this recipe.
- Do not try to rush your chocolate filling by using higher heat. Keep the heat low and stir frequently to prevent scorching.
- Be sure you poke holes all over your pie crusts before baking them to prevent bubbling.
⁉️ FAQ
Do you have questions about this recipe? Here are the answers to the most commonly asked questions.
Mini pies are simply smaller versions of full-sized pies. Both use pie crust and various pie fillings.
Be sure to poke holes all over the pie crusts so the air can escape while they bake. If you don’t have enough holes, they could bubble.
Whipped topping is made by hydrogenating oils to create the whipped texture. This sort of topping won’t hold up when added to the warm pie ingredients.
🍽 More Recipes
Do you enjoy mini desserts? Then try these delicious recipes:
🧾Recipe Card
Want to make this recipe? Print the recipe card below, or pin this recipe, so you can find it later.
Mini Chocolate Silk Pies
Equipment
- Measuring Cups and Spoons
- Jumbo muffin tins
- Stand mixer
- Large saucepan
- Pastry bags
- Large Star Tip
Ingredients
Pie Crust
- 1 ½ cups flour
- ½ cup oil
- 2 tablespoons milk
- 2 teaspoons sugar
- 1 teaspoon salt
Chocolate filling
- 7 ounces marshmallow cream
- 1 cup dark chocolate chips
- ¼ cup unsalted butter
- 2 cups heavy cream
- ½ cup powdered sugar
- Additional chopped chocolate chips
Instructions
To make the pie crust
- Preheat the oven to 400 degrees.
- Combine the flour, oil, milk, sugar and salt in a small bowl.
- Stir until it combines together.
- Divide into equal parts and press into the bottom and sides of a jumbo muffin pan.
- Poke holes with a fork in the bottom and sides of each mini pie to prevent air pockets.
- Bake in preheated oven for approximately 15-18 minutes until the middle is set and the edges are browned.
- Set aside until ready to fill.
To make the filling
- Whip the heavy cream with powdered sugar in the bowl of a stand mixer on high speed for approximately 3-5 minutes until stiff peaks.
- Set aside.
- In a large saucepan, melt the marshmallow cream, butter and chocolate chips.
- Heat over low and stir occasionally to prevent scorching.
- Continue to mix until smooth and then remove from the heat.
- Allow to cool slightly.
- Gently fold in half of the whipped cream to the chocolate mixture.
- Stir until smooth.
- Transfer the chocolate filling to a pastry bag fitted with a large star tip.
- Pipe a heaping mound into each pie shell.
- Transfer the remaining whipped cream to another pastry bag fitted with a large star tip and pipe a small dallop on top of each chocolate pie.
- Sprinkle with additional chopped chocolate chip pieces, if desired.
Notes
Disclaimer
Any nutritional data I provide is an approximation and actual dietary information can vary based on ingredients and proportion sizes.


