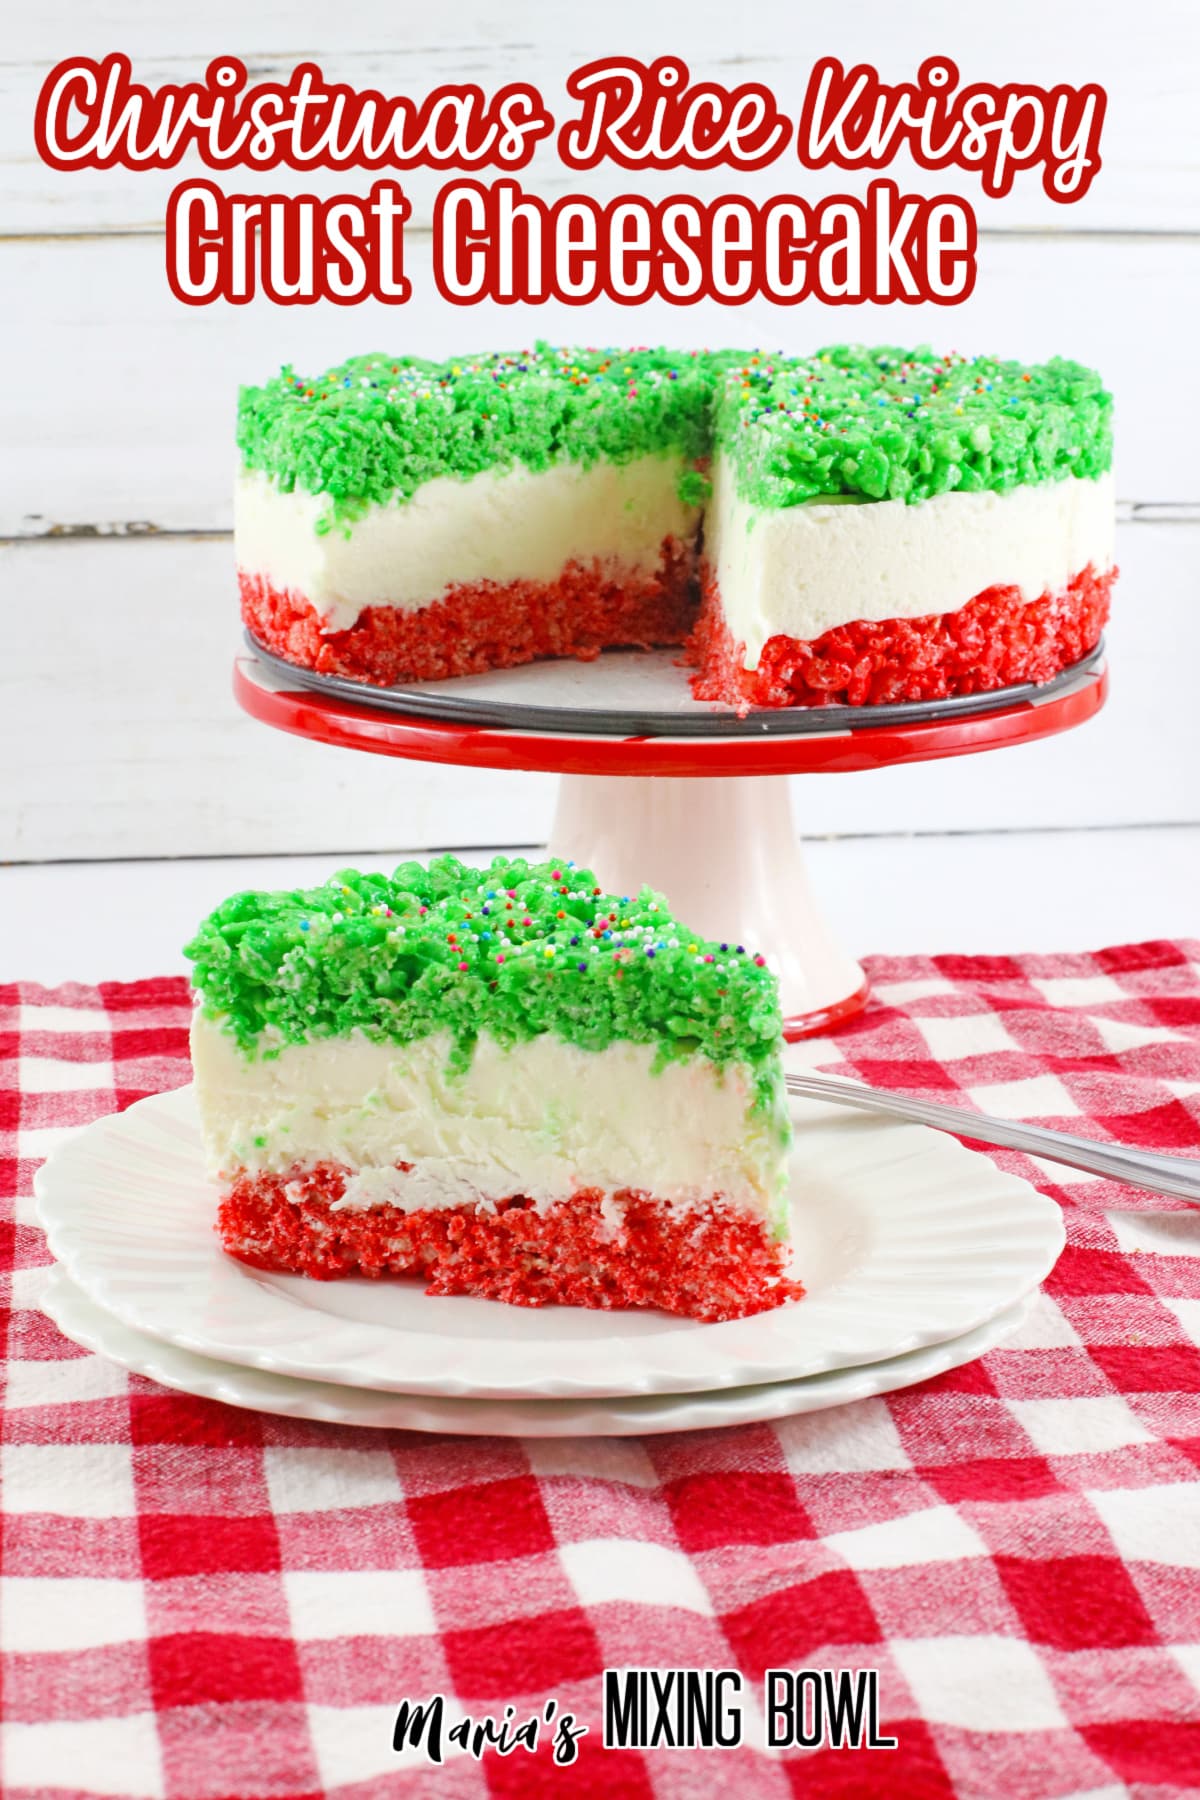
Christmas Rice Krispy Crust Cheesecake
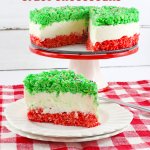
Christmas Rice Krispy Crust Cheesecake combines rich no-bake cheesecake with two classic Rice Krispy treats layers in red and green. It’s fun, festive, and so easy.
We love cheesecake and we love Rice Krispy Treats, so we literally sandwiched them together to make this tasty cheesecake. It’s the perfect dessert to wow everyone during the holidays without having to do a ton of work!
Table of contents
❤️ Why You’ll Love This Recipe
- It’s a no-bake cheesecake, so you don’t have to worry about falling or cracking.
- It’s easy to make.
- It’s absolutely delicious and so festive!
🛒Ingredients
The following are affiliate links. We are a participant in the Amazon Services LLC Associates Program, an affiliate advertising program designed to provide a means for us to earn fees by linking to Amazon.com and affiliated sites.
This recipe uses simple ingredients that you’ll easily find at your local grocery store. Check out the recipe card at the end of the post for amounts.
Rice Krispy Crust
- Marshmallows
- Rice Krispies Cereal
- Butter
- Christmas Red food coloring gel
- Christmas Green food coloring gel
- Nonpareils
For the Cheesecake
- Heavy whipping cream
- Sugar
- Vanilla
- Softened cream cheese
🔪 How to Make Christmas Rice Krispy Crust Cheesecake
This recipe is so easy to make. It only takes a few simple steps, and you’ll have a super festive and delicious cheesecake everyone will love.
Step 1: Prep
Cut out a circle of parchment paper to fit in the bottom of a 7-inch springform pan. And set aside.
Step 2: Make the Rice Krispy Treat Crust
Add half the butter to a heavy-bottomed saucepan. Melt over medium-high heat. Then, mix in 21 marshmallows, reduce the heat to low, and stir until melted. Add several drops of red food coloring gel until you reach the desired color. Finally, add 3 cups of Rice Krispies and stir until combined.
Press the mixture into the bottom of the springform pan and use a spatula to even it out. Place in the freezer.
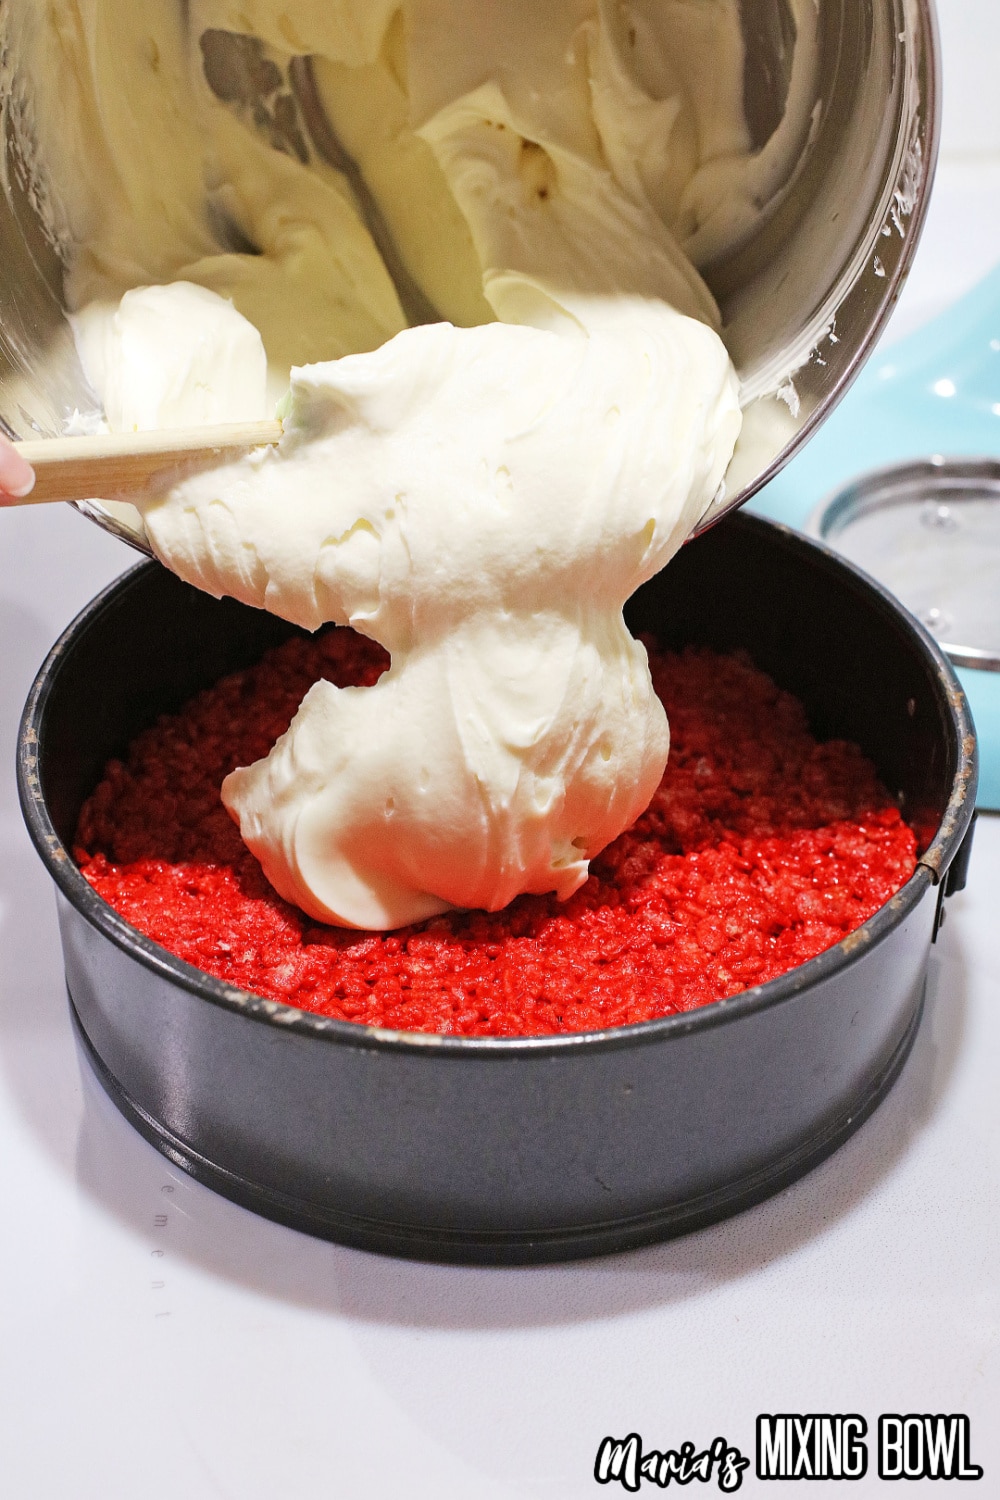
Step 3: Make the Cheesecake Filling
Whip heavy whipping cream in a stand mixer until stiff peaks form. Then, add the sugar, vanilla, and softened cream cheese. Mix again until all ingredients are completely blended and the cheesecake batter is thick, smooth, and creamy.
Step 4: Chill
Pour the batter on top of the Rice Krispies crust and place it back in the freezer for at least 4 hours or until the cheesecake layer is firm to the touch.
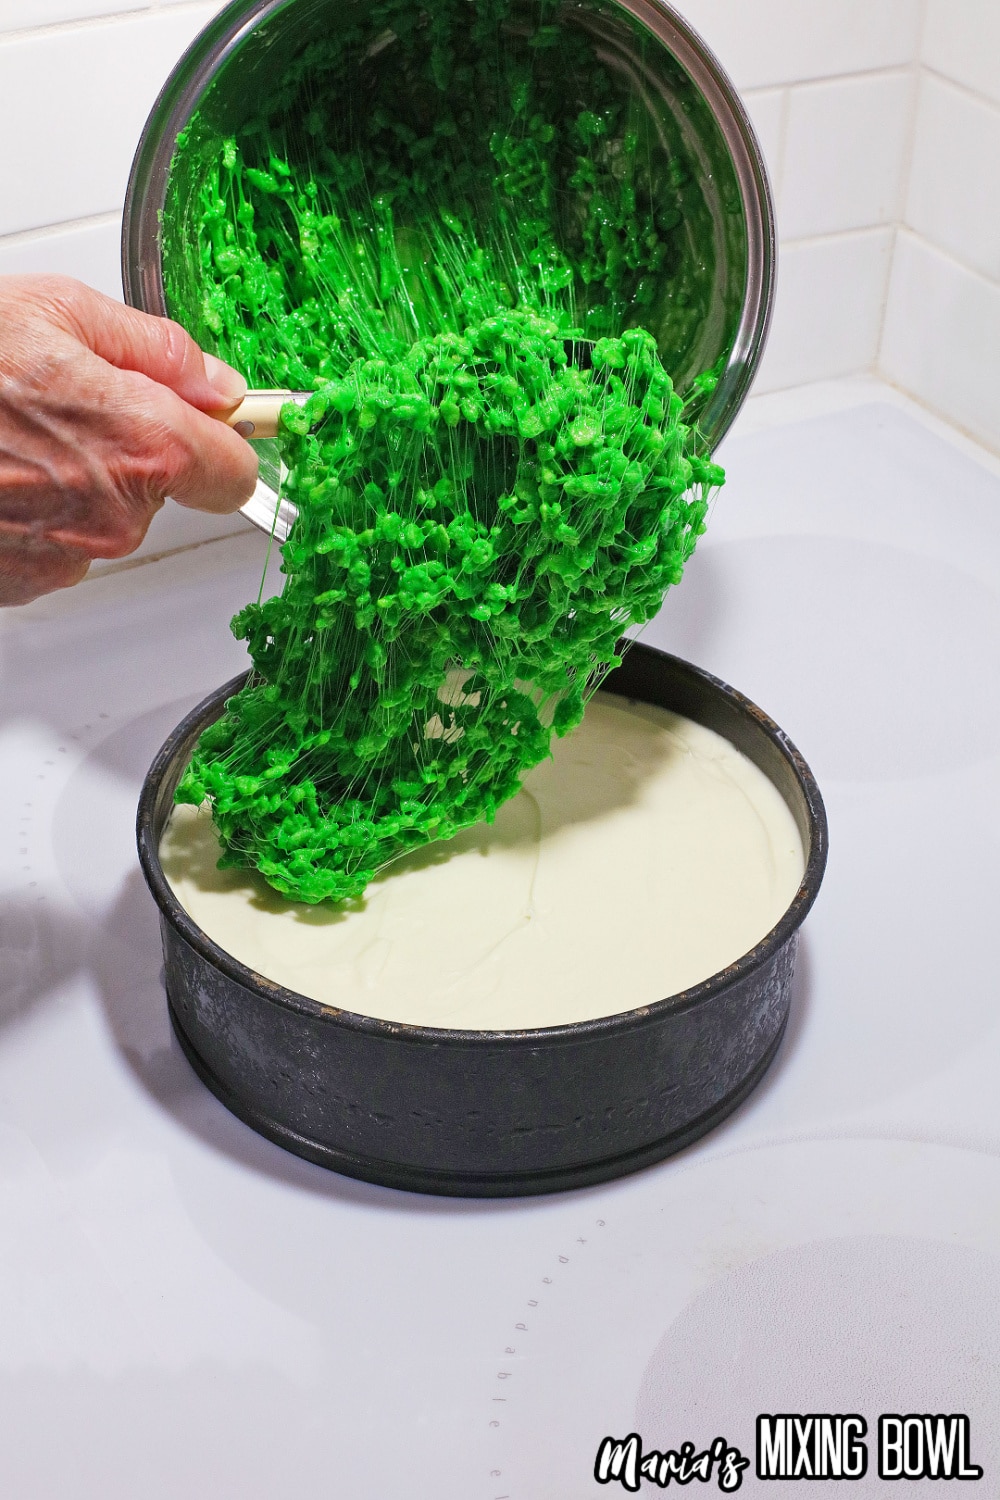
Step 5: Make The Rice Krispy Top
When the cheesecake is fully chilled, make another batch of Rice Krispies treats using green food coloring gel instead of red. Spread the mixture evenly over the top of the cheesecake mixture. Sprinkle generously with Christmas nonpareils and freeze overnight.
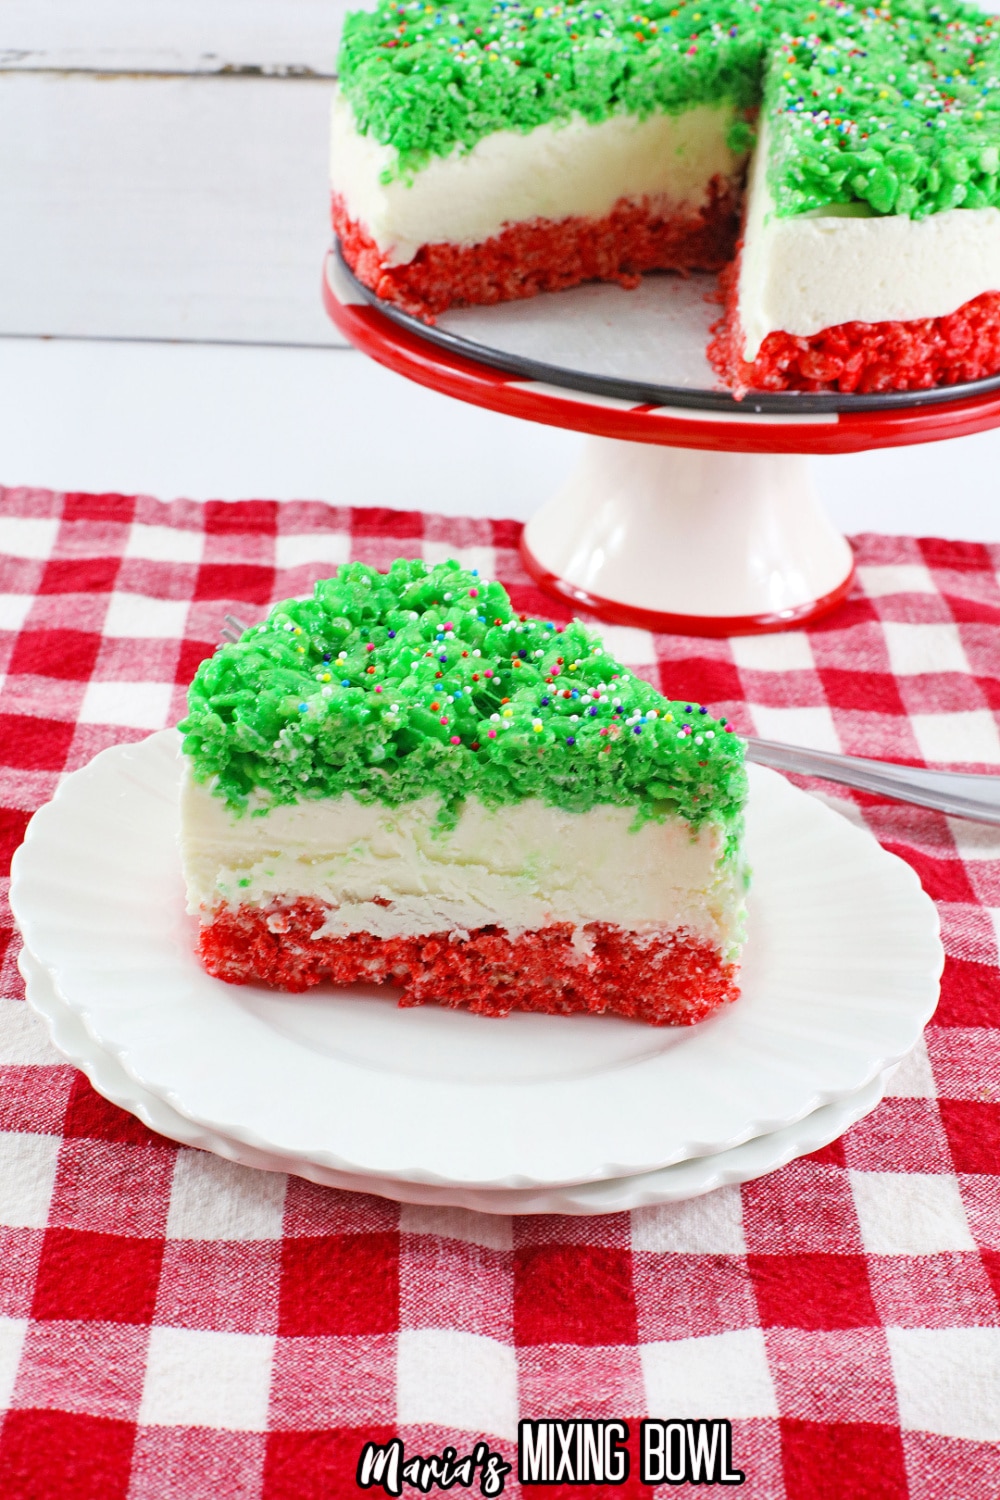
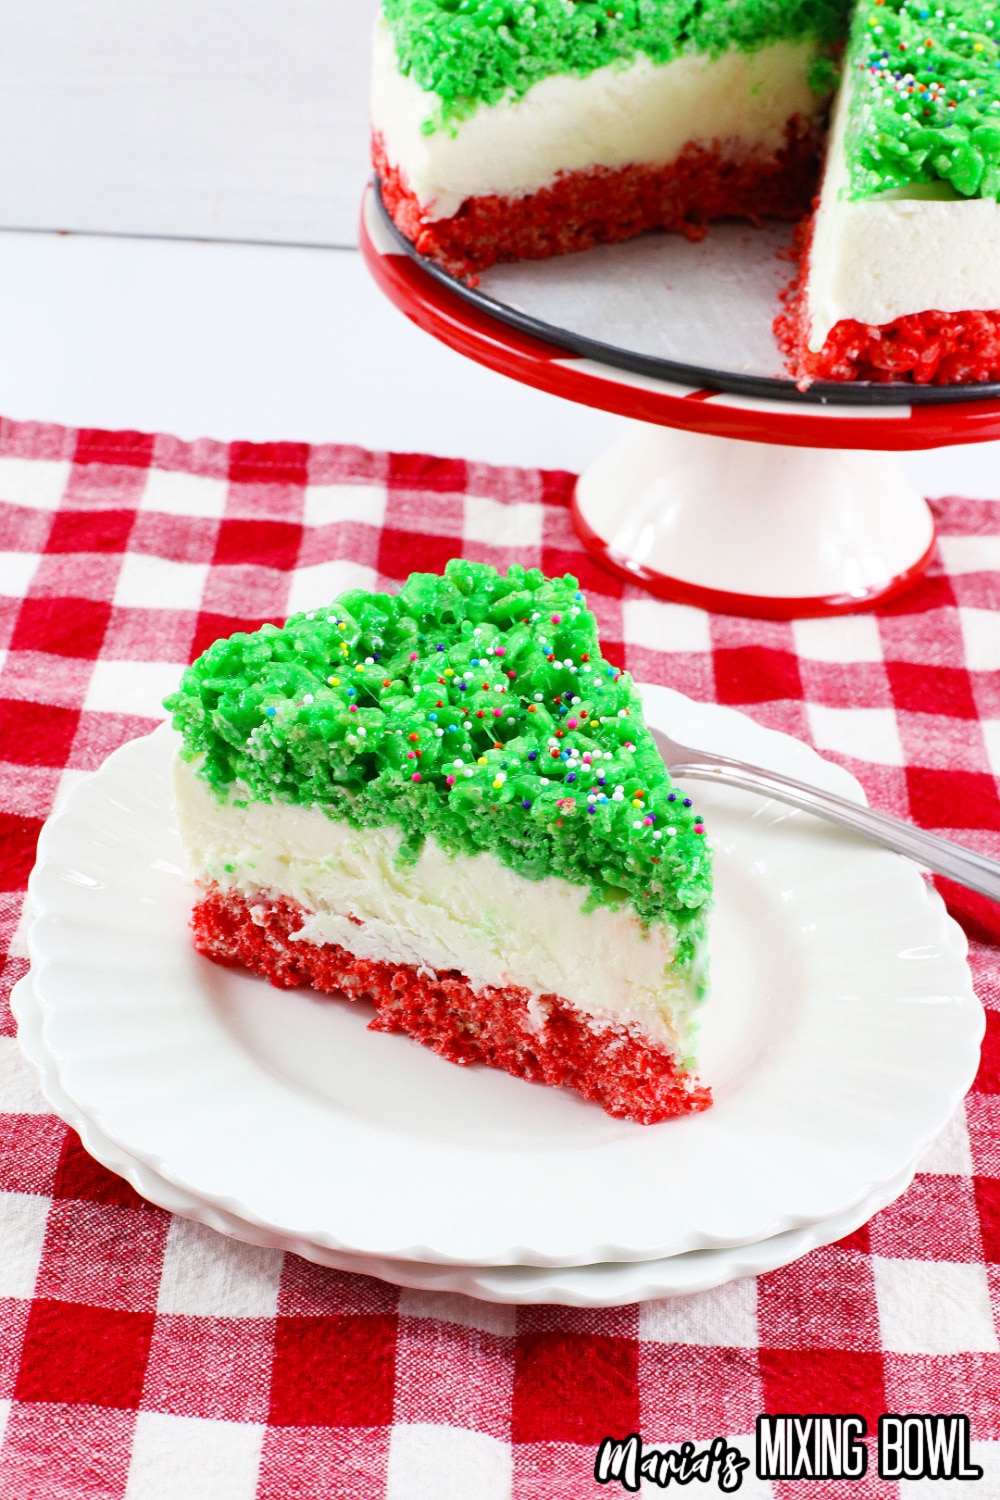
Step 6: Serve
Before serving, let the cheesecake sit at room temperature for about 15 minutes. Then, remove the springform from the pan. Cut the cheesecake into 2 to 3-inch pieces and enjoy!
📝Variations
Do you want to change up this recipe and make it your own? Here are some ways that you can do that!
- For a sweet and salty flavor, try using Chex Mix in place of Rice Krispies.
- Spray a baking dish with nonstick spray and make this recipe in the dish for cheesecake bars.
Check out our other layered cheesecake, hot cocoa cheesecake!
🥄 Equipment
You only need a few basic pieces of kitchenware to make this recipe.
- Measuring cups and spoons
- Stand mixer
- Springform pan
- Spatula
- Parchment paper
🥫 Storage
Store this cheesecake covered in the freezer for up to 1 month.
💭 Tips
This is a relatively simple recipe, but we do have some tips to help you make it the best it can be.
- Fully soften your cream cheese to avoid a lumpy batter.
- Be sure to fully chill your layers before adding additional layers. This keeps the layers uniform and neat.
- Alway melt your marshmallows on low heat and stir continuously to avoid scorching.
- For easy slicing, run your knife under hot water, then dry. The heated knife will cut right through the cheesecake!
⁉️ FAQ
Do you have questions about this recipe? Here are the answers to the most commonly asked questions.
After about a month, moisture begins to make crystals in the cheesecake, creating a grainy texture.
Place it in an air-tight, freezer-safe container and freeze for up to a month.
If you didn’t adequately chill your layer, the next layer probably smushed into it and moved it around.
🍽 More Recipes
Do you enjoy cheesecake? Then try these delicious recipes:
📌 PIN IT!!
🧾Recipe Card
Want to make this recipe? Print the recipe card below, or pin this recipe, so you can find it later.
Christmas Rice Krispy Crust Cheesecake
Equipment
- Measuring Cups and Spoons
- Stand mixer
- Springform pan
- Spatula
- parchment paper
Ingredients
Rice Krispies Crust
- 12 ounces Marshmallows
- 12 ounces Rice Krispies Cereal
- 3 Tablespoons Butter divided
- Christmas Red Food Coloring Gel
- Christmas Green Food Coloring Gel
For the Cheesecake
- ½ cup Heavy Whipping Cream
- 1 cup Sugar
- 1 teaspoon Vanilla
- 16 ounces Cream Cheese softened
- Nonpareils – assorted colors or Christmas mix if desired
Instructions
- Cut the Parchment paper to fit the bottom of the Spring-form pan, and line the bottom of the pan with the Parchment paper, and set aside.
- In a heavy bottomed Sauce Pan, add half of the Butter, or 1 1/2 Tablespoons, and with the heat on medium high, melt the butter in the pan.
- Count out 21 Marshmallows, and when the Butter is melted, add the Marshmallows to the pan, and stir well, to coat the Marshmallows in the melted Butter. Turn the heat to low, and melt the Marshmallows.
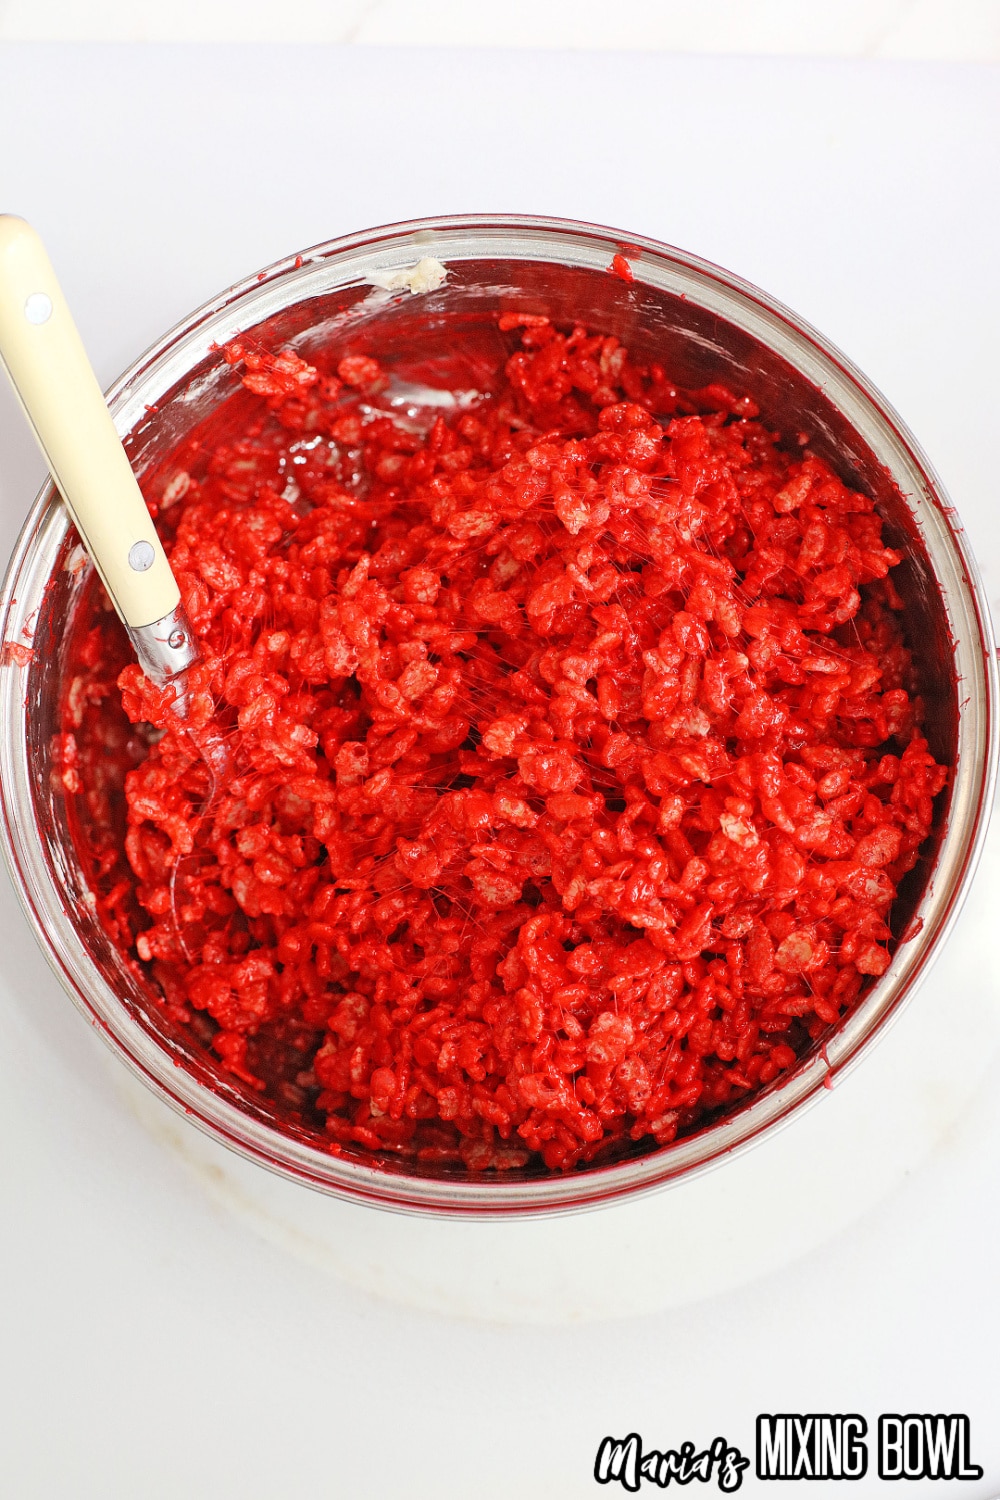
- When the Marshmallows are completely melted, add several drops of the Red Food Coloring Gel, and stir well to make sure all the melted Marshmallows are Christmas Red – add more Food Coloring Gel until you have a bright Red Color. Measure out 3 cups of The Rice Krispies Cereal, and add to the Pan.
- Stir well to blend and coat the Cereal in the Red Marshmallow mixture.
- Press the Krispies/Marshmallow mixture into the bottom of the Spring-form pan, using a large Spatula, and make sure the layer is even, and all the way to the edges of the pan.
- Place the Pan in the Freezer.
- In the mixing bowl of a stand mixer, add the whipped Cream, and whip until stiff peaks form.
- Turn off the mixer, and add the Sugar, Vanilla, and softened Cream Cheese.
- Mix until all ingredients are completely blended, and the Cheesecake batter is thick, smooth, and creamy.
- Remove the pan from the Freezer, and pour the Cheesecake on top of the Red layer of Krispies crust.
- Place the pan back in the Freezer for at least 4 hours, or until the Cheesecake is firm to the touch.
- When the Cheesecake has set, and is firm to the touch, make the top crust.
- In a heavy bottomed Sauce Pan, add half of the Butter, or 1 1/2 Tablespoons, and with the heat on medium high, melt the butter in the pan.
- Count out 22 Marshmallows, and when the Butter is melted, add the Marshmallows to the pan, and stir well, to coat the Marshmallows in the melted Butter.
- Turn the heat to low, and melt the Marshmallows.
- When the Marshmallows are completely melted, add several drops of the Green Food Coloring Gel, and stir well to make sure all the melted Marshmallows are Christmas Green – add more Food Coloring Gel until you have a bright Green Color.
- Measure out 3 cups of The Rice Krispies Cereal, and add to the Pan. Stir well to blend and coat the Cereal in the Green Marshmallow mixture.
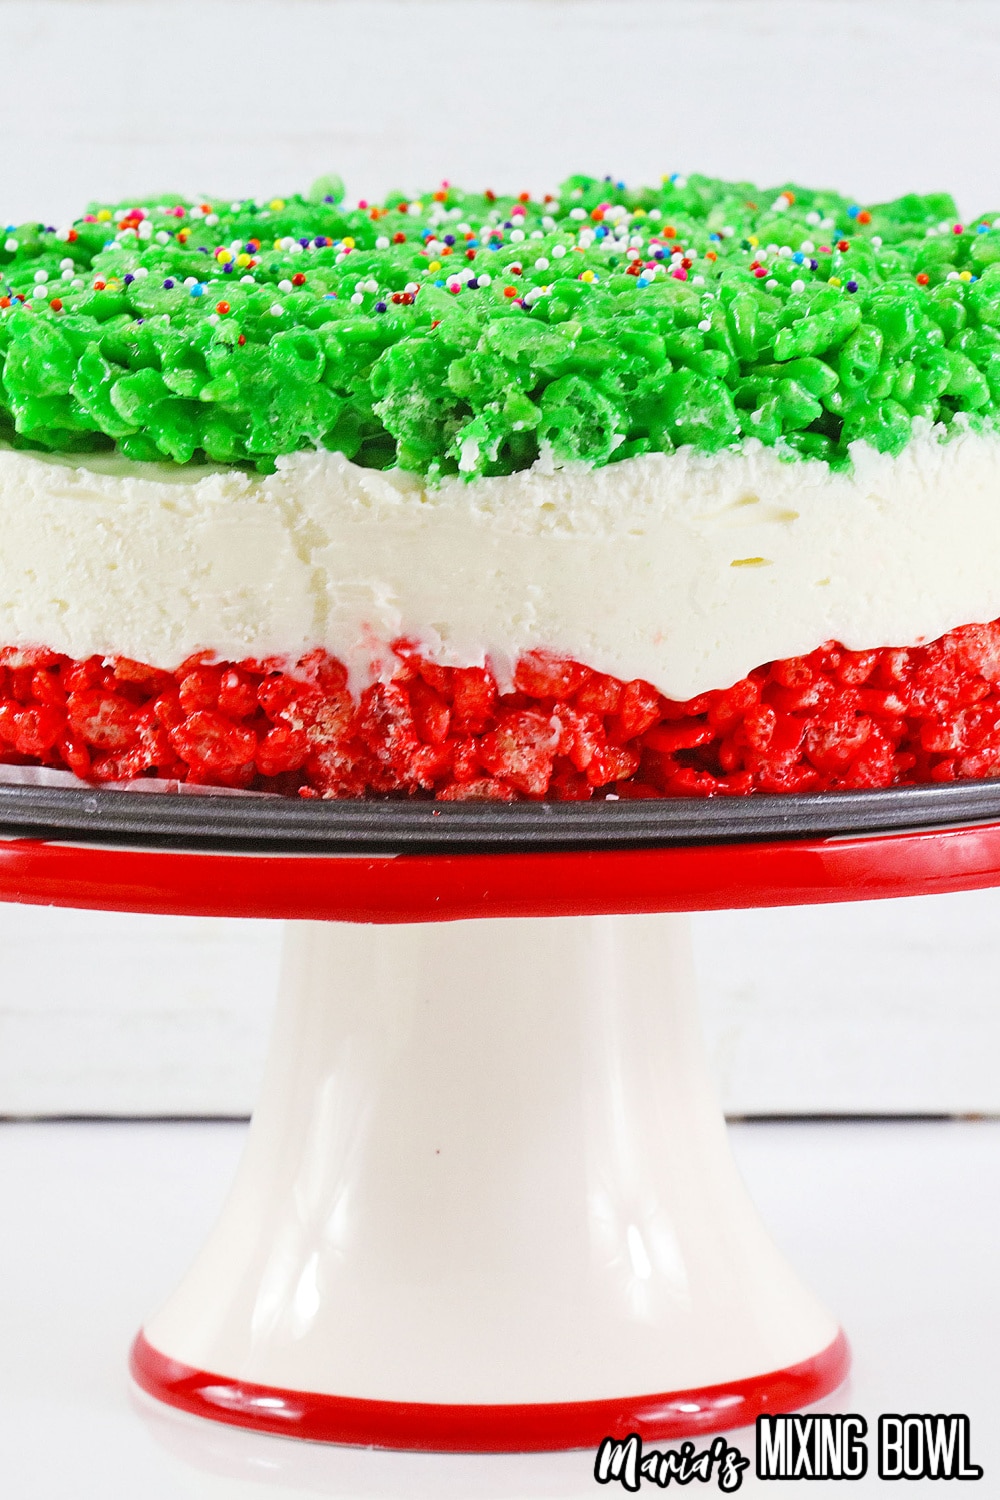
- Pour or spoon the Krispies/Marshmallow mixture on top of the Cheesecake layer, and spread the Green Krispies out to the edge of the Spring-form pan, using a large Spatula, and make sure the layer is even, and all the way to the edges of the pan.
- This should fill the pan to the top.
- Sprinkle generously with the Nonpareils.
- Place the pan back in the freezer, and leave overnight for best results.
- Before serving, remove the cheesecake from the Freezer, about 15 minutes before cutting.
- Remove the Spring form from the pan, and using a large sharp knife; run the knife under hot water, and dry.
- Cut the Cheesecake in 2 – 3 inch pieces with the warm knife, and place pieces on dessert plates.
- Serve, and Enjoy!
Notes
Disclaimer
Any nutritional data I provide is an approximation and actual dietary information can vary based on ingredients and proportion sizes.


