Hot Cocoa Cheesecake
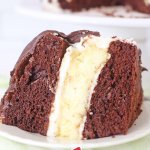
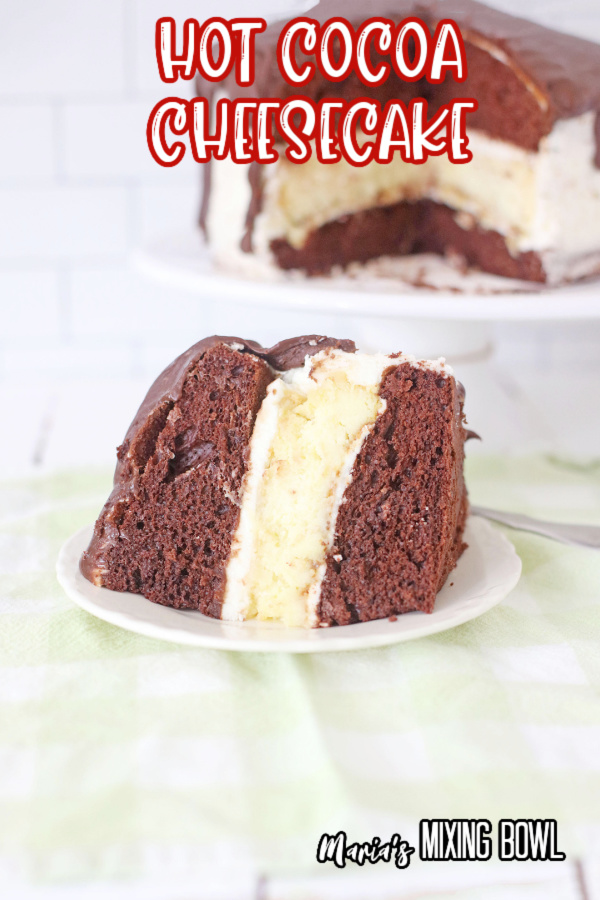
Hot Cocoa Cheesecake is a delicious layered cake featuring a layer of cheesecake nestled between two layers of hot cocoa chocolate cake and covered in buttercream frosting and ganache.
We love cake. We also love cheesecake. They’re both classic desserts, and they’re both so rich and delicious. Over the years, we’ve made so many variations of both cake and cheesecake that we started to run out of ideas. Then it came to us. Put them together! And that’s just what we did? The results? A dessert like you’ve never had before.
This Hot Cocoa Cheesecake is absolutely delicious! It’s really easy to make, but looks like a Professional Baker did all the work! The layers are so moist, and the Butter cream Frosting topped with Chocolate Ganache is just wonderful. This is stunning to serve, and everyone is going to love all the flavors that come together and melt in your mouth. Make sure to keep this one in your favorites!
Hot Cocoa Cheesecake
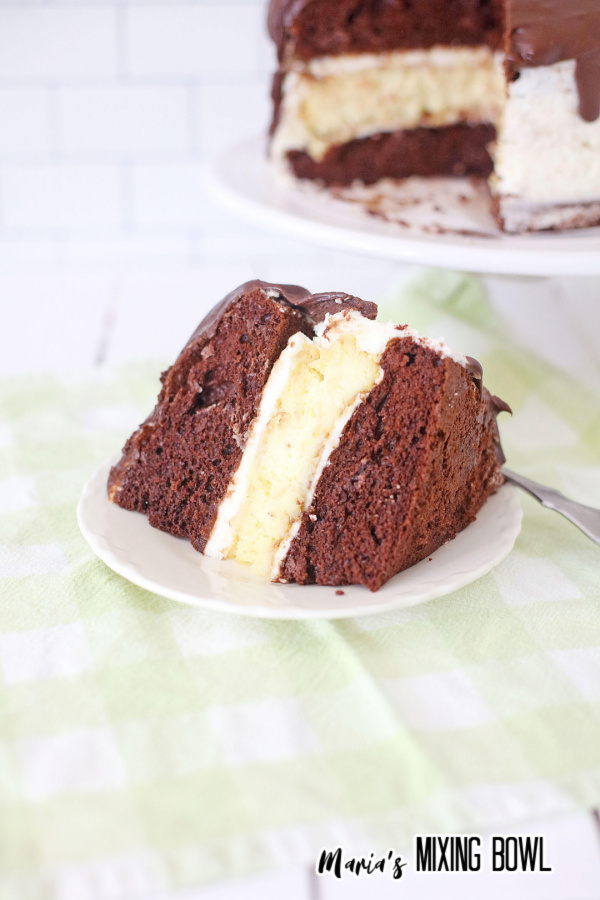
This hot cocoa cheesecake combines classic cheesecake with rich chocolate cake. It’s not just any chocolate cake, though. Oh, no. This chocolate cake has hot cocoa added for an even richer chocolate flavor. We layer a base of chocolate cake, a middle cheesecake layer, and a top chocolate cake layer. Then, we frost the entire thing with buttercream frosting and poured a healthy layer of ganache over the entire thing. It’s one of the richest desserts we’ve ever made, and we think you and your family are going to love it.
Ingredients
Although this recipe is semi-homemade because of the cake mix, the other ingredients are very simple. You’ll find most of them in your kitchen already, and the rest are easily found at your local grocery store.
For the Cake
- Milk chocolate cake mix
- Eggs
- Oil
- Hot cocoa made with milk, not water
For the Cheesecake
- Cream cheese – softened
- Sugar
- Heavy cream
- Vanilla
- Eggs
- Sweetened condensed milk
For the Buttercream Frosting
- Butter – softened
- Cream cheese – softened
- Powdered sugar
For the Ganache
- Ghirardelli milk chocolate chips
- heavy cream
- Butter
**See the recipe card at the end of the post for quantities.
Instructions
When you look at all the moving parts of this cake, you might think it’s a difficult recipe, but it’s actually very easy to make. It takes a few steps, but when you break them down, they’re very simple.
Step 1: Prep
Measure out all of your ingredients and set your butter and cream cheese on the counter to soften. preheat the oven to 350 degrees. Then, grease two 8 or 9-inch cake pans with butter. “Flour” the the pans with 2 tablespoons of cake mix.
Step 2: Make the Cake
Combine cake mix, eggs, oil, and hot cocoa made with milk. Mix on medium high speed with a hand or stand mixer for 2 minutes. Then, pour the cake mix into the pans, dividing the batter equally between the two. Bake for 20 – 25 minutes or until a toothpick inserted into the center come out clean.
Next, remove the cake pans from the oven and place them on a wire rack for 10 minutes. Then, turn the cakes out onto a wire rack to cool completely.
Step 3: Make the Cheescake
Line the bottom of a 7-inch spring-form pan with parchment paper. Combine the softened cream cheese, sugar, heavy cream, vanilla, and eggs and mix all ingredients until blended. Scrape down the sides of the bowl and mix again until just blended.
Place a small dish of water on the bottom rack of the oven, directly under where the spring-form pan will be. Pour the cheesecake batter into the pan and place it in the oven. Bake for 20 minutes at 350 degrees. Then, turn the temperature down to 300 degrees and finish baking for 45 minutes. Turn off the oven and leave the cheesecake in it for another 15 minutes. Finally, remove the cheesecake from the oven and place the pan on a wire rack to cool completely.
Step 4: Make the Frosting
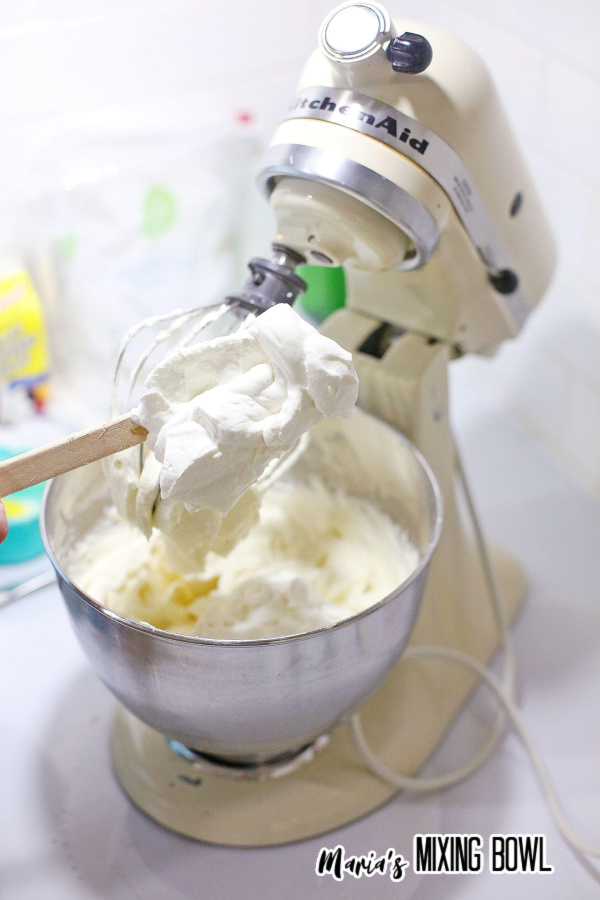
While the cheesecake cools, mix the butter and cream cheese until smooth and creamy. The, add the powdered sugar, a little at a time, mixing until all the powdered sugar is added. Mix until completely smooth.
Step 5: Construct the Cake
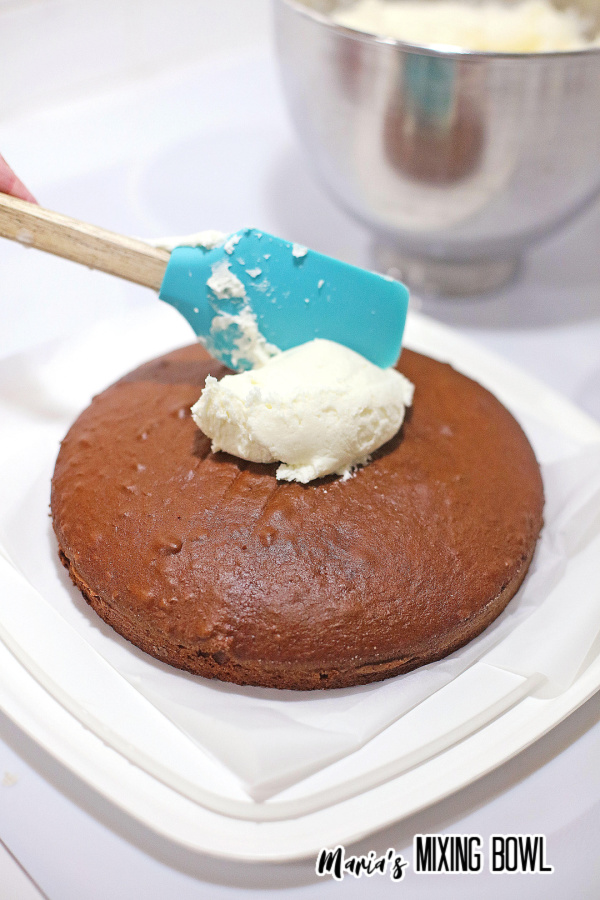
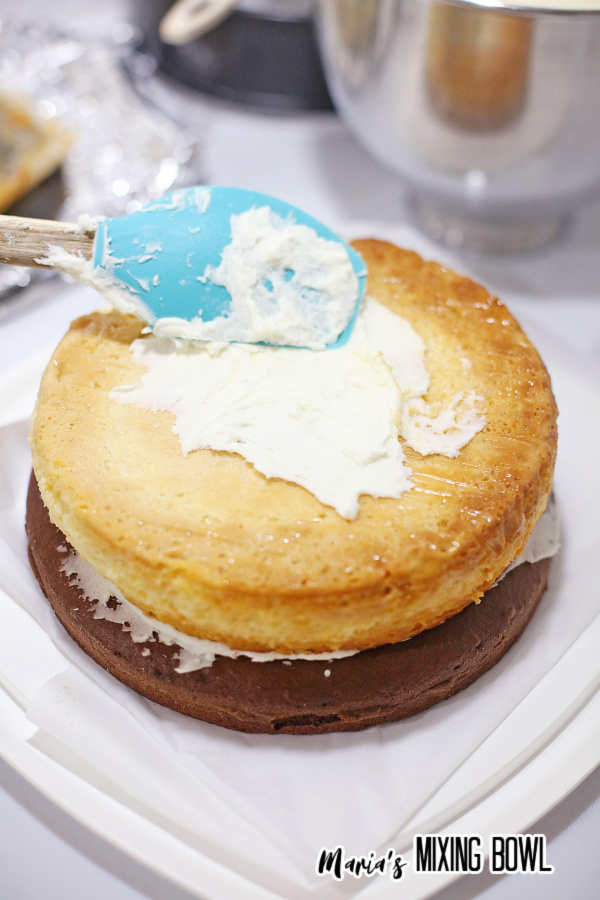
Spread a small amount of frosting on the center of a cake stand or cake plate. Then, place one of the cakes top side down onto the frosting. Frost the top of the cake with frosting, then place the cooled cheesecake on top. Next, frost the cheesecake and add the other chocolate cake on top of it, top side up.
Frost the top and sides of the cake in a rustic manner until the entire cake is covered. A rustic frosted look is one that isn’t perfect but frosted as smooth as possible. Place the cake in the refrigerator.
Step 6: Make the Ganache
In a medium bowl, add the milk chocolate chips and heavy cream. Place it in the microwave and heat at 15-second intervals, stirring between each interval. If the chocolate becomes thick, add a little more heavy cream and stir until smooth. Continue in this manner until the chocolate is melted.
After the chocolate and heavy cream are melted, add the butter and stir well until blended and the chocolate is smooth and shiny.
Step 7: Finish the Cake
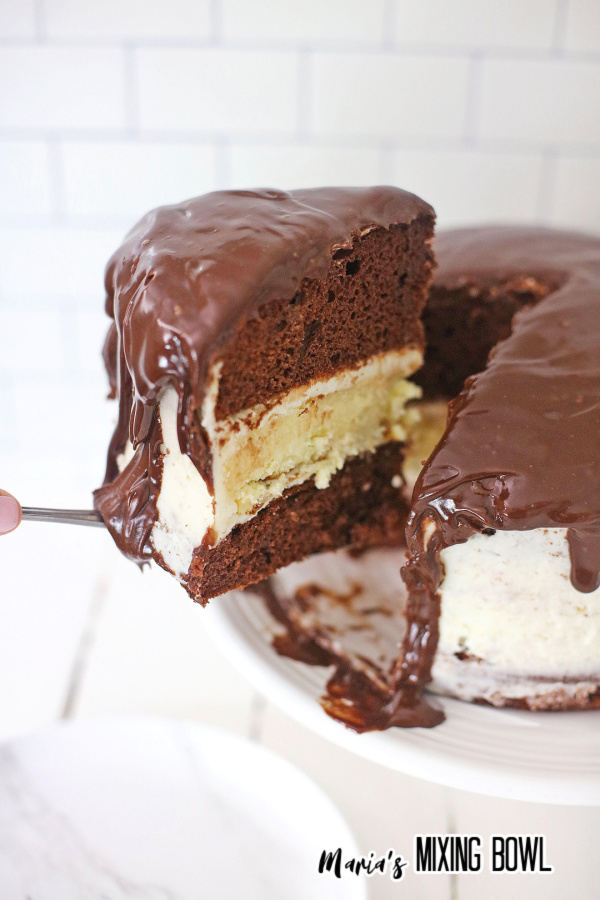
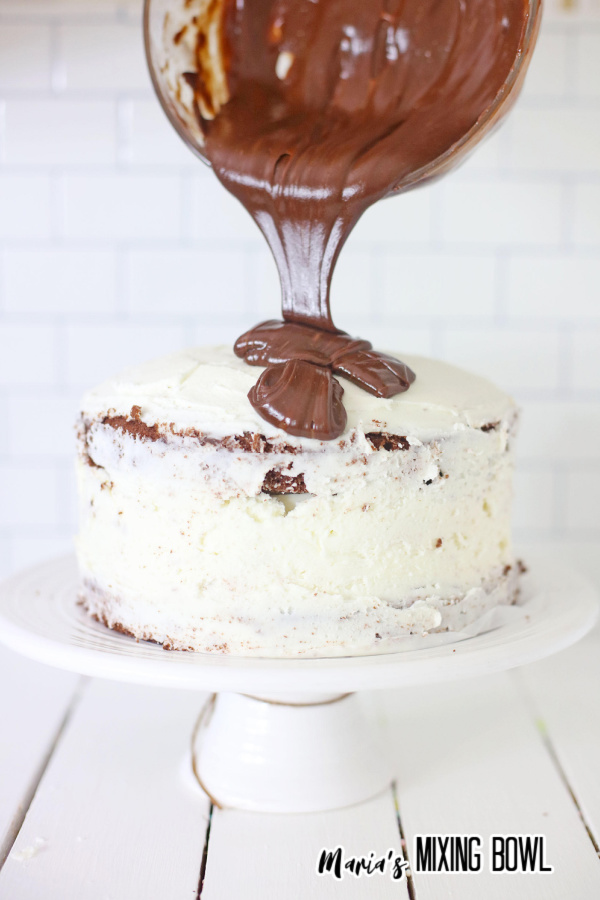
Remove the cake from the refrigerator and pour the ganache over the top of the cake, coating the top and letting it run down the edges. Place the cake back in the refrigerator and chill overnight.
Hint: Always make your hot cocoa with milk instead of water to keep the cake rich.
Hot Cocoa Cheesecake Storage
This cake will keep in the refrigerator covered for about a week.
Tips
Take a look at the following tips to ensure that you make the best possible hot cocoa cheesecake. These are simple tips, but they make a big difference.
Fully Softened Butter and Cream Cheese: To ensure the best texture and that you have no lumps in your frosting, always make sure both your butter and cream cheese are fully softened.
Use Quality Chocolate: Only use high-quality chocolate when making your ganache. It’s the final touch on your cake, and you want it to be as delicious as possible.
Use a Hand and Stand Mixer: This recipe requires a lot of mixing. To ensure that everything incorporates well and that your arm doesn’t fall off, use a hand or stand mixer.
More Cake Recipes
If you enjoy making cakes, we have some recipes here that we think you’ll love.
Chocolate Cake with Peanut Butter Frosting
Slow Cooker Raspberry Zinger Cake
Old Fashioned Humming Bird Cake
PIN IT!!

FAQ
If you have questions about this hot cocoa cheesecake, then we have answers. The following FAQ answers all the most common questions about this recipe.
How long is this cake good?
This cake will last for up to a week in the refrigerator.
Can I freeze this cake?
We don’t recommend freezing this cake.
Why is my buttercream not smooth?
You might have used too much sugar in the recipe or didn’t soften the butter enough.
Why is my buttercream runny?
This usually happens from adding too much butter.
Why is the frosting sliding off the cake?
You didn’t let the cake fully cool. You can only frost a fully cooled cake because the heat from the cake will cause the frosting to begin to melt and simply slide off of it.
Try This Hot Cocoa Cheesecake for Yourself
This hot cocoa cheesecake combines the flavors of rich, moist chocolate cake, sweet cheesecake, buttercream frosting, and a finishing touch of ganache. To say it’s decadent would be an understatement! The thing is, it looks super-advanced, but even beginners can make it. With a combo like that, you owe it to yourself to give it a try. Try this recipe, and we know you’ll love it as much as we do.
MORE RECIPES YOU WILL LOVE:
Cosmic Brownie Cheesecake
Rocky Road Cheesecake
Blueberry Muffin Cheesecake Pie
No Bake Strawberry Cheesecake Bars
Lemon Bar Cheesecake
Hot Cocoa Cheesecake
Ingredients
For the Cake:
- 1 Milk Chocolate Cake Mix
- 3 Eggs
- 1/2 cup Oil
- 1 Cup Hot Cocoa – instant mix will work fine, but make it with Milk, not water
For the Cheesecake:
- 3 8 oz. packages Cream Cheese – softened
- 1 1/2 cups Sugar
- 1/2 cup Heavy Cream
- 1 Tablespoon Vanilla Extract
- 3 Eggs
- 2 Tablespoons Sweetened Condensed Milk
Buttercream Frosting:
- 1 Stick Butter – softened
- 8 oz. Cream Cheese – room temp
- 1 32 ounce package Powdered Sugar
For the Ganache
- 1 package Ghirardelli Milk Chocolate Chips
- 1/2 cup Heavy Cream – more if needed
- 1 Tablespoon Butter
Instructions
For the Cake:
- Pre-heat the Oven to 350 degrees. Grease two 8 or 9 inch cake pans with Butter, and Place 2 Tablespoons of the Cake Mix in the pans, and 'FLOUR' the pans with the cake mix.
- In the mixing bowl of a stand mixer, add the Cake Mix, Eggs, Oil, and Hot Cocoa (Make the Instant Cocoa in the Microwave – make sure to make it with Milk, and not water). Mix the cake mix on Medium high speed for two minutes. Pour the cake mix into the pans, dividing the Batter evenly between the two pans.
- Bake for 20 – 25 minutes, or until a toothpick inserted in the center comes out clean. Remove the cake pans to a wire rack, and cool for 10 minutes. Turn the Cake Pans upside down on the wire rack, remove pans, and cool cakes completely.
For Cheesecake:
- Line the bottom of a 7 inch Spring-form pan with Parchment Paper.
- In the mixing bowl of a stand mixer, add the softened Cream Cheese, Sugar, Heavy Cream, Vanilla, and Eggs. Mix until all ingredients are blended. Scrape down the sides of the bowl, and mix again, just until blended.
- Place a small dish of water on the bottom rack of the oven, directly under the Spring-form pan.. Pour the Cheesecake batter into the Spring-form pan, and place in the oven at 350 degrees for 20 minutes.
- Turn the temperature down to 300, and finish baking for another 45 minutes. Turn off the oven, and leave the Cheesecake in the oven for another 15 minutes. Remove the Cheesecake from the oven, and place on a wire rack to cool completely. While the Cheesecake is cooling, make the Frosting…
For the Frosting:
- In the mixing bowl of a stand mixer, place the Butter, and Cream Cheese, and mix until smooth and creamy. Add the Powdered Sugar a little at a time, mixing between additions until all the powdered sugar is added. Mix until completely smooth. Then to assemble the cake…
- On a cake stand, or cake plate, spread a small amount of the Frosting right in the center, and place one of the Cakes, top side down on the Frosting. Frost the cake with the Frosting, and then place the cooled Cheesecake on top of the first layer of Chocolate cake.
- Frost the Cheesecake with the Frosting, and then add the other Chocolate Cake on top of the Cheesecake, top side up. Frost the Cake, top and sides, in a Rustic manner (rustic is not perfect, but iced as smooth as possible) Place the Cake plate/stand in the refrigerator.
Make the Ganache:
- In a medium bowl, add the Milk Chocolate Chips, and Heavy Cream.
- Place in the Microwave, and microwave at 15 second intervals, stopping every 15 seconds to stir the chocolate. If the Chocolate becomes thick, add a little more Heavy cream, and stir until smooth, and continue until the chocolate is completely melted. When the chocolate is melted completely, add the Butter, and stir well, until blended, and the chocolate is smooth and shiny.
- Remove the Cake/Cheesecake from the refrigerator, and pour the Ganache over the top of the Cake/Cheesecake, letting it run down over the edges, and coating the top. Place the Cake/Cheesecake back in the refrigerator, and leave overnight for best results.
- When time to serve, cut in 2 inch pieces, serve, and Enjoy! Serves 12-14.
Disclaimer
Any nutritional data I provide is an approximation and actual dietary information can vary based on ingredients and proportion sizes.


