No Bake Berry Lush

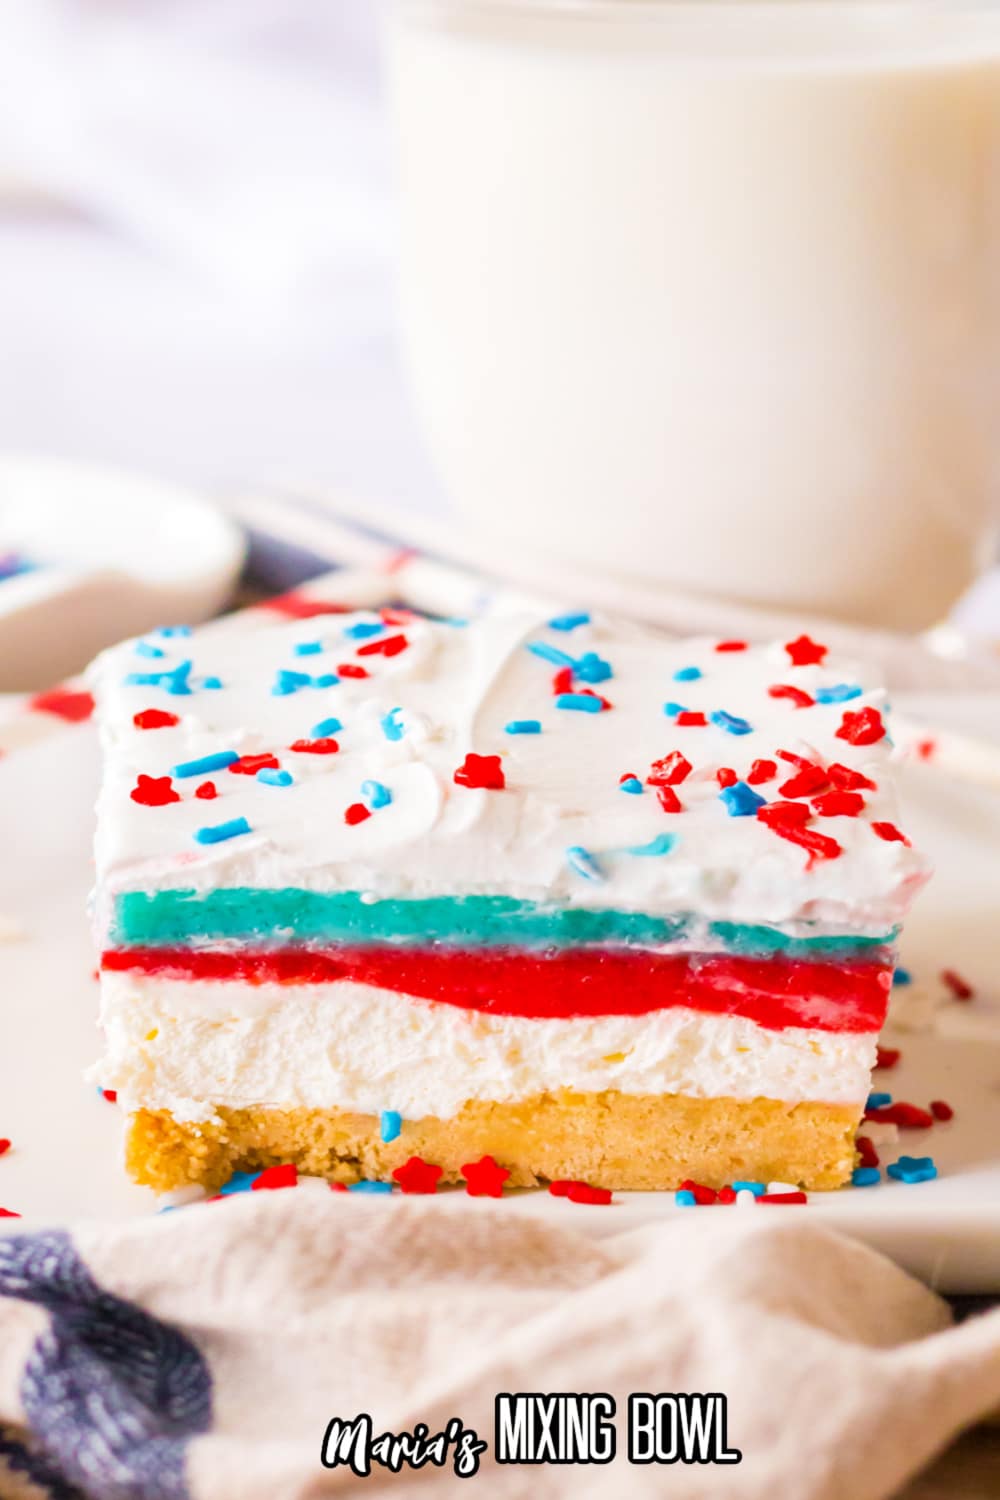
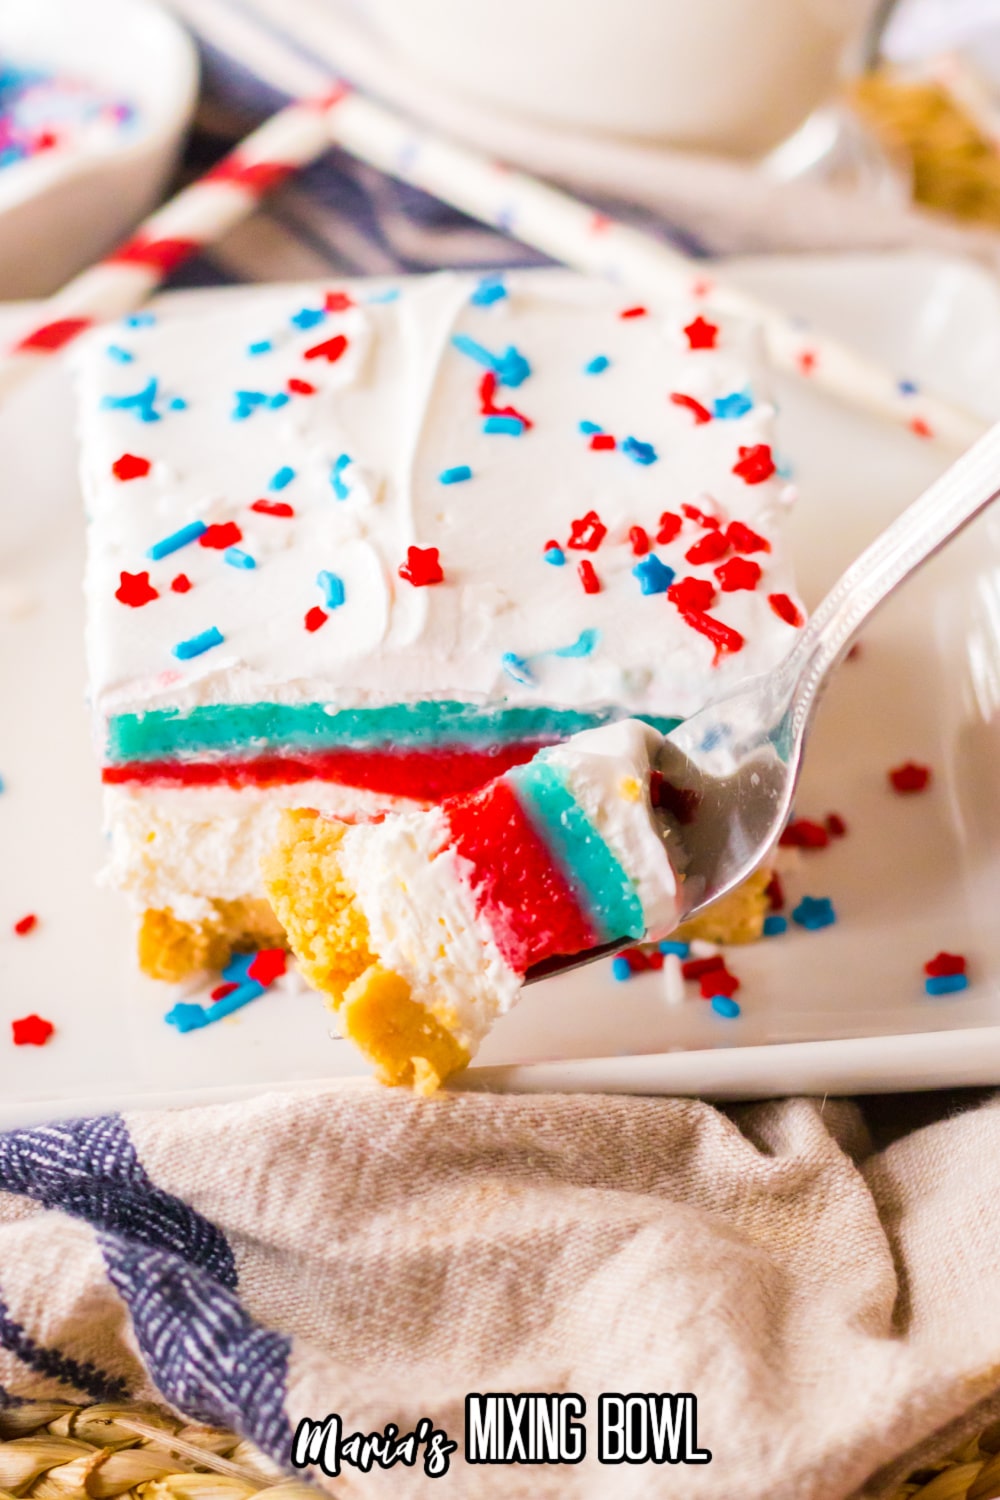
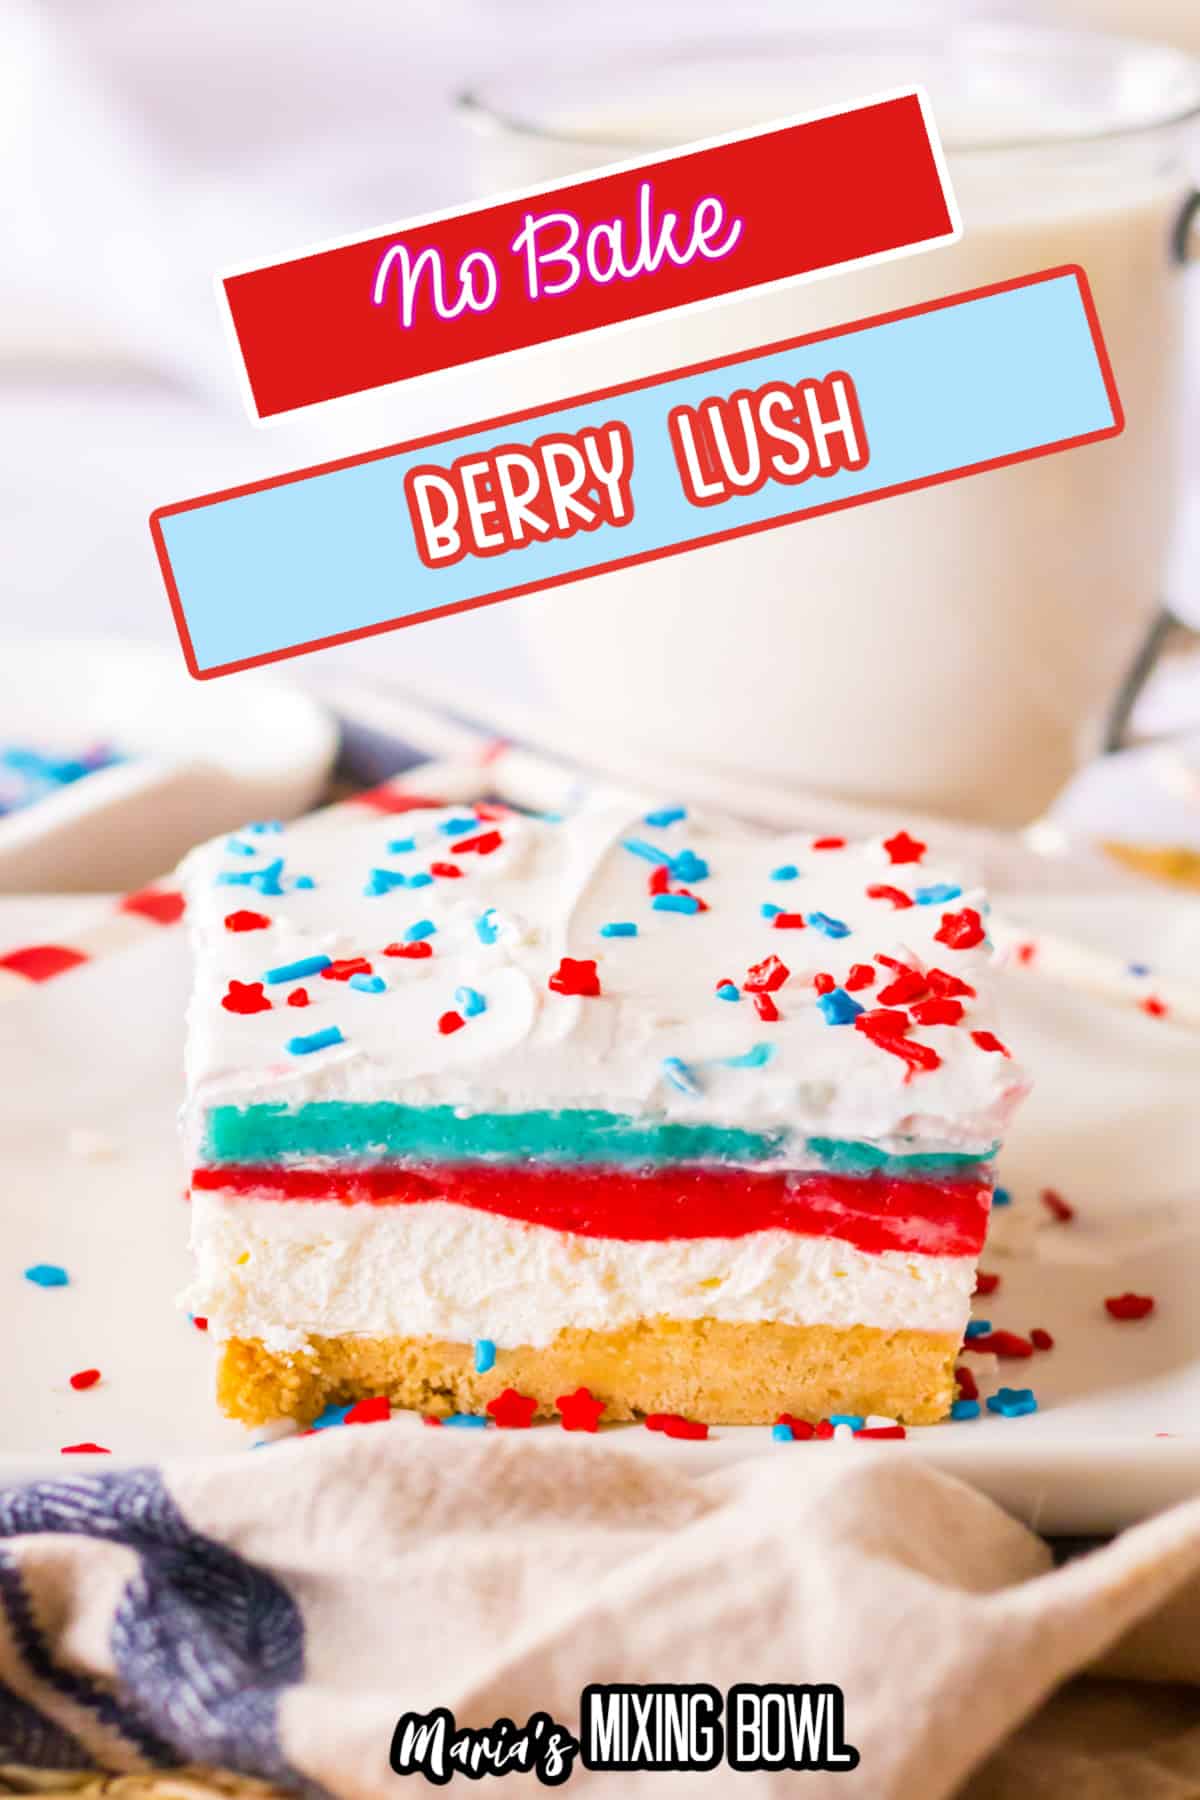
This No Bake Berry Lush is made with brightly colored layers that will add a beautiful flare to your dessert table. It’s the perfect summer dessert that is sure to impress. The creamy, tangy filling compliments the sweet and tart berry gelatin layers for a dessert that is truly irresistible.
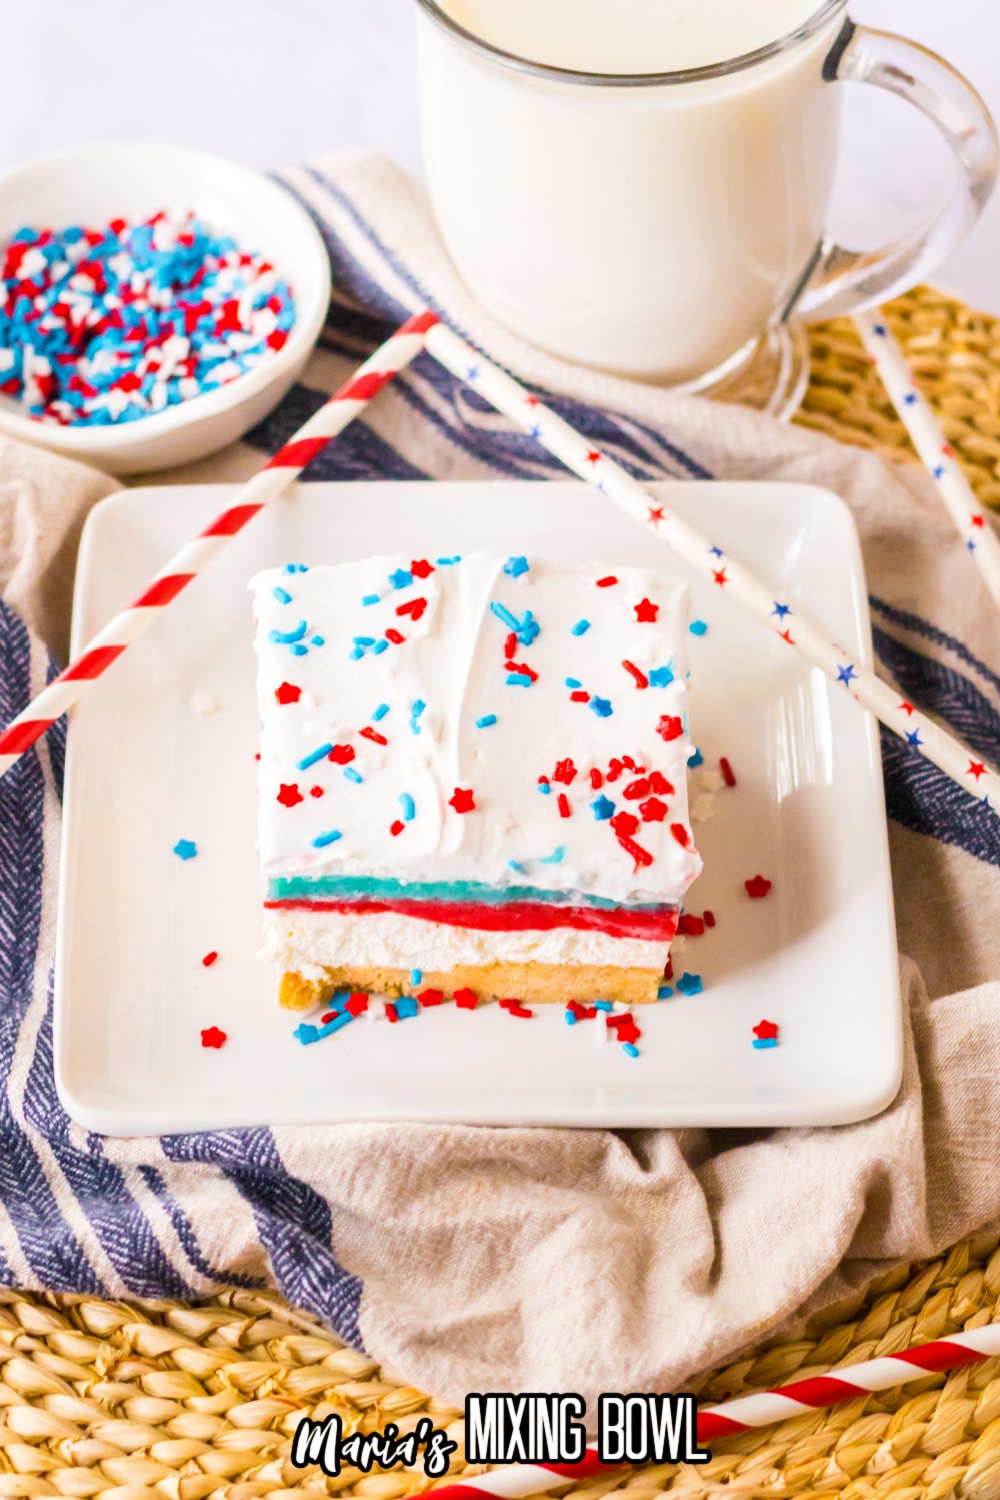
One of our favorite things about this simple dessert recipe is that the beautiful colors are perfect for the summer holidays! Plus, you don’t have to worry about turning on the oven and heating up the house on a hot summer day.
Table of contents
❤️ Why You’ll Love This Recipe
- This No Bake Berry Lush is an impressive, yet simple dessert that you can make ahead of time.
- It’s perfect for summer holidays and get-togethers as the beautiful colors and flavorful layers are sure to impress your guests!
- Plus, it’s easy to make without having to worry about heating up the house on a hot summer day.
🛒Ingredients
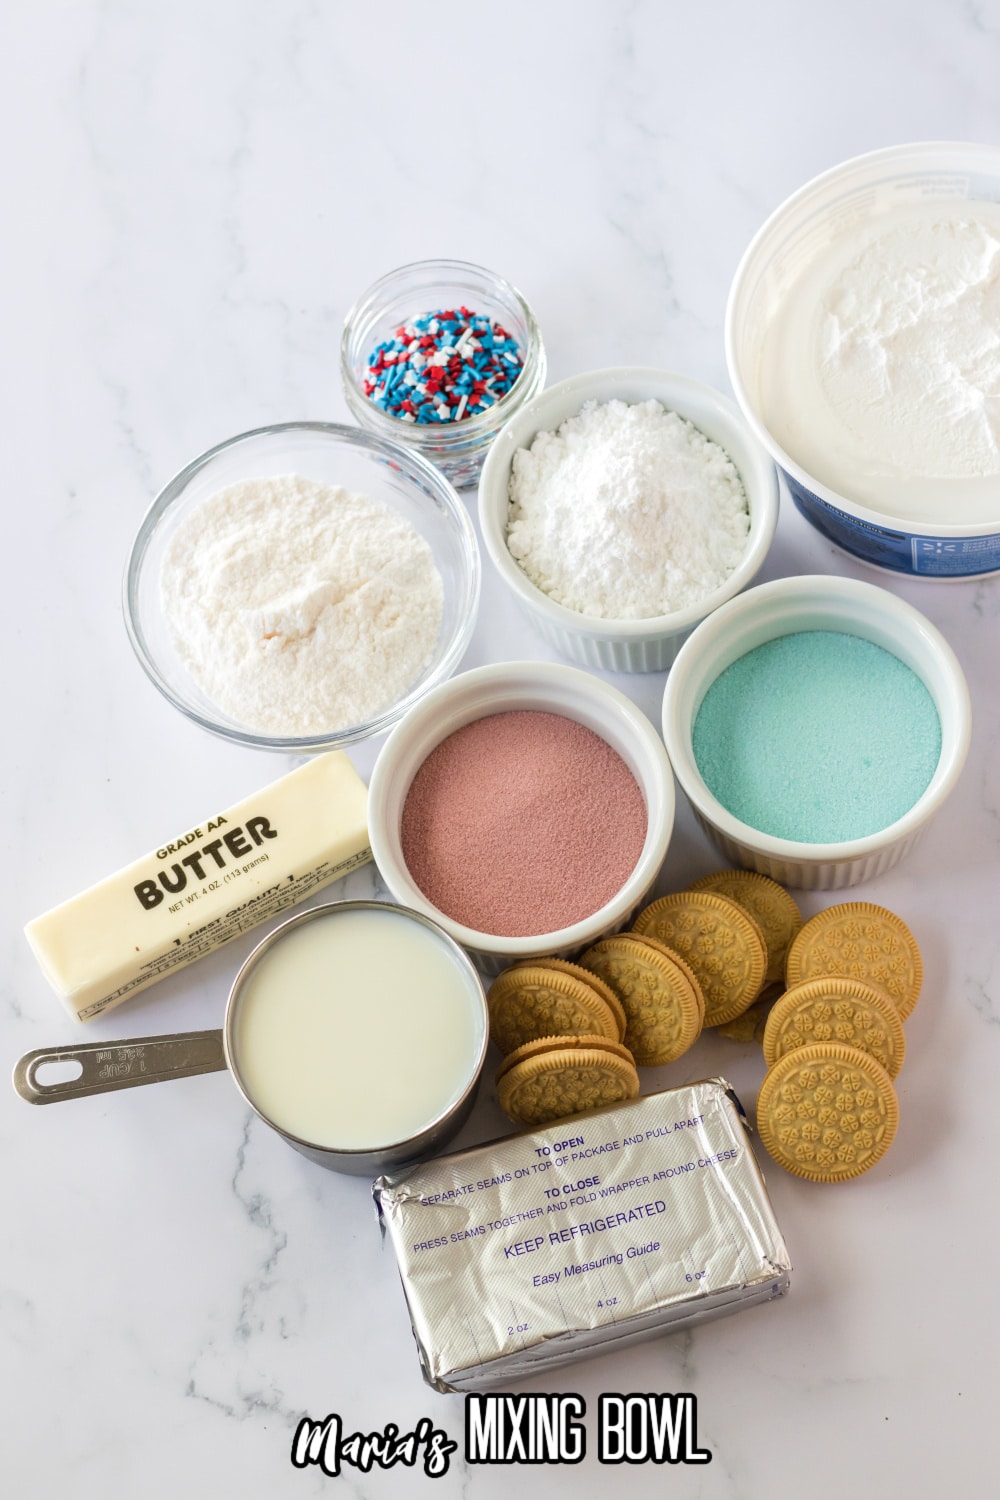
You will need a handful of basic ingredients to help you make this sweet treat. Gather these ingredients on your next trip to the grocery store so that you can enjoy this creamy dessert recipe.
- Golden Oreo cookies
- butter
- cherry jello
- blue raspberry jello
- boiling water
- vanilla instant pudding
- cold milk
- cream cheese
- powdered sugar
- whipped topping
- Red, White, and Blue sprinkles for garnish
See the recipe card below for quantities.
🔪 How to Make This No Bake Berry Lush
Making this delicious layered dessert is so easy. Just follow these step-by-step instructions and you will have a festive dessert that your friends and family will love in no time at all.
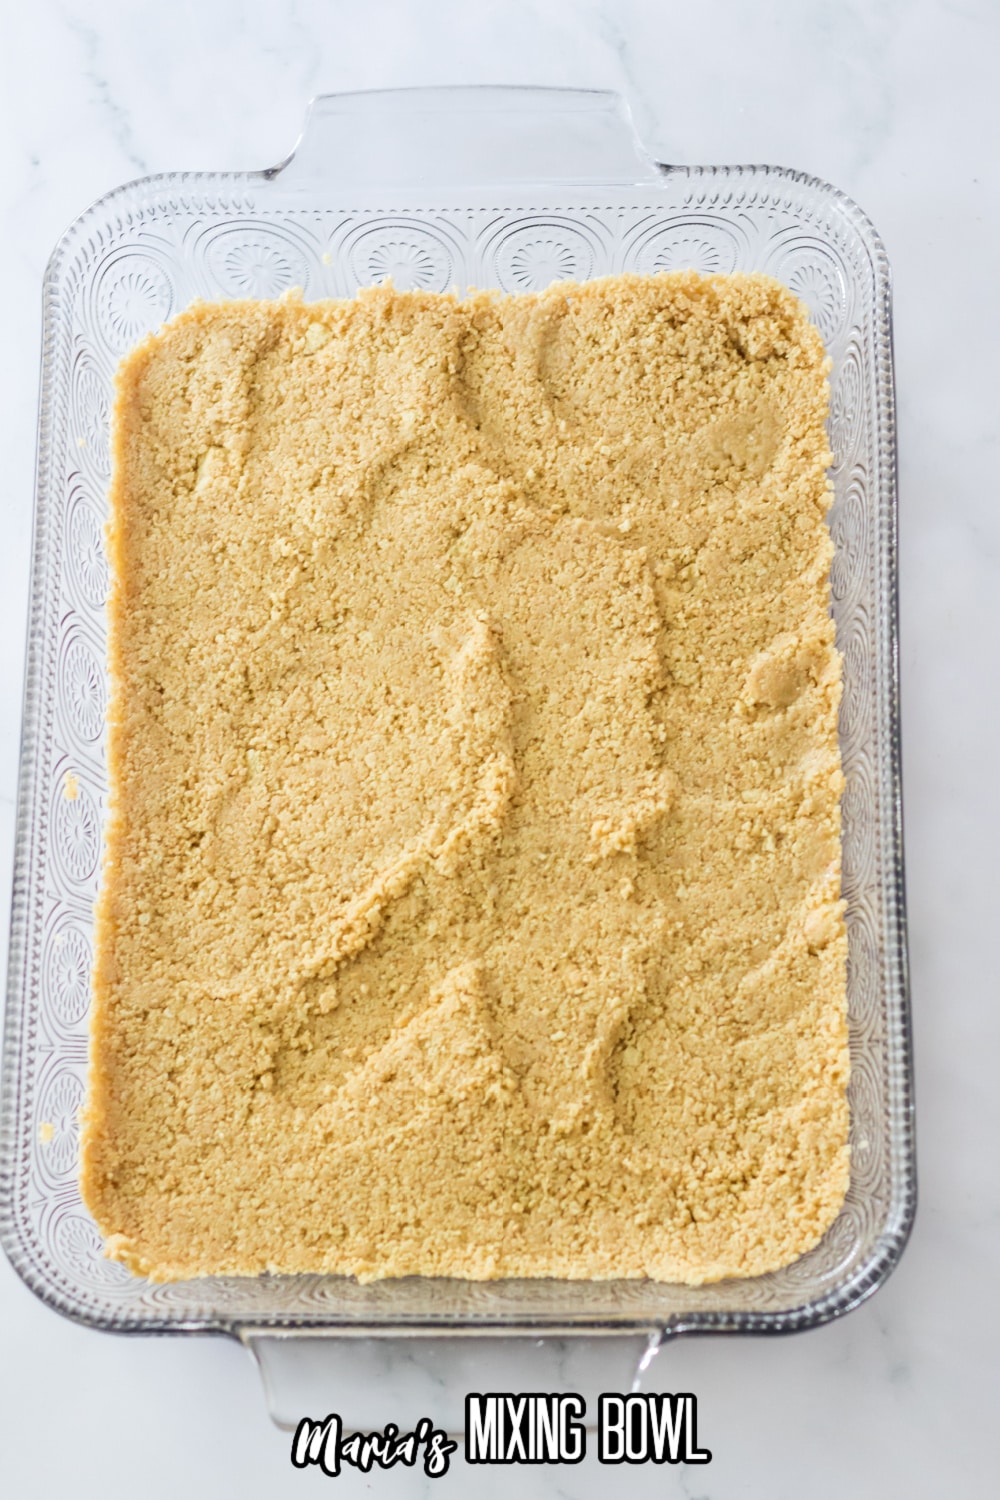
Step 1: Make the crust
In your food processor crush all the cookies into crumbs. And, then place the cookies into a large bowl and add the melted butter. Stir until well blended. Press the cookie crumbs into the bottom of a 9×13 glass baking dish.
Step 2: Make the gelatin layers
In a small bowl, place the cherry gelatin, and add ⅓ cup boiling water. Whisk together until combined and most of the gelatin is dissolved. Repeat with the blue gelatin.
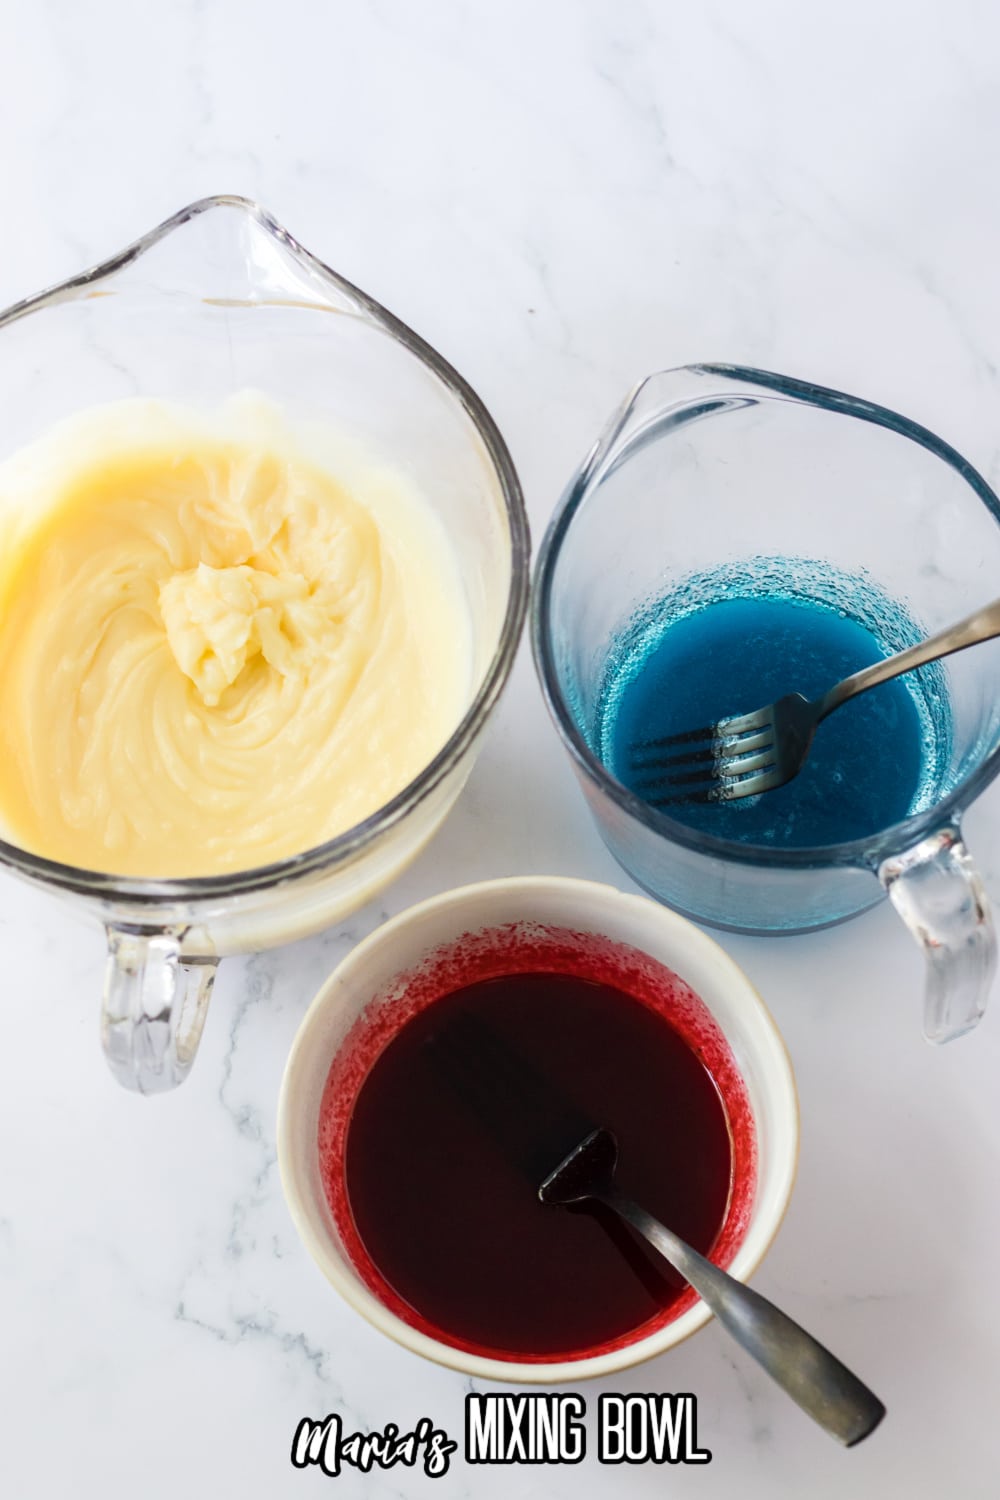
Step 3: Make the puddings
In a medium bowl, whisk together the dry pudding mixes and milk until combined. Whisk half the pudding mixture into the cherry gelatin and half the pudding mixture into the blue gelatin.
Step 4: Make the cream cheese layer
In a large bowl using an electric mixer combine the cream cheese and powdered sugar until smooth. And, then fold in 1 container of whipped topping. Spread over cookie crust.
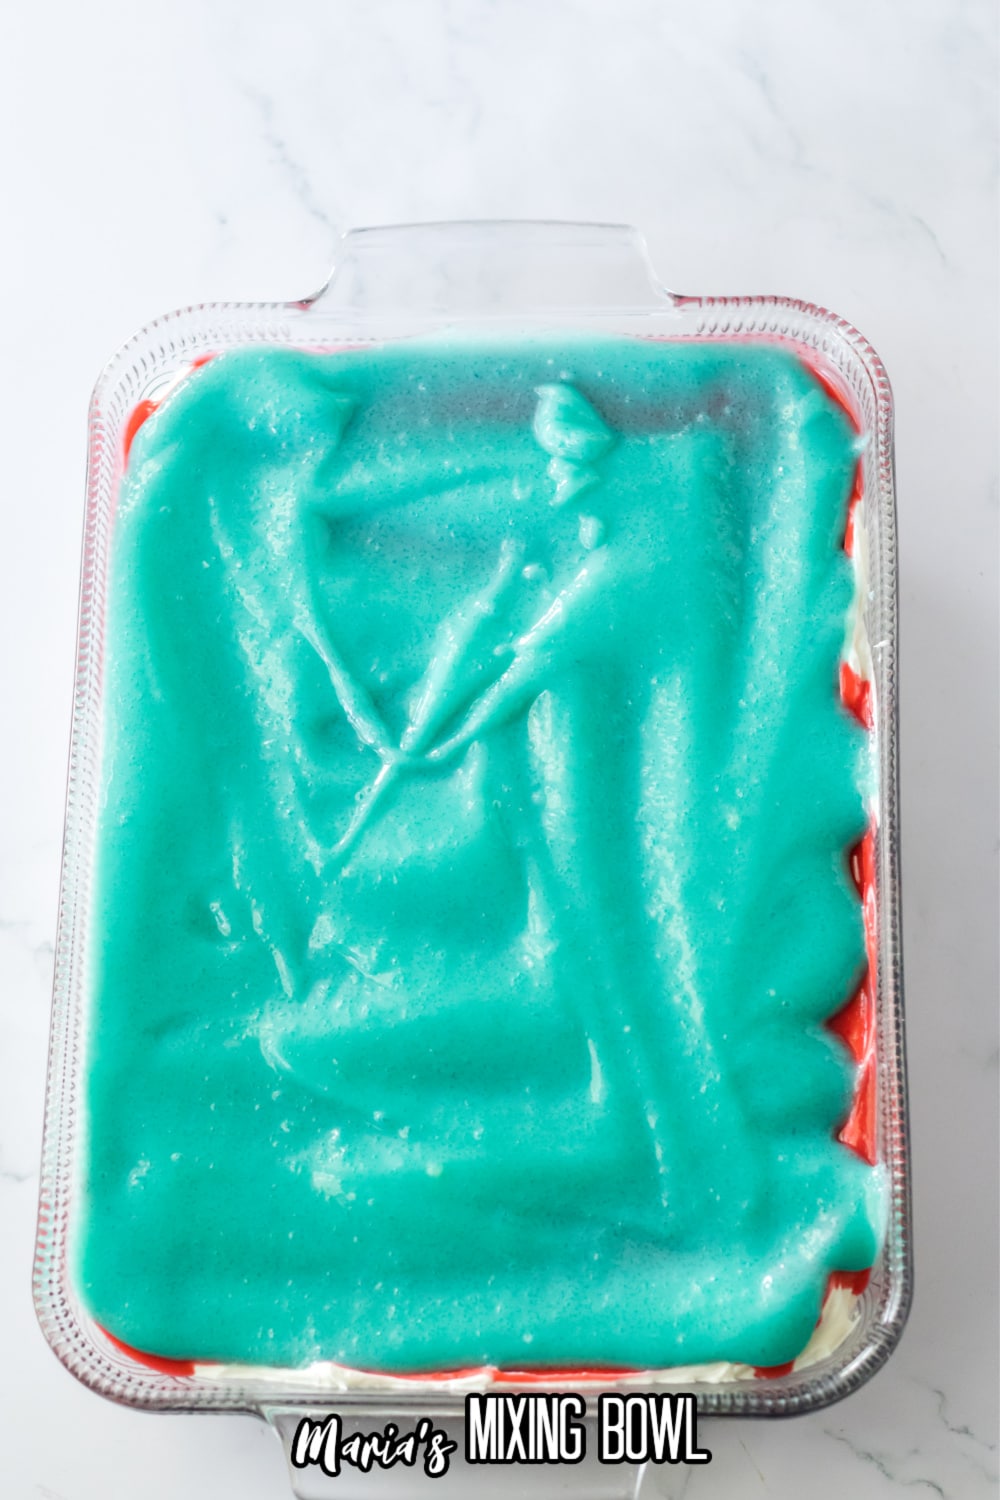
Step 5: Finish building layers
Spread the red layer on top of that and the blue layer on top of the red, carefully so you don’t mix them. Use the rest of the whipped topping to top the gelatin layer.
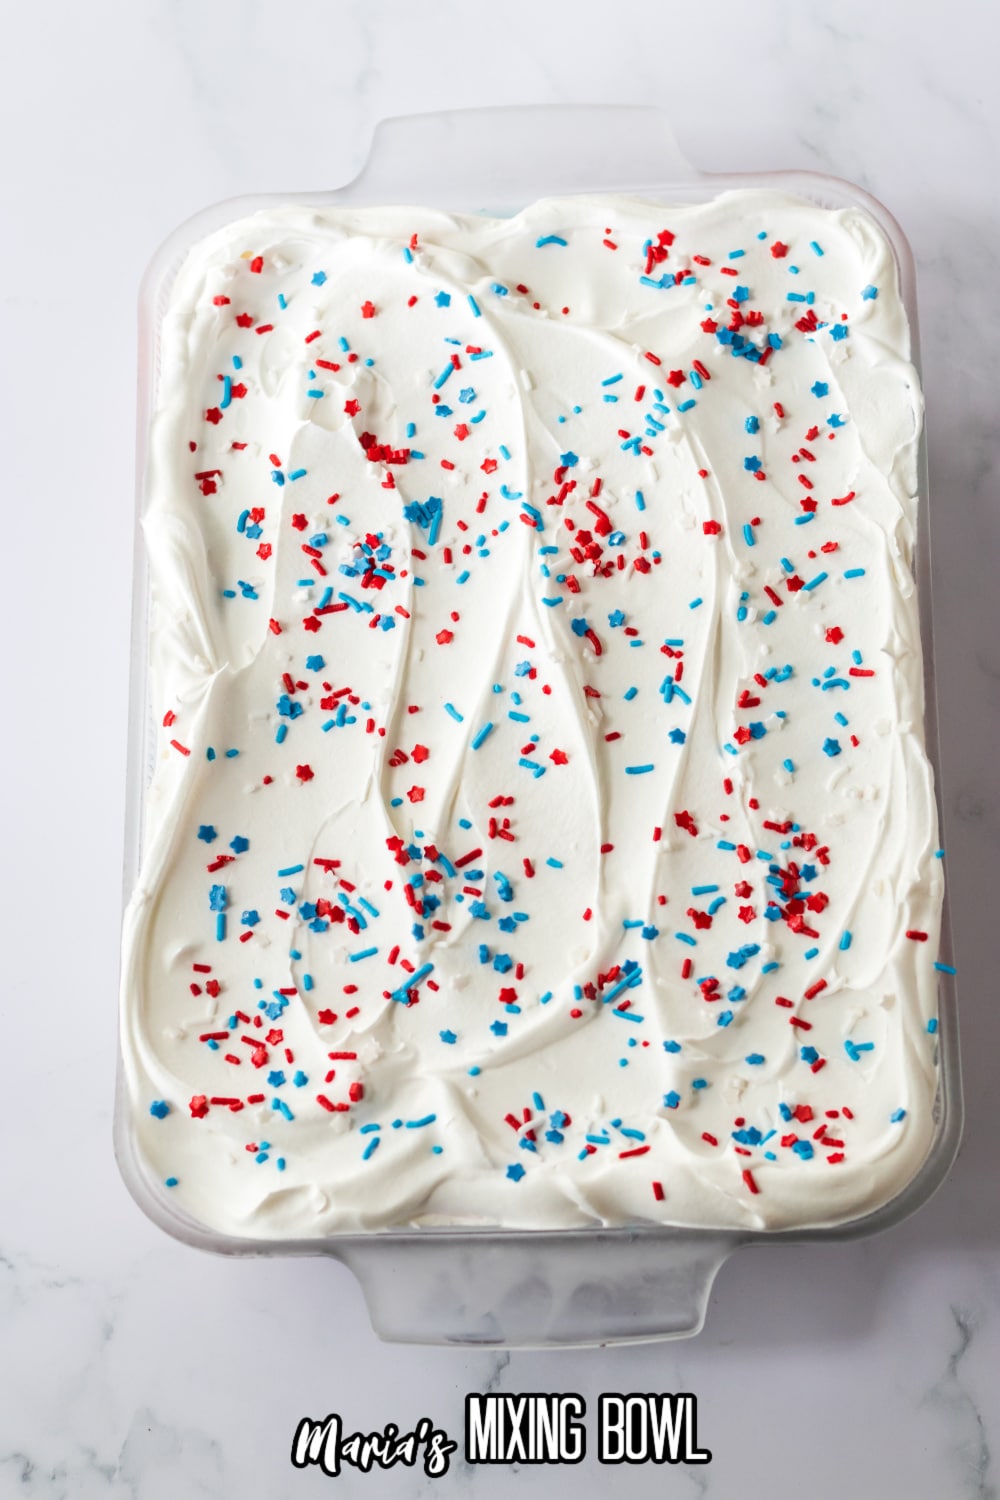
Step 6: Garnish and chill
Garnish sprinkles. And, then refrigerate for at least 4 hours.
📝Variations
Do you want to change up this recipe and make it your own? Here are some ways that you can do that!
- Chocolate: Add a layer of chocolate pudding or ganache
- Gelatin: Use a different flavor combination for the jello layers such as raspberry and lemon or orange and lime.
- Crust: Use a graham cracker crust instead of Oreos.
If you love delicious no bake desserts like this one then you may also enjoy this Sand Bucket Dessert recipe. It’s perfect for summer.
🥄 Equipment
You will need a few kitchen tools to help you make this delicious summer dessert recipe. Gather these tools and get ready to enjoy this sweet treat.
- Food processor
- 9×13 baking dish
- Mixing bowls
- Hand mixer or stand mixer
- Rubber spatula
🥫 Storage
You can store it in an airtight container in the refrigerator for up to 3 days. If you don’t have a lid for your baking dish then I recommend that you wrap it tightly with plastic wrap.
💭 Tips
Here are a few tips that you can use to make this tasty No Bake Berry Lush recipe.
- Make sure that you use room-temperature cream cheese so that it mixes easily with powdered sugar and whipped topping.
- Also, take your time when layering the ingredients so that the berry colors don’t mix together.
- Don’t skimp on the chill time. This dessert needs to chill for at least 4 hours so that the layers can set.
⁉️ FAQ
Do you have questions about this recipe? Here are the answers to the most commonly asked questions.
The name comes from the creamy layers that make up the sweet dessert.
Unfortunately, no. This recipe is best served chilled and should be eaten within 3 days of making it.
To prevent the layers from mixing when a gentle hand when spreading them out, and take your time.
🍽 More Lush Recipes
Do you enjoy lush, try these delicious recipes:
📌 PIN IT!!
🧾Recipe Card
Want to make this recipe? Print the recipe card below, or pin this recipe, so you can find it later.
No Bake Berry Lush
Equipment
- food processer
- mixing bowls
- 9×13 baking dish
- Whisk
Ingredients
- 36 vanilla oreo cookies
- 6 tablespoons butter melted
- 3 ounces cherry gelatin
- 3 ounces blue raspberry gelatin
- ⅗ cup boiling water
- 6.8 ounces vanilla instant pudding two small boxes
- 2 ½ cups cold milk
- 8 ounce cream cheese
- 1 cup powdered sugar
- 16 ounces whipped topping
- Red White, Blue sprinkles for garnish
Instructions
- In your food processor crush all the cookies into crumbs.
- Place the cookies into a large bowl and add the melted butter.
- Stir until well blended.
- Press the cookie crumbs into the bottom of a 9×13 glass baking dish.
- Next prepare the fillings.
- In small bowl, place the cherry gelatin, and add ⅓ cup boiling water.
- Whisk together until combined and most of the gelatin is dissolved.
- Repeat with the blue gelatin.
- In medium bowl, whisk together the dry pudding mixes and milk until combined.
- Whisk half the pudding mixture into the cherry gelatin and half the pudding mixture into the blue gelatin.
- In large bowl using an electric mixer combine the cream cheese and powdered sugar until smooth.
- Fold in 1 container of whipped topping.
- Spread over cookie crust.
- Spread the red layer on top of that and the blue layer on top of the red, carefully so you don’t mix them.
- Use the rest of the whipped topping to top the gelatin layer.
- Garnish sprinkles.
- Refrigerate at least 4 hours.
- Serve
Notes
Disclaimer
Any nutritional data I provide is an approximation and actual dietary information can vary based on ingredients and proportion sizes.


2 Comments