Rainbow Snowcone Oreo Truffles

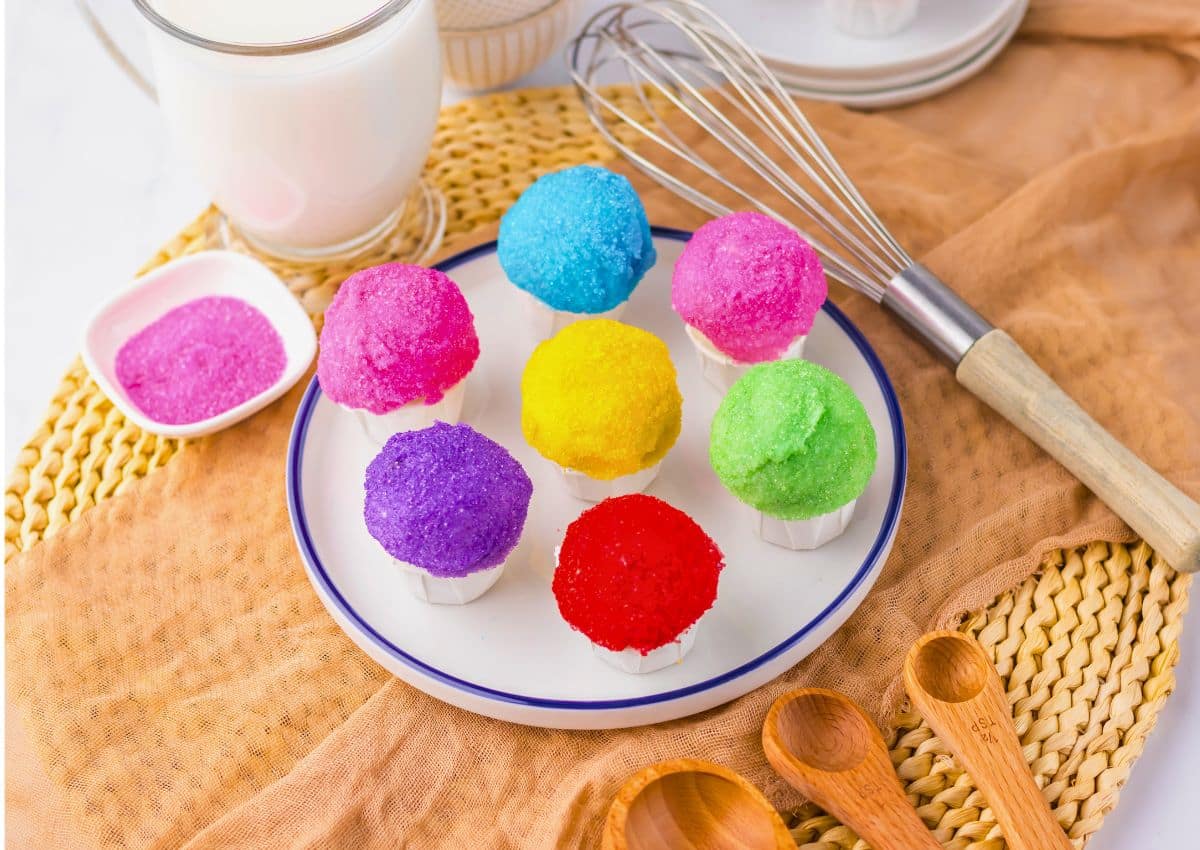
If you’re looking for a dessert that’s just as fun to make as it is to eat, these Rainbow Snowcone Oreo Truffles are it! They’re bright, colorful, sweet, and totally eye-catching. They’re perfect for parties, birthdays, or anytime you want to impress with minimal effort.
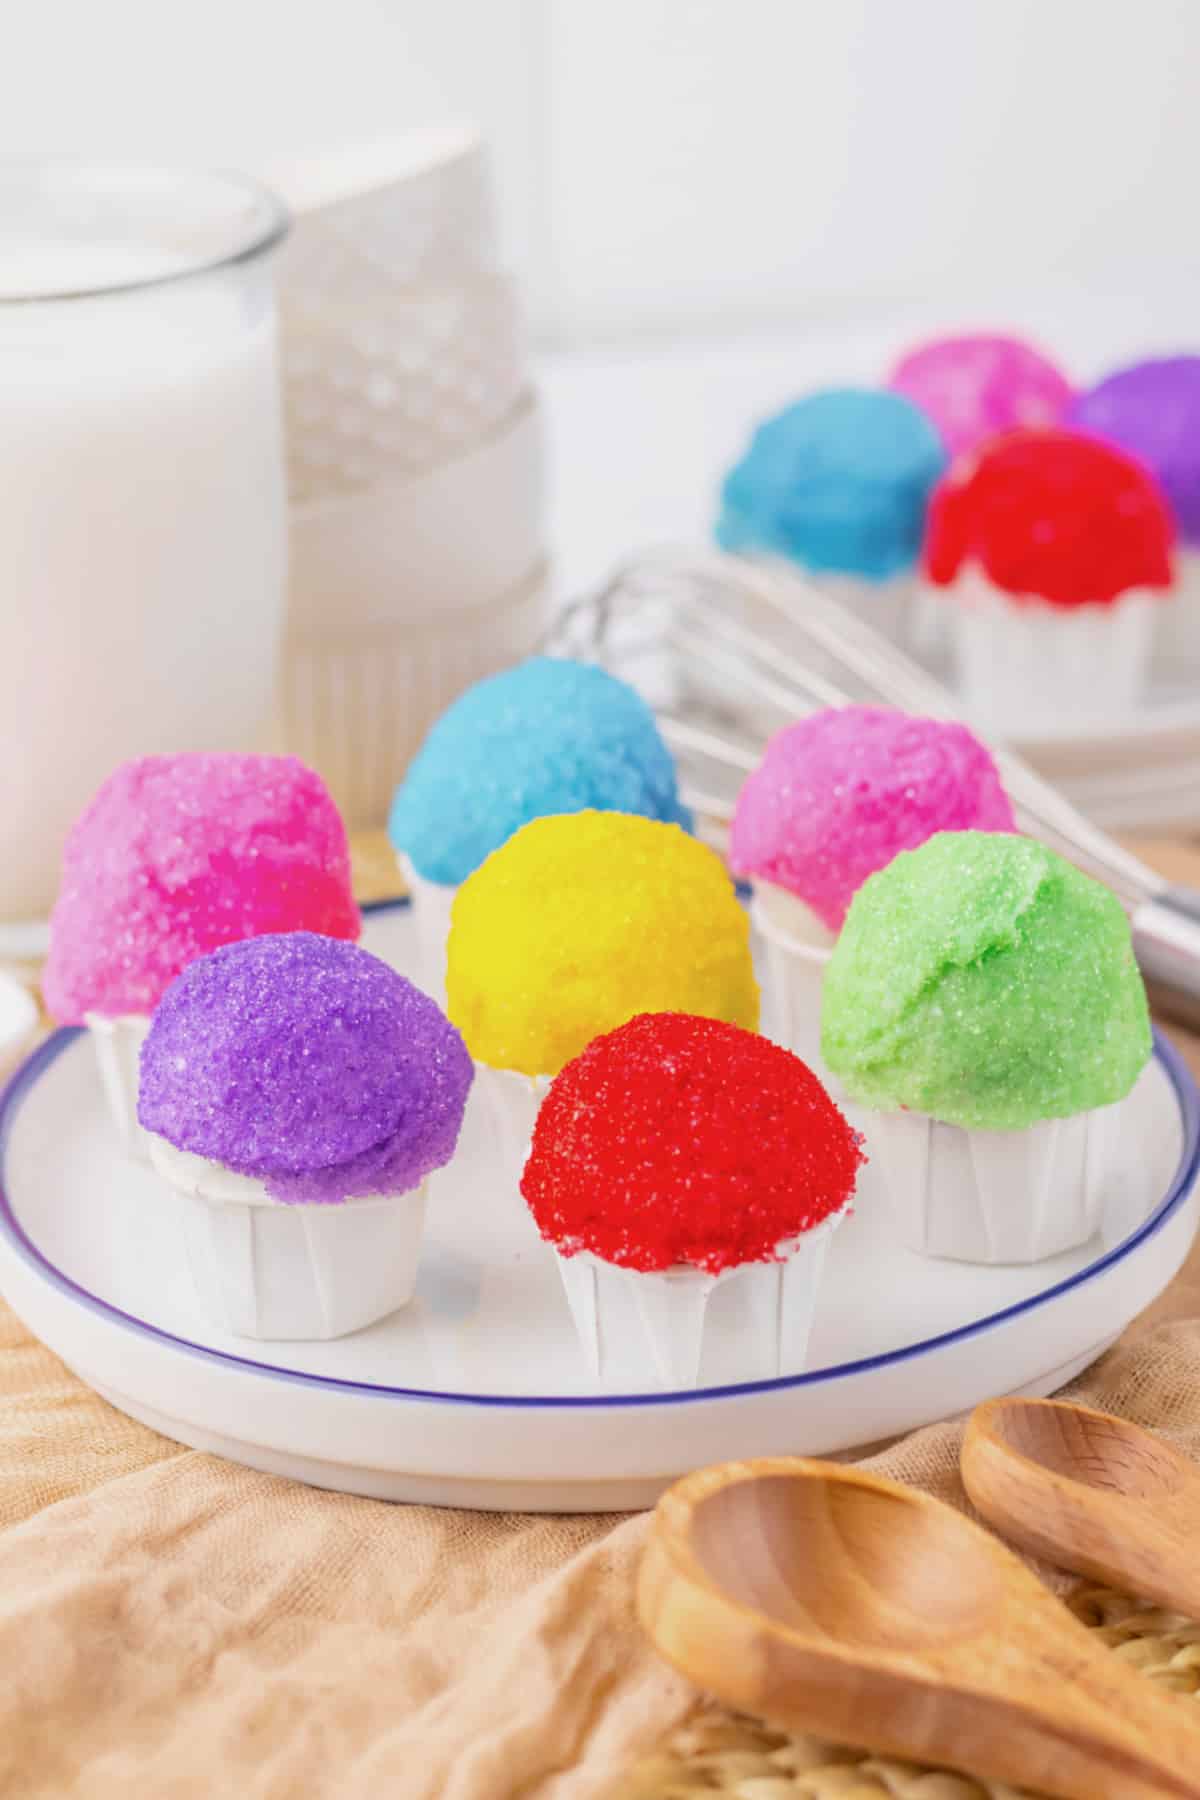
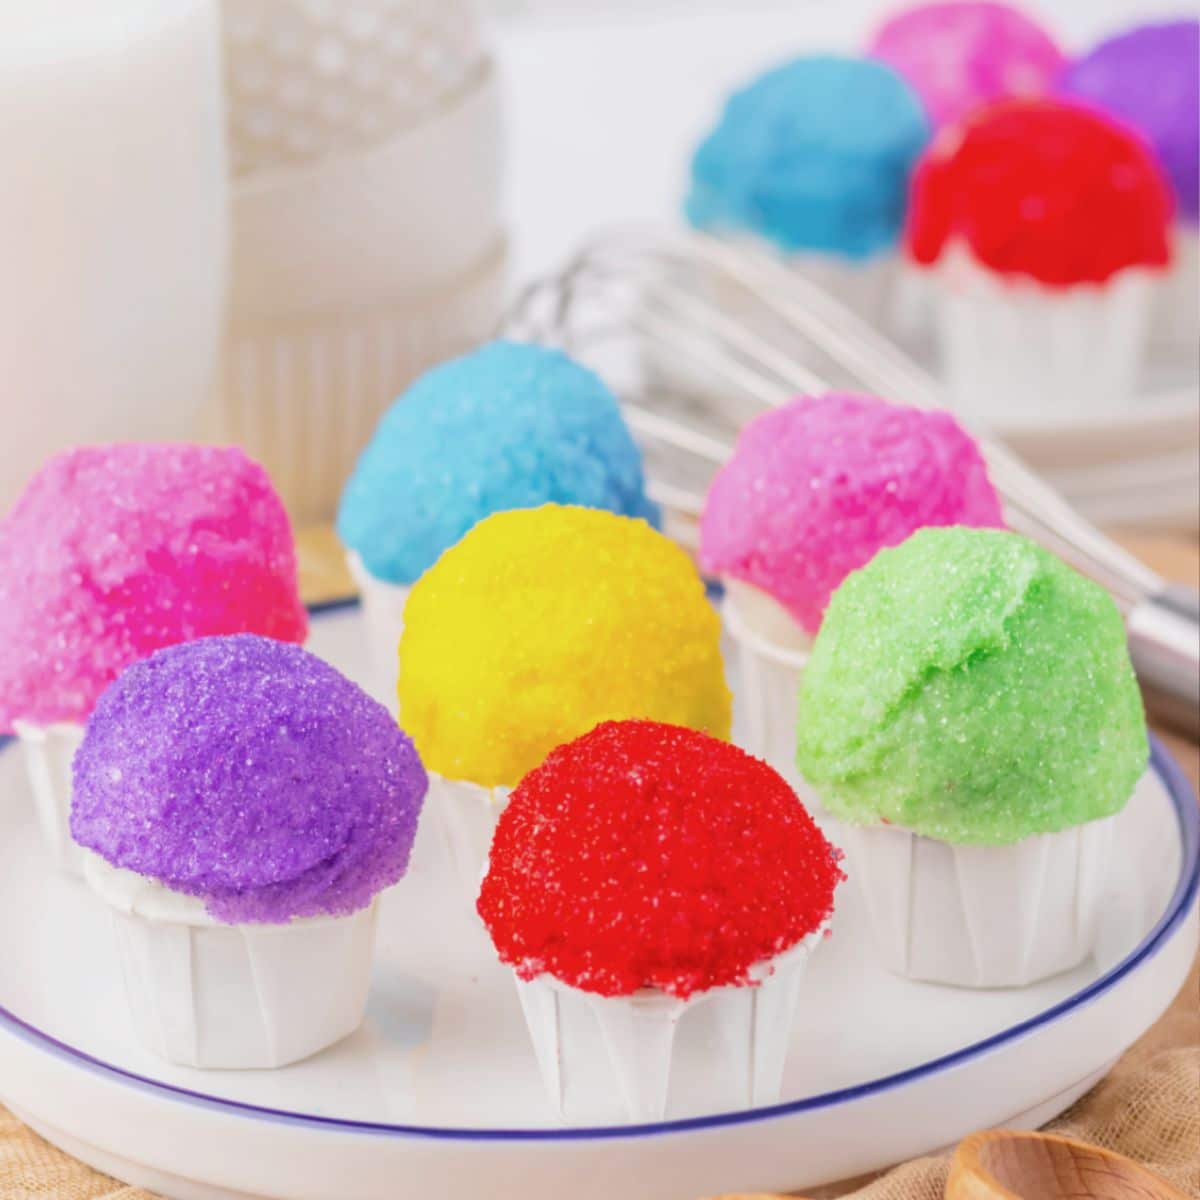
With cremay Oreo centers, a smooth chocolate coating, and colorful, snowcone-style sprinkles, these truffles are as good as they sound, and just as pretty.
Just like our Samoa truffles, sugar cookie truffles, and brownie truffles, these sweet treats are easy to make, absolutely delicious, and total show-stoppers.
Table of contents
Why You’ll Love This Recipe
- No baking required
- Super fun and colorful presentation
- Creamy, rich Oreo filling
- Perfect for parties and holidays
- Kid-friendly and easy to make
Key Ingredients
We’ve made this list to help you save time on your next trip to the grocery store. You can find the full amounts needed in the printable recipe card at the bottom of the post.
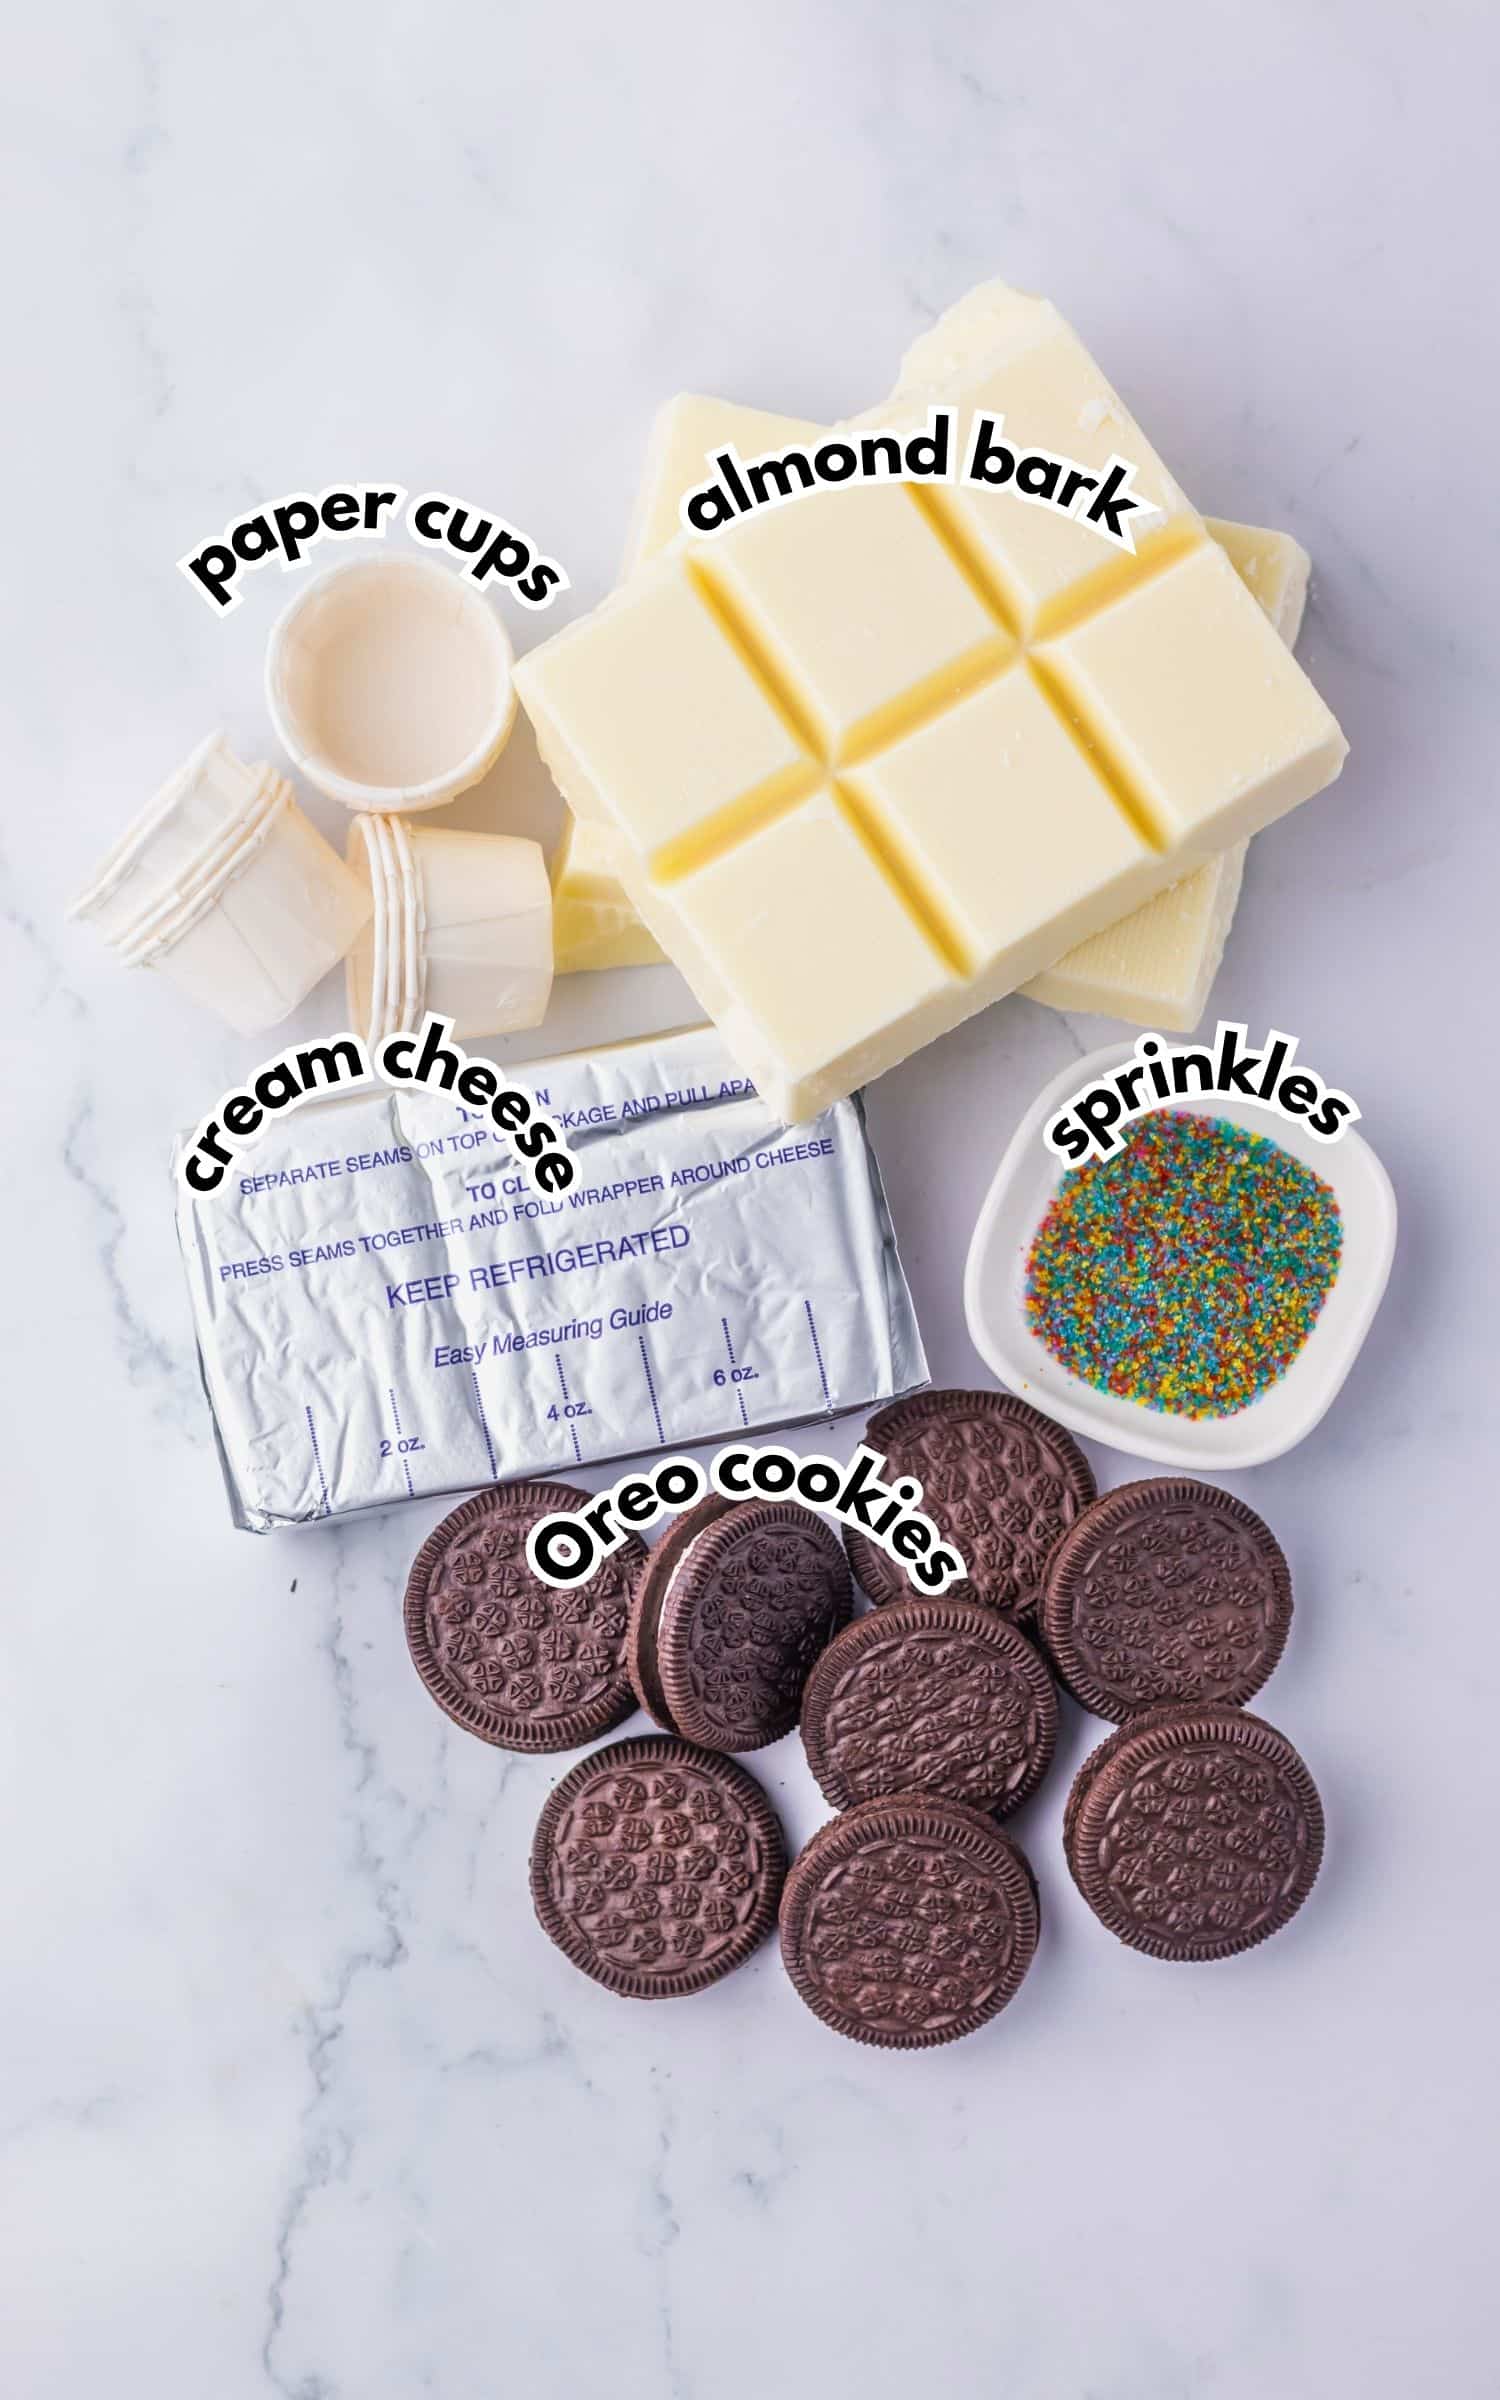
- Oreo Cookies: They provide that rich chocolate flavor and form the base of the truffle-like filling.
- Cream Cheese: This is what binds everything together and makes the inside super creamy and smooth.
- Vanilla Almond Bark: This is your outer shell. It hardens around the Oreo mixture, giving that classic candy coating and a nice snap when you bite into it.
- Sprinkles: They make these fun and eye-catching, adding color, texture, and a little crunch.
Variations
- Oreos: Use your favorite Oreo flavors for a tasty twist.
- Colorful Cones: Add food coloring to the chocolate for more visual interest.
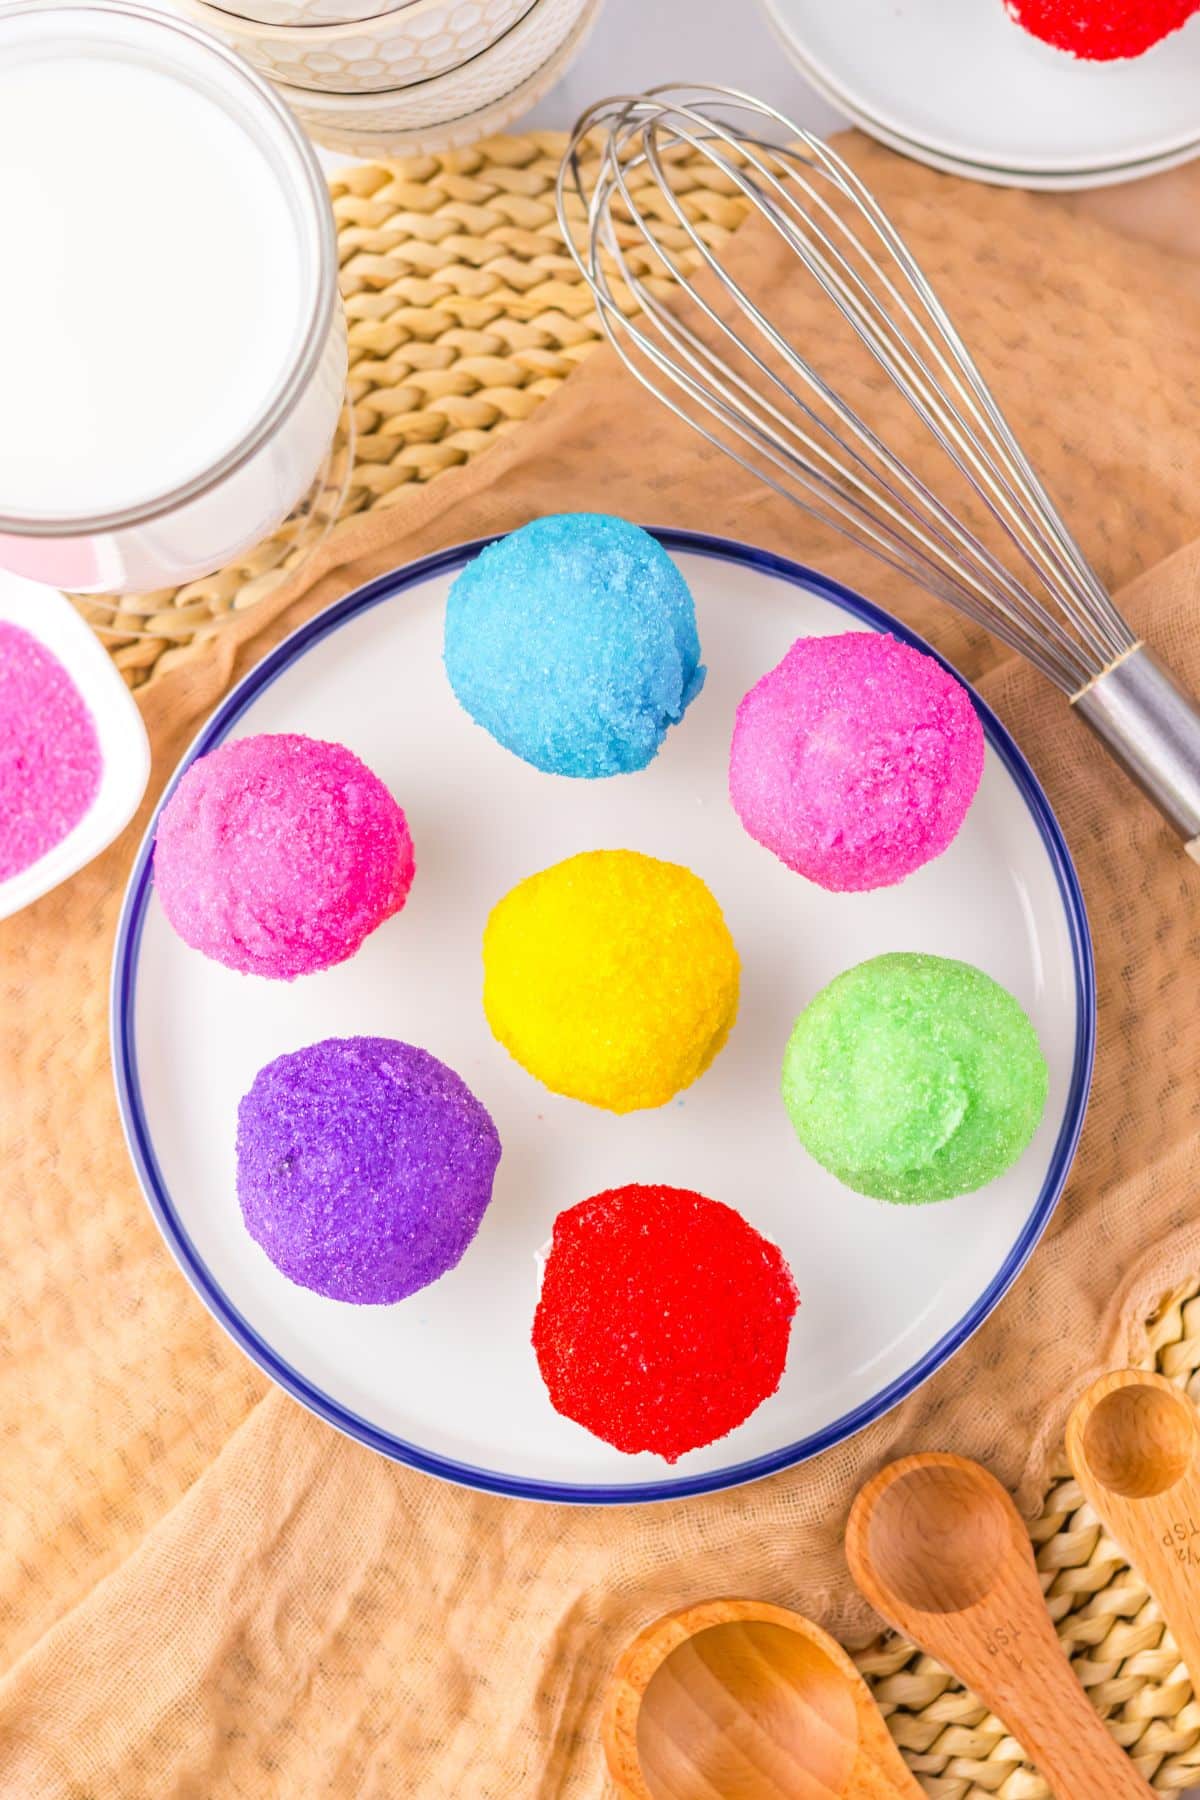
- Classic Oreo Truffles: Skip the cups for rainbow-themed, classic Oreo truffles.
- Almond Bark: Use vanilla or chocolate. They both work well!
How to Make Rainbow Snowcone Oreo Truffles
This is a quick overview of the steps needed to make this recipe. You can find the full instructions in the recipe card at the bottom of this post.
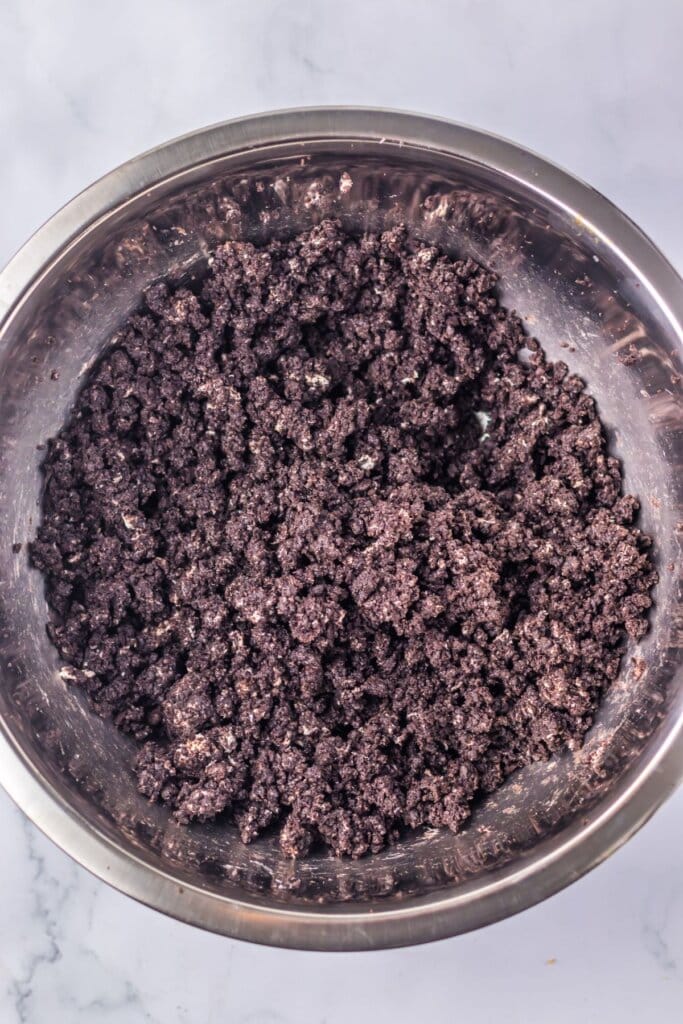
- Crush the Oreos finely in a food processor. Then, mix them with the cream cheese until fully combined.
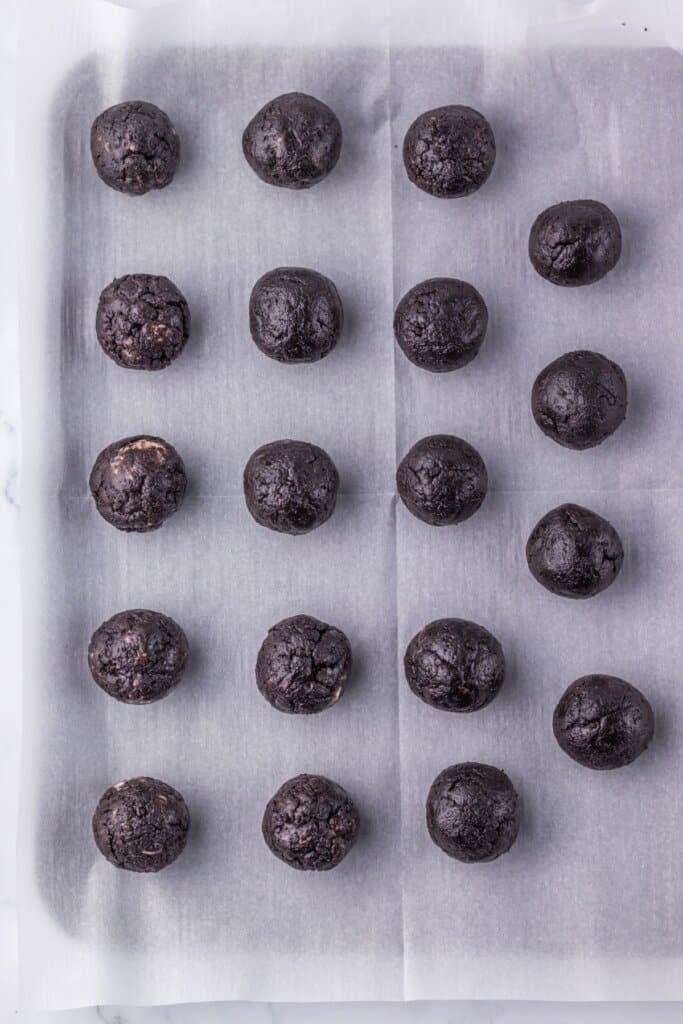
- Roll the dough into balls using two tablespoon portions. Place on a parchment-lined tray and freeze until firm.
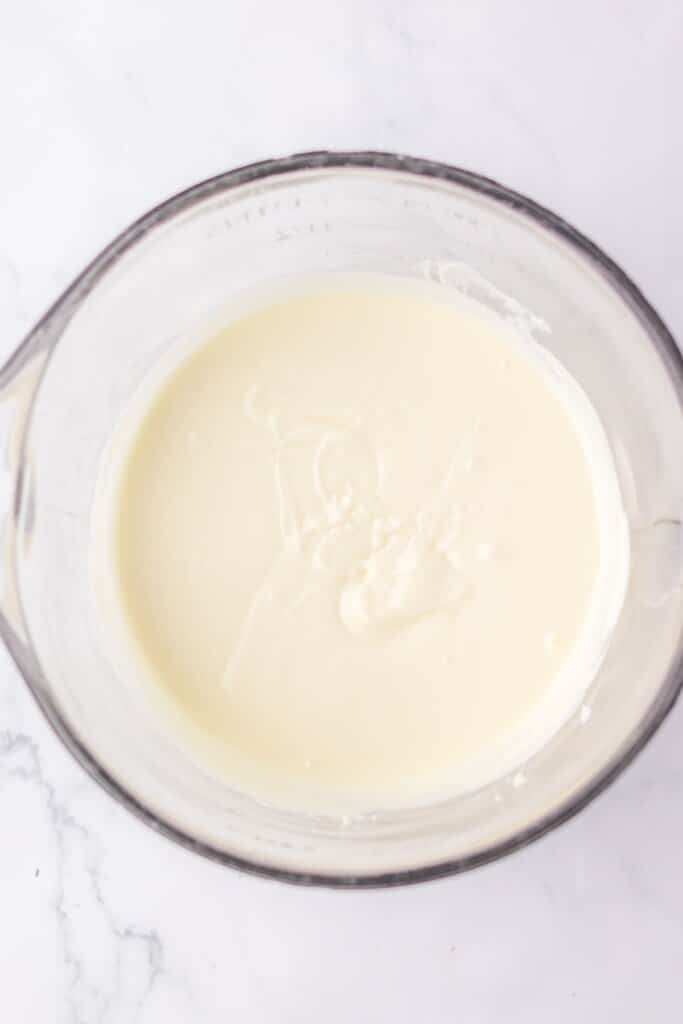
- Melt the almond bark in the microwave, then set out small bowls of colored sprinkles.
- Dip the truffle in the chocolate and immediately roll it in sprinkles until fully coated. Place on a tray and repeat until all cones are made.
Expert Tips
- Freeze the balls well so they hold their shape when dipping.
- Work quickly when coating the balls, so the sprinkles adhere to the wet chocolate.
- Use different sprinkle colors for a true rainbow effect.
- Keep the chocolate warm for smooth dipping
Rainbow Snowcone Oreo Truffles FAQs
Do you have questions about this recipe? Here are the answers to the most commonly asked questions.
Yes! These are perfect for making ahead. Simply store them in the refrigerator until you’re ready to serve.
Keep them in an airtight container in the fridge for up to 5 days. This helps maintain their texture and freshness.
Absolutely. Freeze them in a sealed container for up to 2 months. Let them thaw in the refrigerator before serving.
They’re best kept chilled, but you can let them sit at room temperature for a short time before serving for a softer texture.
★ Did you make this recipe? Don’t forget to give it a star rating below! We would love to hear back from you! You can also FOLLOW US on Instagram, Pinterest, and Facebook for more delicious recipes.
📖Recipe
Want to make this recipe? Print the recipe card below, or pin this recipe, so you can find it later.
Rainbow Snowcone Oreo Truffles
Equipment
- Food processor
- Mixing Bowl
- Hand mixer
- baking tray
- parchment paper
- Microwave Safe Bowl
- Forks or dipping tools
- Small bowls
- Small brush (optional)
Ingredients
- 13 ounces Oreo chocolate sandwich cookies
- 8 ounces cream cheese softened to room temperature
- 24 ounces vanilla almond bark
- ⅓ cup colored sanding sugar sprinkles you will need 1/3 cup of sugar for every color you plan to use.
Instructions
- Add the Oreo cookies to a food processor and pulse until fine crumbs form.
- Transfer the crumbs to a large bowl and add the cream cheese. Using a hand mixer, beat until fully combined and thick.
- Line a large tray with parchment paper. Scoop about 2 tablespoons of the mixture and roll into balls. Place on the prepared tray and repeat until all mixture is used.
- Place the tray in the freezer for 30 minutes or until the balls are firm.
- In a large microwave safe bowl, melt the vanilla almond bark in 30 second intervals, stirring between each, until smooth.
- Place each color of sanding sugar sprinkles into separate small bowls.
- Using two forks, dip each chilled ball into the melted almond bark. Tap gently to remove excess coating and place back onto parchment paper. Allow to harden.
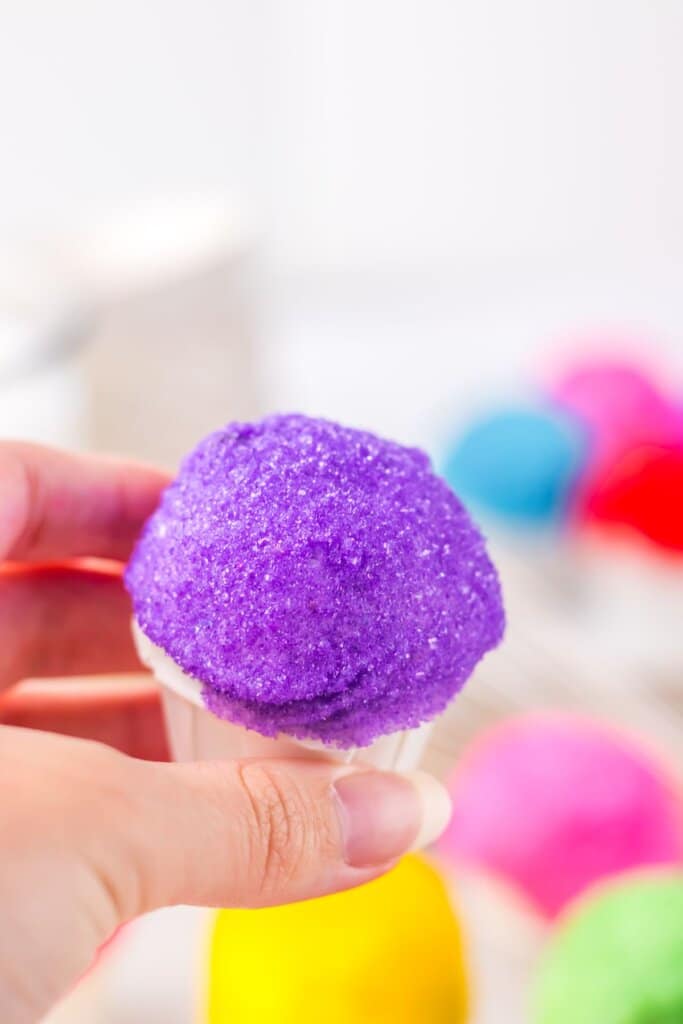
- Once hardened, use a small brush or clean finger to apply a little melted almond bark around the bottom of each ball. Immediately place into a paper medicine cup and gently press to adhere.
- Once set, hold the cup and dip the ball again into the melted almond bark, coating up to the top edge of the cup. Wipe off excess for a thin layer.
- Immediately roll and swirl the coated ball in the sanding sugar of your choice until fully covered.
- If needed, fill in any missing spots by dabbing melted almond bark and adding more sprinkles.
- Allow everything to fully harden before serving.
Disclaimer
Any nutritional data I provide is an approximation and actual dietary information can vary based on ingredients and proportion sizes.


