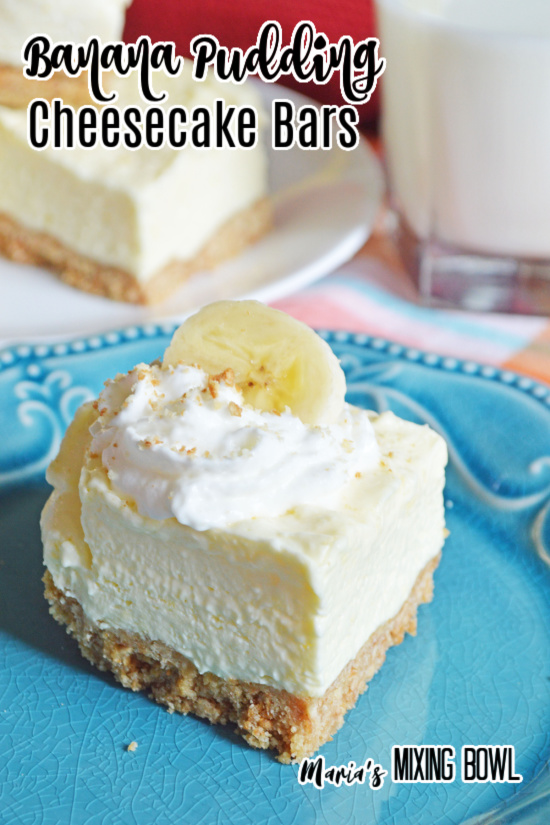
Banana Pudding Cheesecake Bars
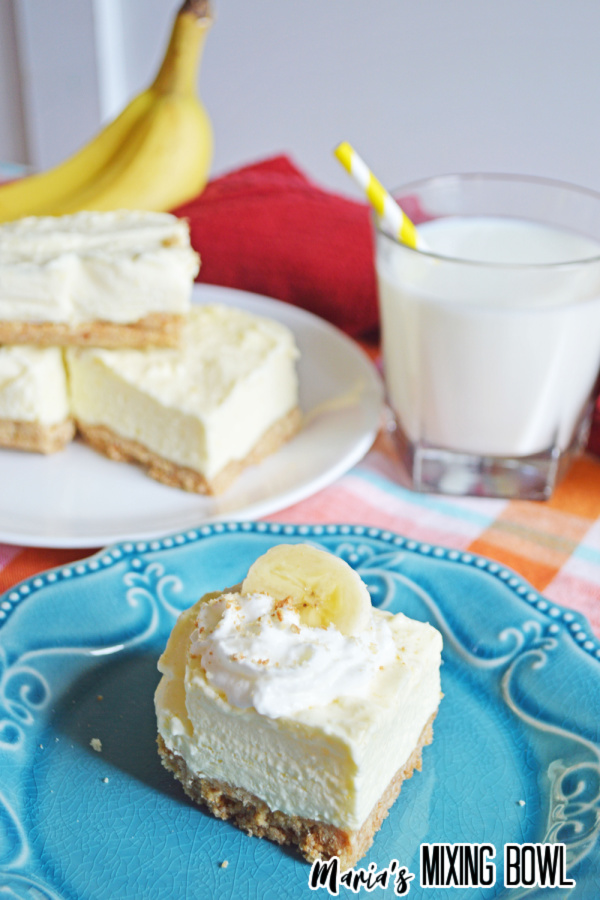
These Banana Pudding Cheesecake Bars are the perfect treat for any occasion. A Nilla Wafer crust is topped with rich, creamy banana pudding cheesecake, and it’s all finished off with Cool Whip and a banana slice.
You’ve probably noticed that we’ve been posting a lot of cheesecake recipes lately. That’s because the warm weather is coming (allegedly), and we love anything cheesecake on a hot day. It’s so smooth and refreshing. It’s just the perfect treat to cool off.
Today, we’re sharing a super simple cheesecake recipe. Unlike the previous few we’ve shared with you, this is another great no-bake variety that comes together in just minutes and is ready to go after a couple of hours of chilling.
Banana Pudding Cheesecake Bars
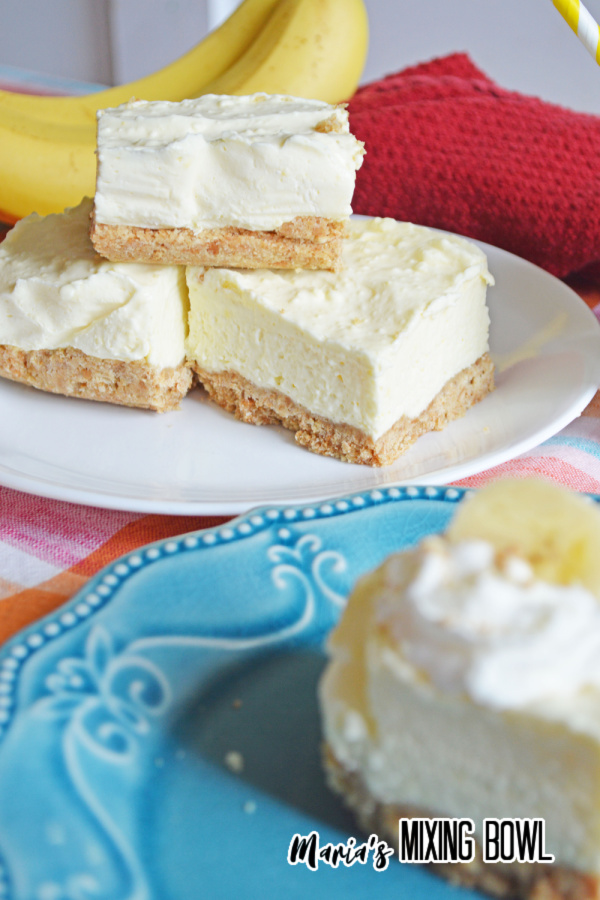
These cheesecake bars are rich, decadent, delicious, and most importantly, EASY. It all starts with the classic flavor of Nilla Wafers in the form of a delicious crust. Then, we top it with a banana pudding cheesecake layer that marries both flavors together perfectly. Finally, we gild the lily with Cool Whip and banana slices for a garnish. What you end up with is a cheesecake recipe that is full of all the flavors we love in classic banana pudding. It doesn’t get better!
Banana Pudding Cheesecake Bars Ingredients
It only takes a few simple ingredients to make this recipe. You’ll have most of them in your kitchen already, and the ones you don’t have can be easily found at your local grocery store.
For the Crust
- Nilla Wafers
- Brown sugar
- Melted butter
For the Cheesecake
- Banana cream pudding mix
- Milk
- Softened cream cheese
- Sugar
- Cool Whip
For the Topping
- Whipped cream
- Banana slices
- Nilla Wafers
- Nilla Wafer crumbs
**See the recipe card at the end of the post for quantities.
Banana Pudding Cheesecake Bars Instructions
Making this recipe is a very simple process. No baking is involved, and it only takes a few simple steps.
Step 1: Make the Nilla Wafer Crust
Add Nilla Wafers to a food processor and pulse until they’re reduced to crumbs. Then, add the brown sugar and melted butter and mix well. Press the crust into a baking dish lined with parchment paper, spreading the layer evenly over the bottom of the dish. Place in the freezer.

Step 2: Make the Cheesecake
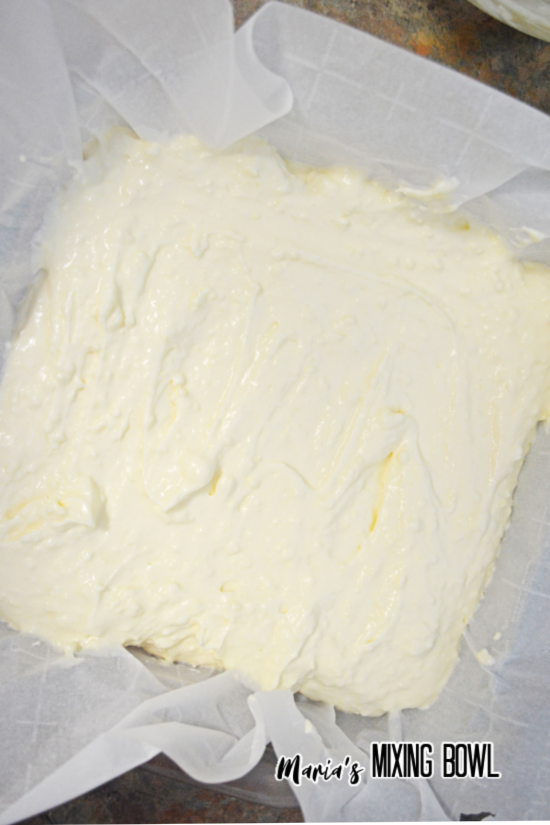
Beat cream cheese in a large mixing bowl for about a minute. Then, add the sugar and pudding mix and mix again. Next, add the Cool Whip and mix to combine. Finally, slowly add the milk, mixing between each addition. Pour the cheesecake mixture over the Nilla Wafer layer and chill in the freezer for about 4 hours.
Step 3: Serve
Thaw the cheese cake for 1 to 2 hours in the refrigerator before serving. Then Cut it into bars and top each one with whipped cream, Nilla Wafers or Nilla Wafer crumbs, and banana slices. Enjoy!
Hint: It’s vital that you line your baking dish with parchment paper, or you’ll be serving up spoonfuls of this dessert rather than slices.
Equipment
You’ll only need a few basic pieces of kitchen equipment to make this recipe.
- Measuring cups
- Mixing bowl
- Whisk
- Food processor
- Baking dish
- Parchment paper
Banana Pudding Cheesecake Bar Tips
This recipe is one of the easiest that you’ll ever make, but we still have a few tips here that will help you make it the best that it can possibly be.
Fully Softened Cream Cheese – This recipe has a smooth, creamy cheesecake layer, and you can only get that silky smoothness if your cream cheese is fully softened.
Parchment Paper – You absolutely must line your baking dish with parchment paper, or you’ll never get the bars out of the baking dish.
Adding the Milk – It’s better to add the milk a little at a time. Otherwise, you’ll be trying to mix in a ton of liquid. This, of course, will lead to splashing and a big mess in your kitchen.
PIN IT!!

Storage
These cheesecake bars will keep well in the freezer in an air-tight, freezer-safe container for up to a month.
More No-Bake Cheesecake Recipes
If you’re a fan of no-bake cheesecake, then we have some recipes that we think you’re going to love.
No-Bake Banana Split Cheesecake
Banana Pudding Cheesecake Bars FAQ
If you have questions about this recipe, then read on. The following FAQ answers the most commonly asked questions about cheesecake and cheesecake bars.
How long will these bars last?
You can store them in the freezer in an air-tight, freezer-safe container for up to a month.
What’s the difference between baked and no-bake cheesecake?
Baked cheesecakes use eggs and are baked in the oven with a water bath. No-bake cheesecakes have no eggs and set by chilling.
Is baked or no-bake cheesecake better?
Neither is better than the other, they’re just different. Baked cheesecake is creamier and smoother than no-bake cheesecake. On the other hand, no-bake cheesecake is far easer to make and has its own light, fluffy texture. They’re both delicious.
Where was cheesecake invented?
Cheesecake was actually invented in Greece, not in New York. 5th century Greeks on the island of Samos created the earliest known cheesecake.
Why is whipped cream used in no-bake cheesecake?
Whipped cream adds extra moisture and a soft, silky texture to the cheesecake.

Give These Banana Pudding Cheesecake Bars a Try
There’s nothing better than these banana pudding cheesecake bars. They’re so easy to make, and they’re loaded with delicious cheesecake and classic banana pudding flavors – right down to the Nilla Wafers! Give this recipe a try, and we know you’ll love it as much as we do.
MORE RECIPES YOU WILL LOVE:
Coconut Dream Cookies Cheesecake
Nutella Cheesecake Brownies
Carrot Cake
Chocolate Crinkle Cookies
Lemon Bars
Amish Sugar Cookies
Banana Pudding Cheesecake Bars
Equipment
- Measuring cups
- Mixing Bowl
- Whisk
- Food processor
- Baking dish
- parchment paper
Ingredients
Crust:
- 2 ¼ cups Nilla wafers
- ¼ cup brown sugar
- ½ cup butter melted
Cheesecake:
- 1 3 ounce box of Jello banana cream pudding mix
- 1 ¼ cups milk
- 16 ounce cream cheese softened
- ¼ cup sugar
- 1 ½ cups cool whip
For Topping:
- Whipped cream, banana slices, Nilla wafers, and Nilla wafer crumbs
Instructions
Directions:
- Line an 8×8 square baking dish with parchment paper, and set aside.
- In your food processor, add nilla wafers and pulse until the wafers are reduced to crumbs. Add brown sugar and melted butter, and mix well.
- Pour the nilla wafer mixture into your baking dish and press down to form your crust. Place this in the freezer while you prepare your cheesecake.
- To make the cheesecake, in a large mixing bowl, beat cream cheese for about a minute. Add the sugar and pudding mix to the bowl, and mix again until well combined.
- Add cool whip, mix to combine. Slowly add milk, mixing between each addition. Pour cheesecake mixture over nilla wafer crust, and smooth out the top with a spatula.
- Freeze cheesecake for about 4 hours.
- Before serving, thaw for 1-2 hours in the refrigerator.
- Top with whipped cream, Nilla wafers or crumbs and banana slices. Enjoy!
Notes
Disclaimer
Any nutritional data I provide is an approximation and actual dietary information can vary based on ingredients and proportion sizes.


I love all these reciped they are great. I love to cook
Thank you so much Brenda! We’re so glad you love our recipes. I hope you find a few that become favorites
can this be made in a 13×9 pan if so do i just double all the ingredients
Yes you can make it in a 13×9 pan. You would need to double the ingredients or they would be very flat lol
Is the pudding instant pudding?
Yes but you can you the cooked version too