No Bake Cherry Cheesecake Jars
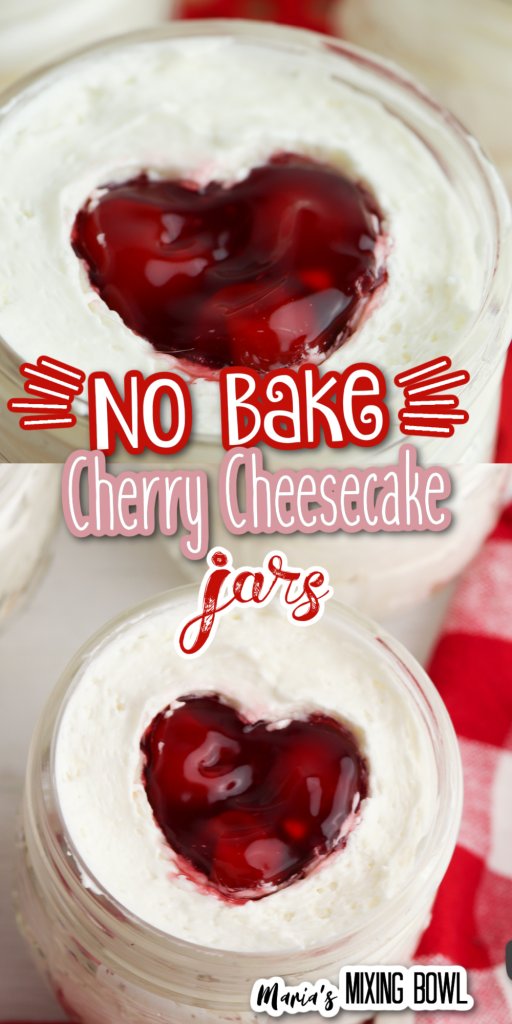
No Bake Cherry Cheesecake Jars are delicious, adorable single-serve desserts loaded with the creamy, rich flavor of cheesecake and the sweetness of cherry pie filling.
If you love cheesecake but hate all the baking and trying to make sure the top doesn’t crack, then these cheesecake jars are the perfect dessert for you. We love to make these for ourselves as a tasty dessert or as an after-dinner treat when we have guests over. They’re so easy to make, require zero baking, and minimal effort. In short, they’re amazing!
No Bake Cherry Cheesecake Jars
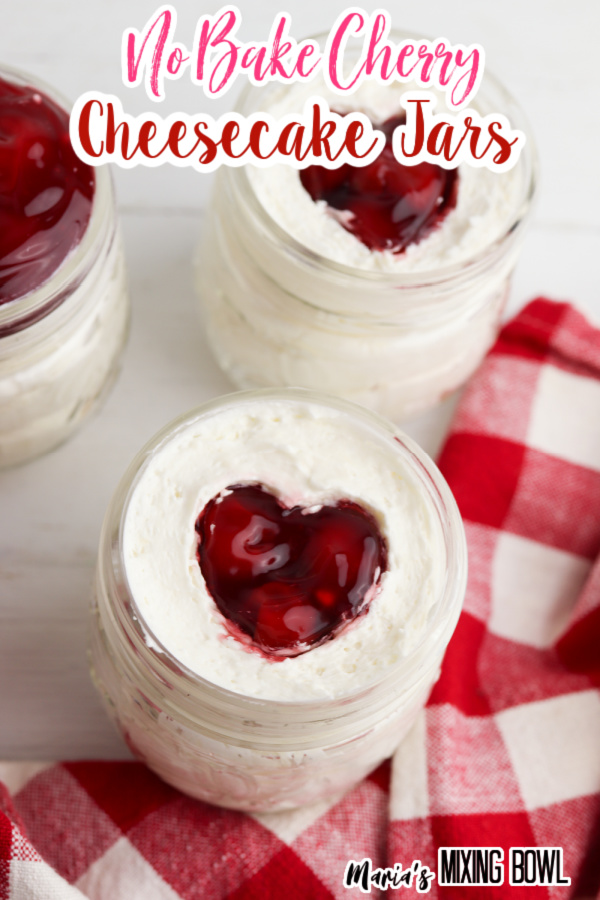
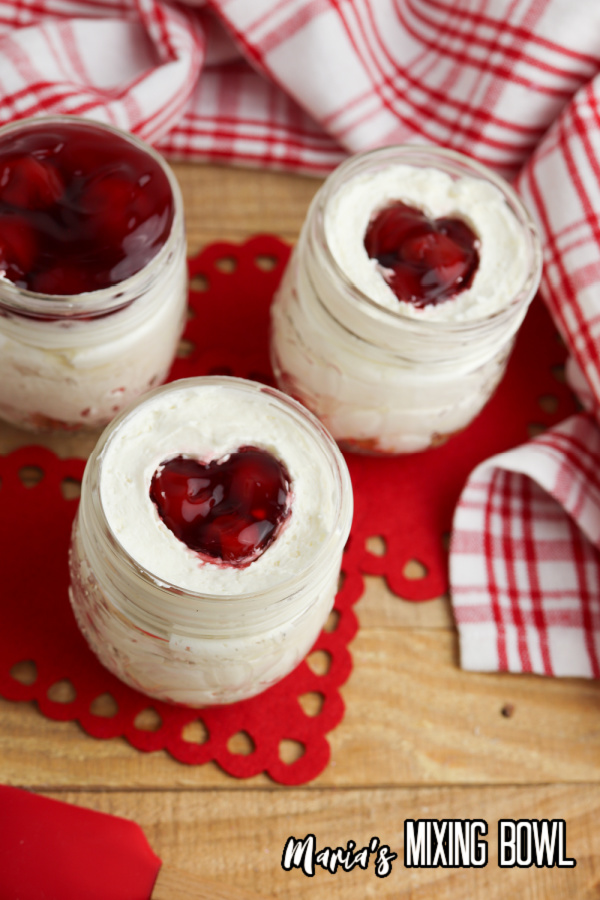
These delicious individual cheesecakes are so pretty and so much fun to serve. Because of their color, they’re perfect for Valentine’s Day, but they’re equally welcome any time of year. They even make great holiday desserts.
We fill half-pint jars with a layer of graham cracker crumbs. Then, we layer delicious cheesecake filling followed by a heart-shaped center of cherry pie filling and a final top layer of cherry pie filling. The heart-shaped center is for a fun Valentine’s Day addition, but for other times of the year, simply make two layers of cheesecake and cherry pie filling.
Every bite of these little cheesecakes is rich, creamy, and so sweet. They’re the perfect desserts for any occasion, and they’ll have you in and out of the kitchen in no time flat!
Ingredients
It only takes a few simple ingredients to make these cute little jars. All of the ingredients are kitchen staples, so they’re easily found at your local grocery store.
- Cream cheese, softened
- Powdered sugar
- Vanilla extract
- Whippe topping
- Graham cracker crumbs
- Cheery pie filling
Other Supplies
- 4 half pint jars
- 1-inch heart cookie cutter
- Piping bag
- Tooth pick
**See the recipe card at the end of the post for quantities.
Instructions
Making these little desserts couldn’t be easier. It only takes a couple of simple steps and about 30 minutes. After that, just chill them and then serve.
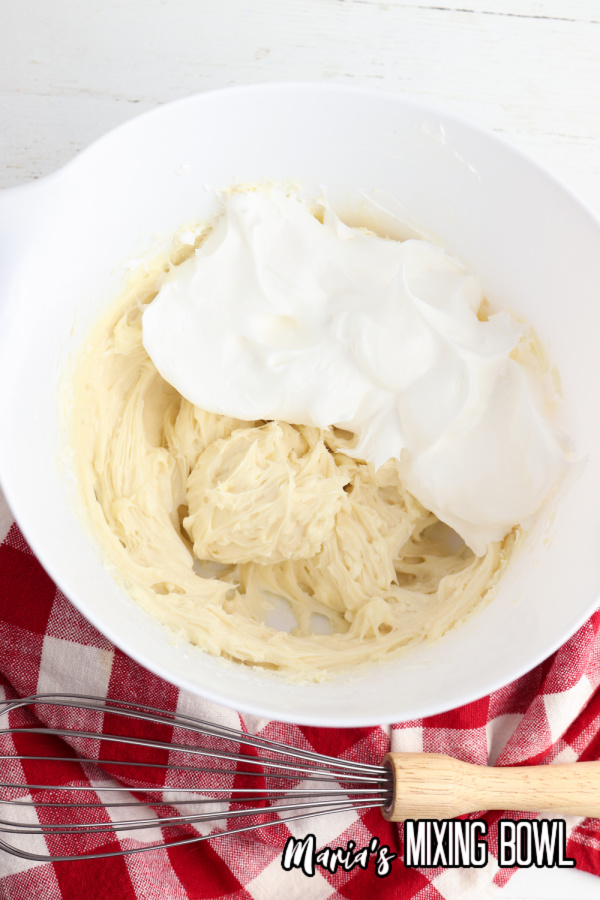
Step 1: Make the Cheesecake
Beat the cream cheese, powdered sugar, and vanilla together until smooth and creamy. Then, gently fold in the whipped topping.
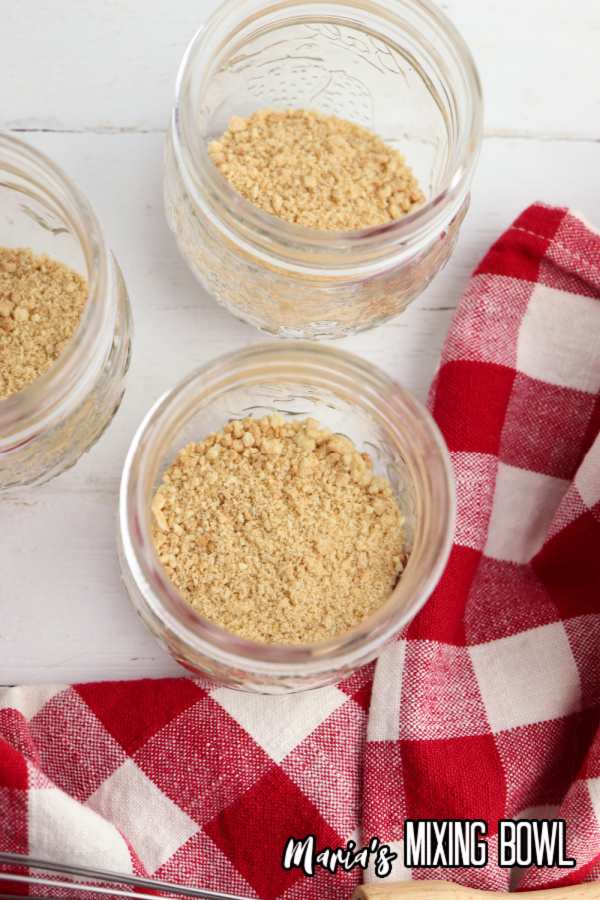
Step 2: Make the Cheesecake
Place 1/4 cup of graham cracker crumbs in the bottom of each jar. Then, pipe the cheesecake filling into each jar, leaving about an inch of space at the top.
Next, Place a heart cookie cutter in the center of the jar. Pipe more cheesecake around the outside of the cookie cutter.

Fill the cookie cutter with cherry pie filling and then carefully lift the cookie cutter up to remove it. Finally, add a finally layer of cherry pie filling on top.
Place lids on the jars and chill the no bake cherry cheesecake jars for a minimum of an hour before serving.
Hint: Use a toothpick to smooth out the heart-shaped cherry filling if needed.
PIN IT!!
No Bake Cherry Cheesecake Jars Storage
You can store these cheesecake jars in the refrigerator for about 4 to 5 days.
Tips
This is such an easy, straightforward recipe, there aren’t many tips to be had. It’s almost impossible to ruin it. We only have two tips, but they’re both important.
Fully Softened Cream Cheese: Always be sure your cream cheese is fully softened to get the best texture possible for your cheesecake.
Removing the Heart Cookie Cutter: Be sure to pull straight up in a gentle motion when removing the cookie cutter to maintain your heart shape center.
More No Bake Recipes
If you love no bake recipes, then we have some that we think you’ll enjoy.
No Bake Chocolate Oatmeal Bars
No-Bake Rainbow Sherbet Cheesecake
No Bake Cream Cheese Mint Buttons
A Few No Bake Cherry Cheesecake Jars FAQ
If you have questions about these no bake cherry cheesecake jars, then look no further. The follow FAQ answers the most common questions regarding these little no bake cheesecakes.
What’s the difference between baked and no bake cheesecake?
Baked cheesecake usually has eggs and other ingredients and is, of course, baked. No bake cheesecake is usually a blended cream cheese mixture of cream cheese, sugar, and whipped topping.
Why do you fold in the whipped topping?
Folding the whipped topping into the cream cheese rather than stirring it helps keep a smoother texture.
Try These No Bake Cherry Cheesecake Jars
These delicious no bake cherry cheesecake jars are so cute, so tasty, and so easy to make! With a combination like that, there’s no reason not to give them a try. Serve them to your loved ones and watch how delighted the are.
MORE RECIPES YOU WILL LOVE:
Copycat Starbucks Lemon Loaf
Red Velvet No Bake Mini Oreo Cheesecakes
Hot Cocoa Cheesecake
Baileys Strawberries and Cream Cheesecake
Bourbon Buttercream Sugar Cookies
No Bake Cherry Cheesecake Jars
Equipment
- 4 half pint jars
- 1-inch heart cookie cutter
- Piping bag
- Toothpick
Ingredients
- 8 ounces cream cheese, softened
- 1 cup powdered sugar
- 1 teaspoon vanilla extract
- 8 ounces whipped topping, thawed
- 1 cup graham cracker crumbs
- ½ cup cherry pie filling
Instructions
- Beat together the cream cheese, powdered sugar, and vanilla until smooth and creamy.
- Fold in the whipped topping.
- Place ¼ cup of graham cracker crumbs in the bottom of each half-pint jar.
- Pipe the cheesecake filling into each jar, leaving around one inch of space at the top of each jar.
- Place the heart cookie cutter in the center of the jar. Carefully pipe more cheesecake mixture around the outside of the cookie cutter, then fill the inside of the cookie cutter with cherry pie filling.
- Carefully lift the cookie cutter up to remove it. Continue filling the heart on top of each jar until all the jars have cherry pie filling on top.
- Use a toothpick to smooth the edges of the heart, if needed.
- Place the lids on the jars and chill for at least one hour before serving.
Disclaimer
Any nutritional data I provide is an approximation and actual dietary information can vary based on ingredients and proportion sizes.


