Bunny Butt Cheesecake
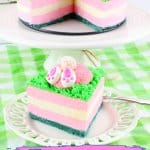
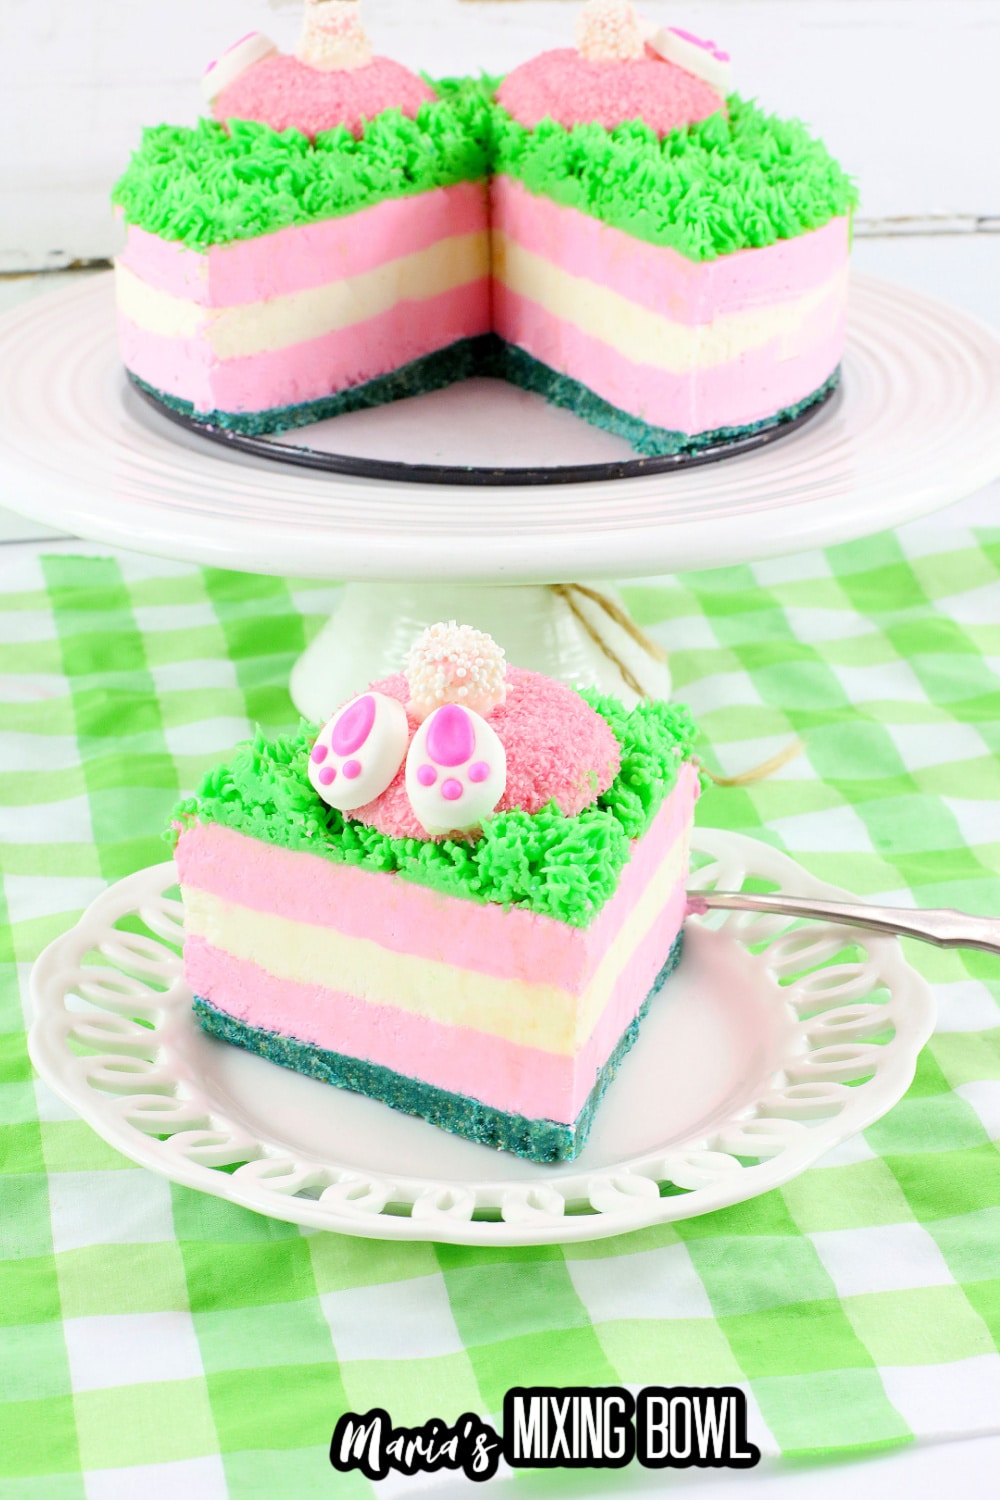
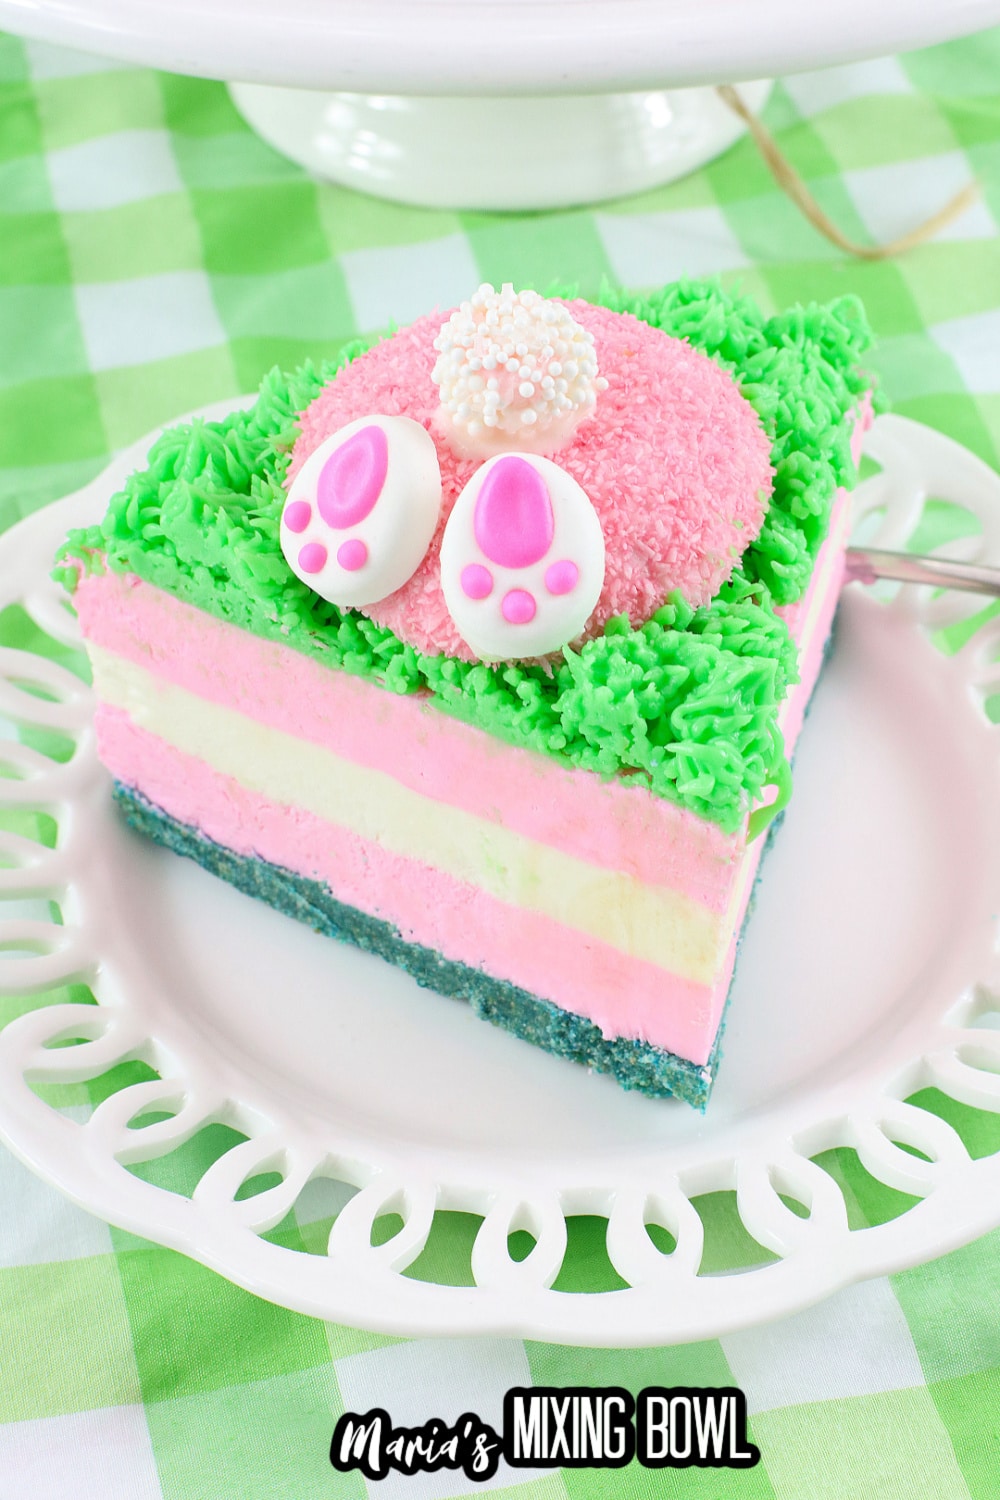
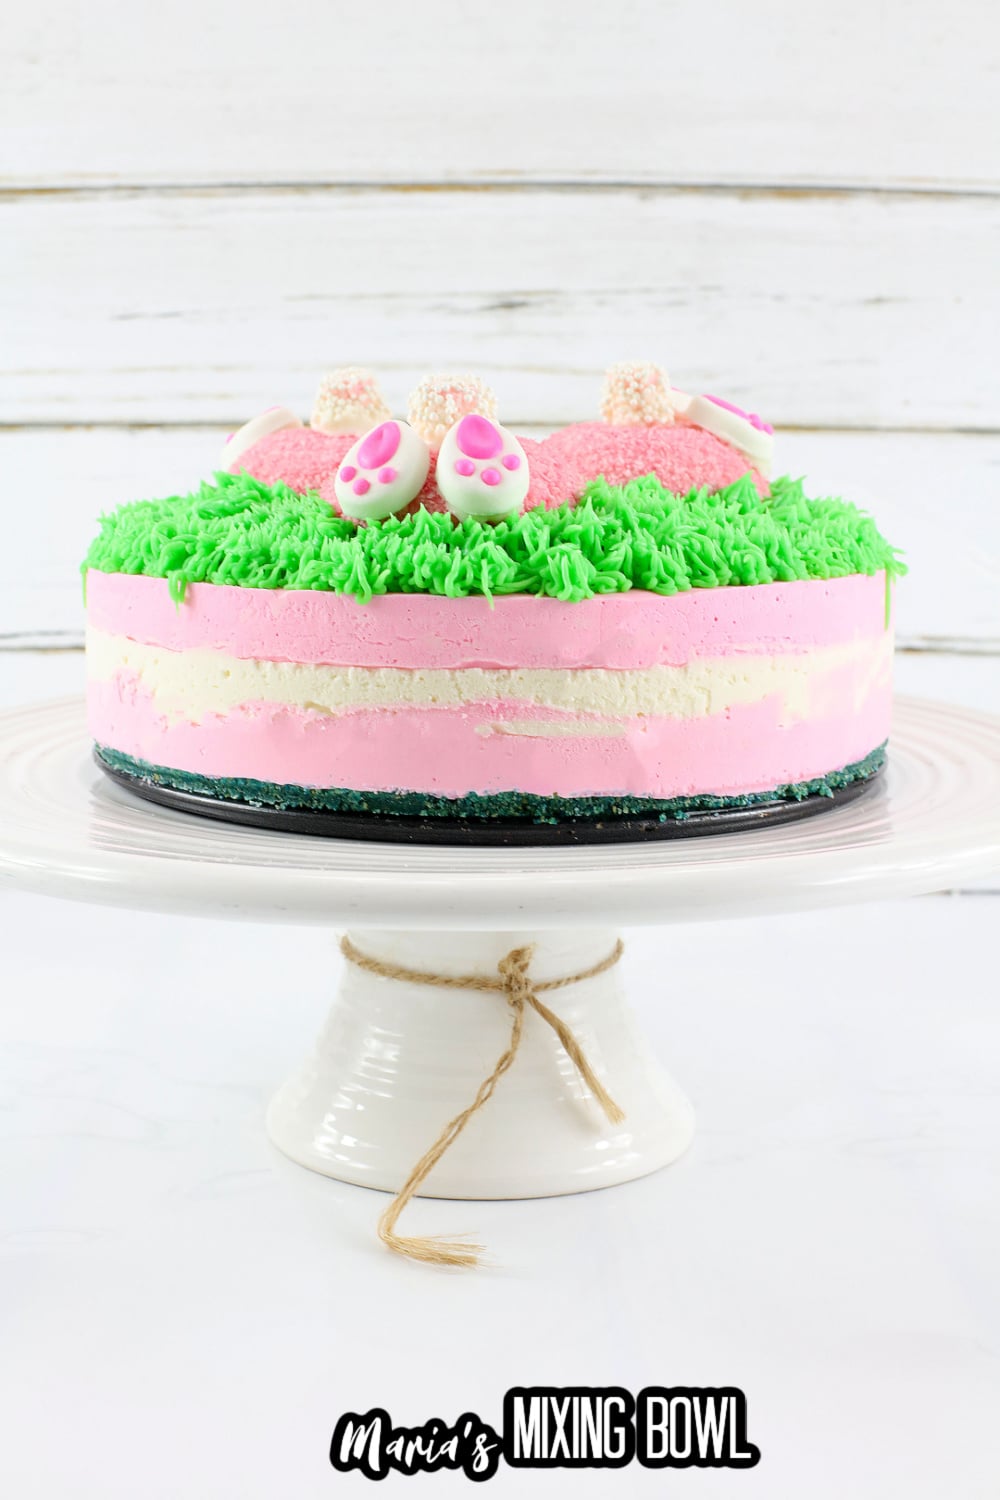
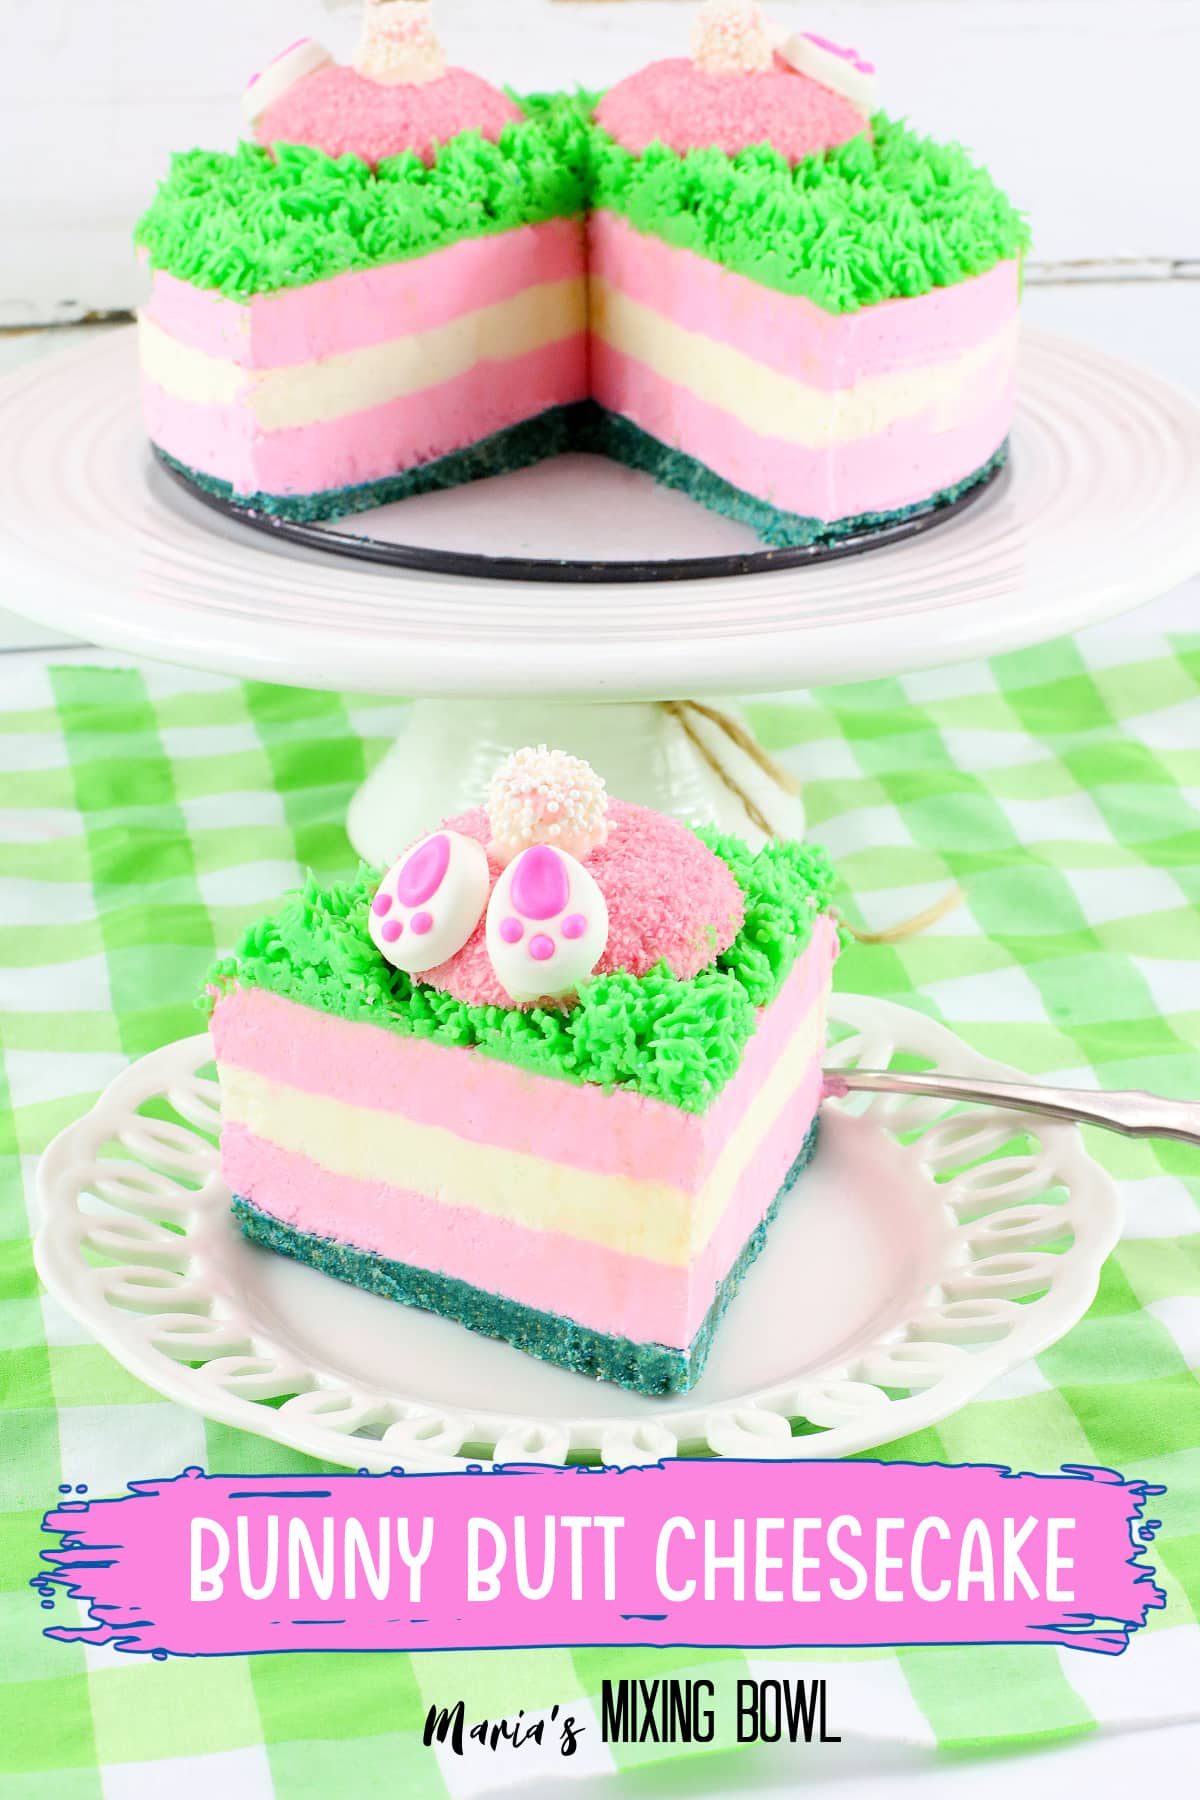
This Bunny Butt Cheesecake features pretty pink and white layers of cheesecake topped with Sno-ball cupcakes decorated to look like adorable bunny butts on top! It’s deliciously adorable.
We love making fun holiday-themed desserts and treats for every occasion, and one of our favorite Easter treats to make is this cheesecake. It’s a no bake cheesecake, so it’s easy to make, and the decorations are just perfect for Easter.
Table of contents
❤️ Why You’ll Love This Recipe
- It’s an easy, no bake cheesecake recipe that anyone can make.
- It’s full of classic Easter colors and decorations.
- It’s a rich, delicious cheesecake that will have everyone coming back for more.
🛒Ingredients
The following are affiliate links. We are a participant in the Amazon Services LLC Associates Program, an affiliate advertising program designed to provide a means for us to earn fees by linking to Amazon.com and affiliated sites.
This recipe uses several ingredients between the crust, cheesecake, and decorations. However, they’re all simple ingredients that you can easily find at your local grocery store. The major players are listed here, but you’ll find the complete ingredient list along with amounts in the recipe card at the end of the post.
Crust
- Graham crackers
- Butter
- Aqua food coloring
Cheesecake
- Cream cheese
- Heavy whipping cream
- Powdered sugar
- Vanilla
- Pink food coloring gel
Decorations
- Vanilla frosting
- Green food coloring gel
- Sno-ball Cupcakes
- Wilton candy bunny feet
- Mini marshmallows
- White chocolate
- White nonpareils
🔪 How to Make Bunny Butt Cheesecake
This cheesecake may look fancy, but it’s so much easier than you think. It’s no bake, and even the decorations are simple when you break it down.
Step 1: Make the Crust
Pulse the graham crackers into crumbs using a food processor or blender. Then, add sugar and pulse to blend. Pour the melted butter into the mixture and pulse to combine. Add several drops of equal food coloring gel to the crumbs and pulse again to blend. Add more food coloring until your desired color is reached.
Step 2: Chill
Line a 7-inch springform pan with parchment paper and press the crust mixture evenly into the bottom of the pan, smoothing it with a spoon. Place in the freezer.
Step 3: Make the Cheesecake Batter
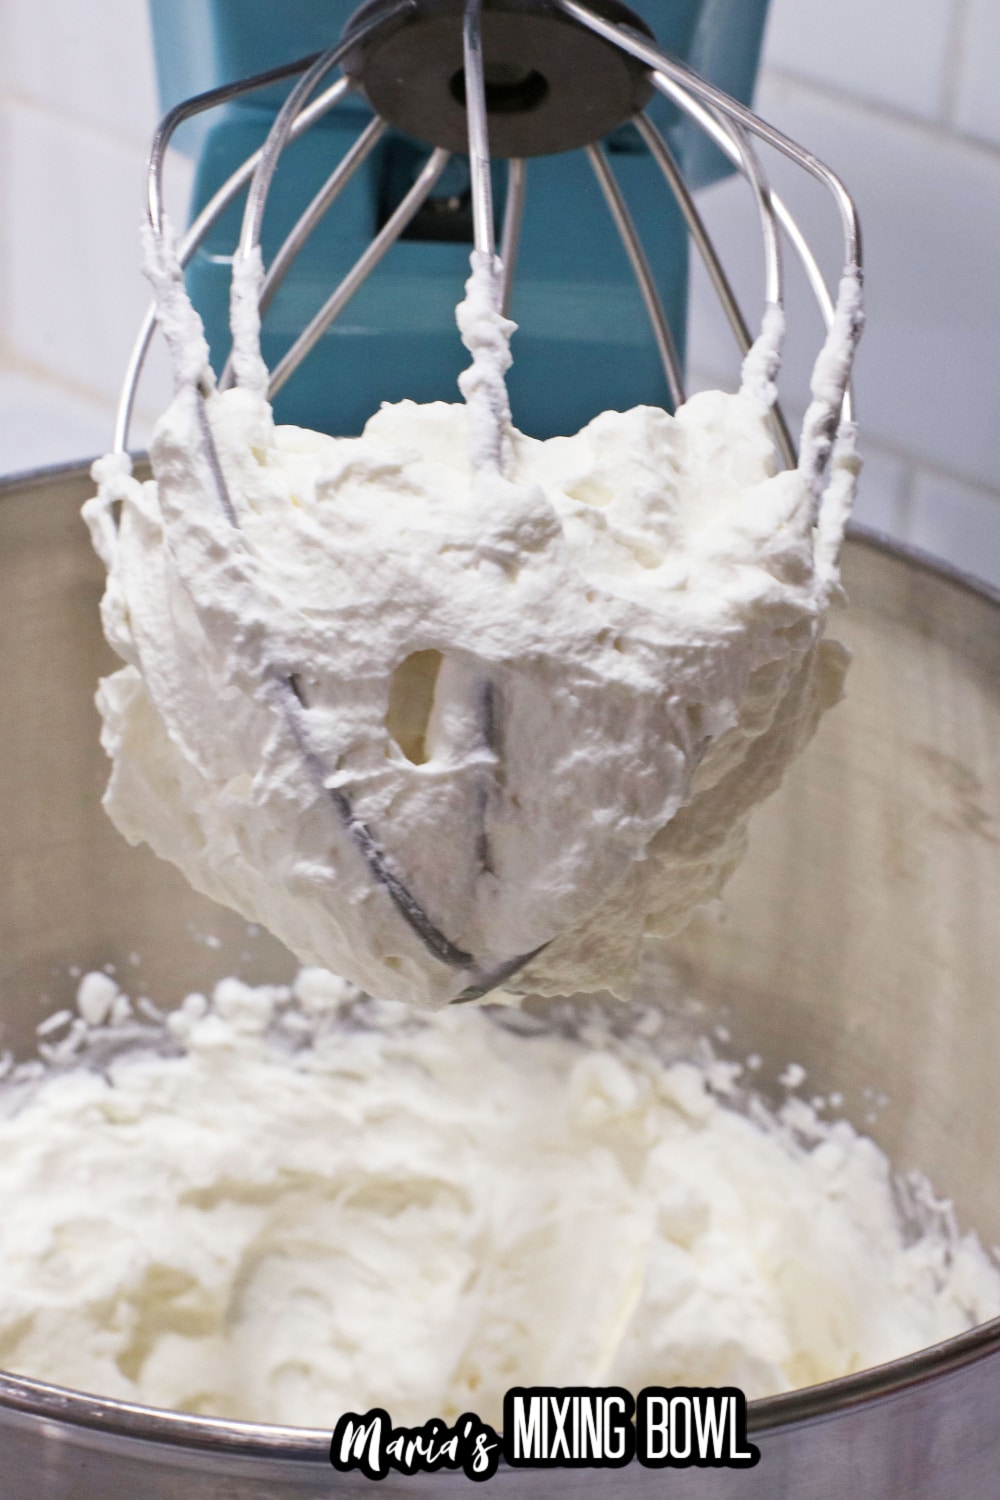
Whip the heavy cream, sugar, and vanilla in a stand mixer or with a hand mixer until stiff peaks form. Then, mix in 1 package of softened cream cheese at a time along with powdered sugar until all the cream cheese is added and the cheesecake mixture is smooth and fluffy.
Step 4: Color the Batter
Transfer 1/3 of the batter to a dish and place in the refrigerator. Then, add several drops of pink food coloring gel to the batter and mix well. Add more until your desired hue of pink is reached.
Step 5: Make the Cheesecake Layers
Add half of the pink cheesecake batter to the pan and place in the freezer for 2 to 3 hours until the batter is firm to the touch. Then, add the white cheesecake batter and freeze for another 2 to 3 hours. Finally, add the remaining pink batter and chill for a minimum of 3 hours.
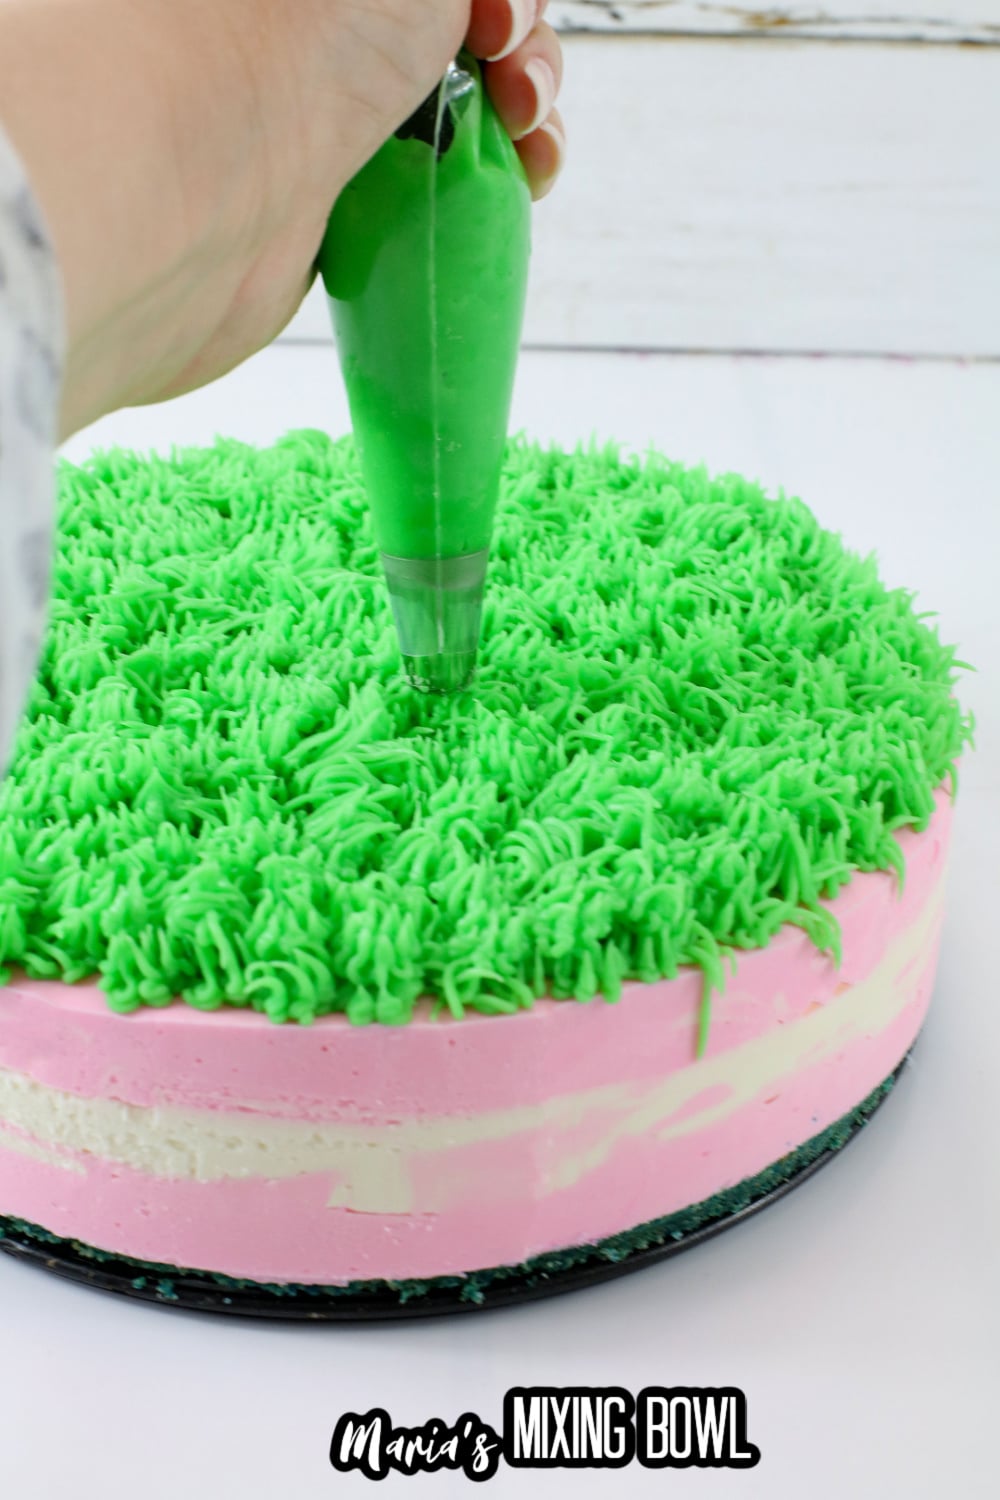
Step 6: Make Frosting Grass
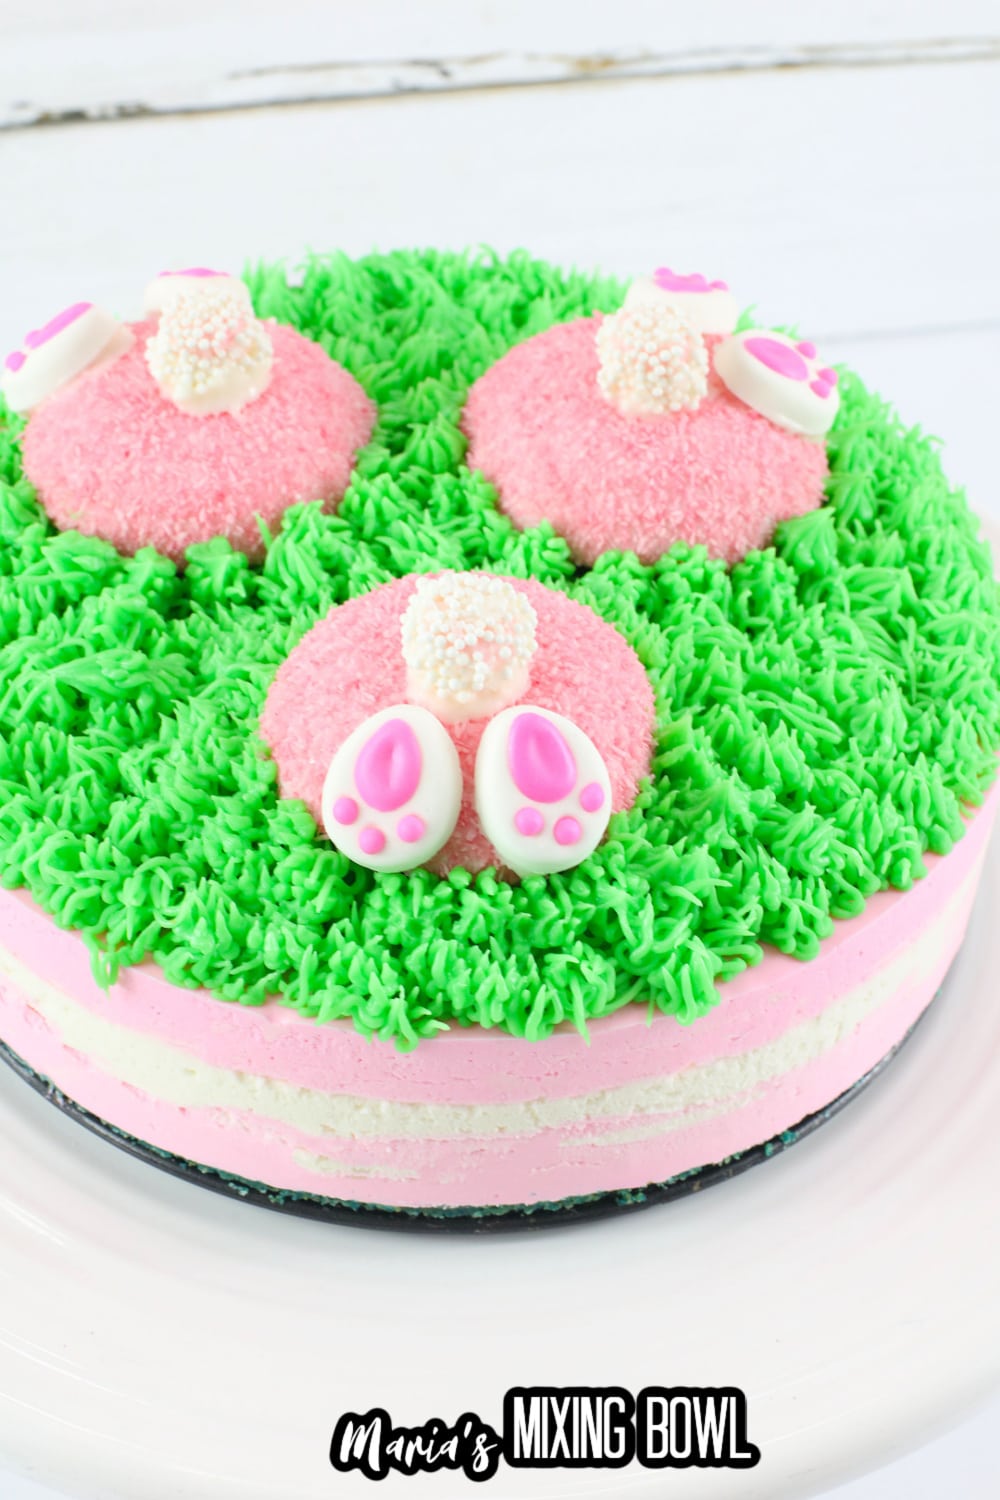
Add the vanilla frosting to a bowl and mix in green food coloring gel until the frosting resembles the color of green grass. Then, place the frosting in a piping bag with a Wilton tip. Pipe the frosting onto the cheesecake in short, upward strokes to make tips. Build up the grass by making 3 layers on top of one another.
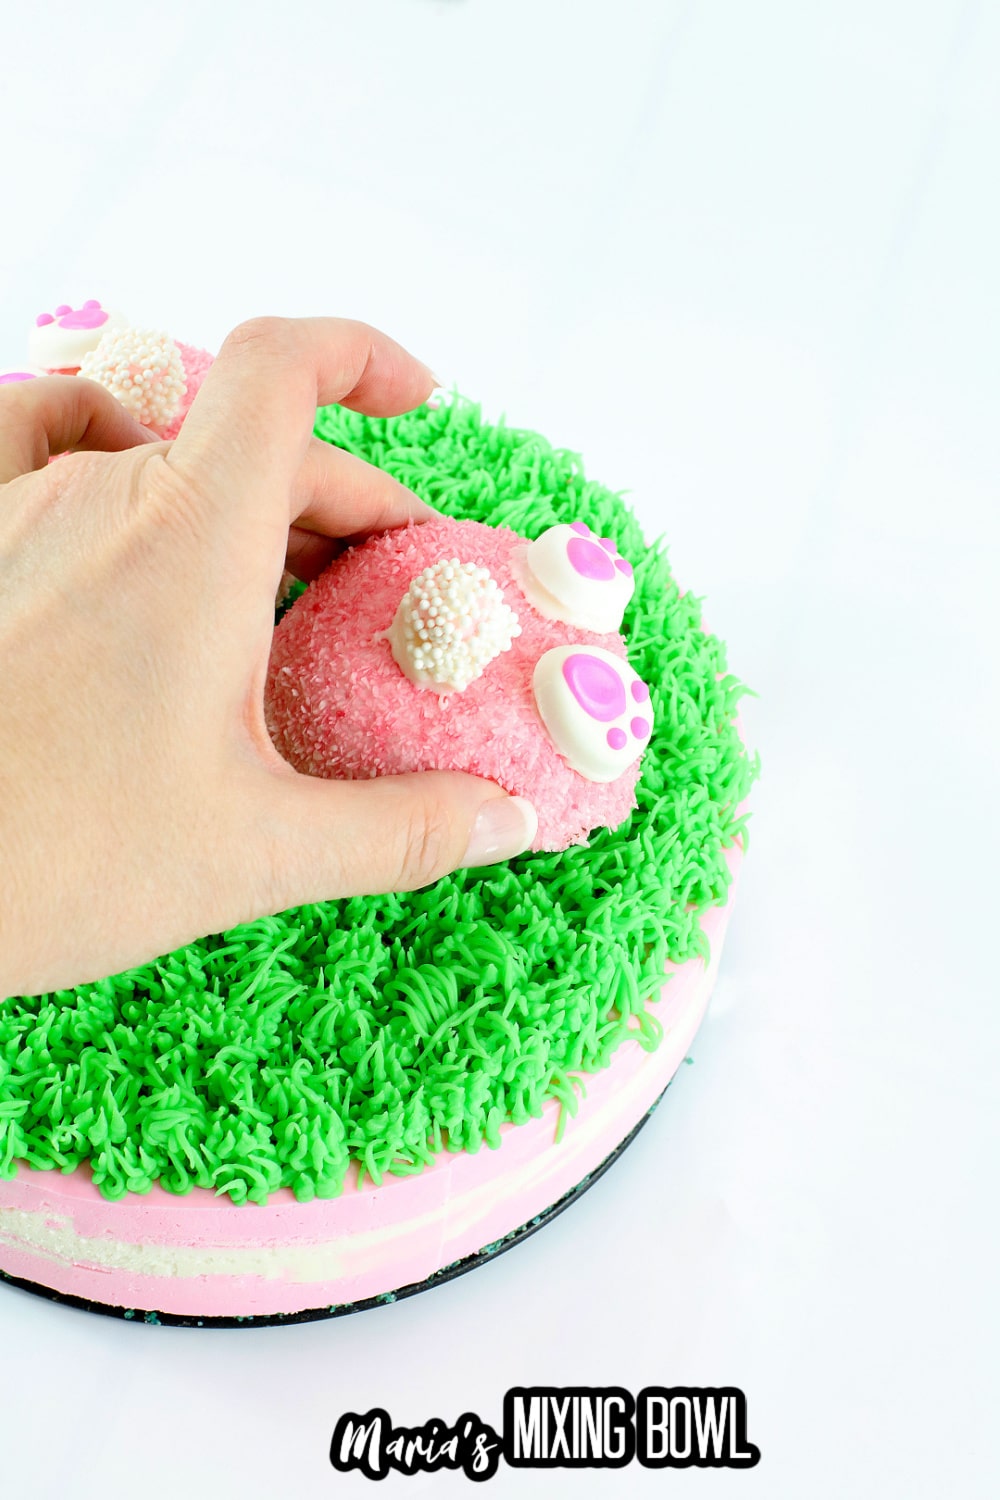
Step 7: Add the Sno-balls
Cut the Sno-ball cupcakes in half with a sharp, serrated knife and place them on the cheesecake cut-side down.
Step 8: Add the Bunny Feet
Melt the white chocolate in a small dish in the microwave. Then, dip the undecorated sides of the bunny feet just barely into the chocolate. Place the bunny feet on the Sno-balls, applying gentle pressure.
Step 9: Add the Bunny Tails
Dip a mini marshmallow in melted white chocolate and then immediately into a dish of white nonpareils. Place it in the center of a Sno-ball. Repeat for all Sno-balls.
Step 10: Add More Grass
When the bunny butts are completed. Pipe more green frosting around them to make them look like they’re burrowing into the cheesecake. Freeze until ready to serve, then cut into 2-inch pieces and enjoy.
📝Variations
Do you want to change up this recipe and make it your own? Here are some ways that you can do that!
- Chocolate Cheesecake – Make a chocolate cheesecake filling to serve as “dirt” underneath the grass.
- Oreo Crust – Use Oreo cookies instead of graham crackers to make the crust.
- Buttercream Frosting – Make your own buttercream frosting to use for the grass.
If you think this bunny butt cheesecake is cute, then you’re going to love our bunny butt dip!
🥄 Equipment
- Measuring cups and spoons
- Stand or hand mixer
- Mixing bowls
- Piping bag with Wilton tip
- Parchment paper
- 7-inch springform pan
- Spatulas
🥫 Storage
Store this cheesecake in a covered container for up to a month in the freezer.
💭 Tips
- Lay out some parchment paper and practice piping the grass shape until you’re comfortable with it. You can just scrape the frosting back into the piping bag.
- For the best cheesecake, freeze it overnight before decorating and serving.
- Remember to scraped down your bowl when mixing the cheesecake batter to ensure everything is fully mixed.
⁉️ FAQ
Do you have questions about this recipe? Here are the answers to the most commonly asked questions.
Not at all! It looks fancy, but it’s actually very simple. Even decorating it is easy.
Technically, it can. You can try it. Be aware that after a month, ice crystals begin to form in the cheesecake, so the longer you store it, the more grainy it will become.
It absolutely is. It has all the cheesecake texture and flavor, it just achieves it differently. Baked cheesecakes uses eggs and baking to get a solid, set cake. No bake cheesecake uses whipped cream to achieve its rich, creamy cake.
🍽 More Recipes
Do you enjoy cheesecake? Then try these delicious recipes:
🧾Recipe Card
Want to make this recipe? Print the recipe card below, or pin this recipe, so you can find it later.
📌 PIN IT!!
Bunny Butt Cheesecake
Equipment
- Measuring Cups and Spoons
- Stand or hand mixer
- mixing bowls
- Piping bag with Wilton tip
- parchment paper
- 7-inch springform pan
- Spatulas
Ingredients
- 6.4 ounces Graham Crackers or 1 and a half sleeves
- 1 teaspoon Sugar
- 6 Tablespoons Butter melted
- Aqua/Teal Food Coloring Gel
FOR THE CHEESECAKE
- 32 ounces Cream Cheese
- 1 ½ cups Heavy Whipping Cream
- 1 cup Sugar
- ½ cup Powdered Sugar
- 2 teaspoons Vanilla
- Pink Food Coloring Gel
To Decorate
- 1 large container of Vanilla Frosting
- Green Food Coloring Gel
- Frosting Tip to make Grass on top
- 1 package of Sno-ball Cupcakes – from Hostess Brand
- Wilton Candy Bunny Feet
- Mini Marshmallows
- White Chocolate – to melt
- White Nonpareils
Instructions
- In a small bowl, place the Butter, and melt it in the Microwave.
- Place the Graham Crackers in a Food Processor or Blender, and pulse into crumbs.
- Sprinkle Sugar over Crumbs, and pulse to blend.
- Pour melted Butter over crumbs and pulse to blend/coat.
- Take the lid off of the Food Processor/Blender, and add several drops of the Aqua/Teal Food Coloring Gel to the Crumbs, replace the lid, and pulse to blend.
- Continue to add a little more Food Coloring Gel until desired color is Achieved.
- Line the Bottom of a 7 inch Spring-form pan with Parchment paper, and press the Graham Cracker Crumbs into the bottom of the pan, evenly, smoothing with a spoon.
- Place the pan in the freezer
- In the mixing bowl of a stand mixer or with a hand mixer, place the Heavy Cream, Sugar, and Vanilla, and whip until stiff peaks form, and the Cream is whipped.
- Add the Cream Cheese, one at a time, and the 1/2 cup of Powdered Sugar, and blend until smooth and fluffy.
- Remove 1/3 of the Cheesecake Batter to a dish, and place it in the refrigerator. (This is the White – middle layer)
- Add several drops of the Pink Food Coloring Gel to the Batter in the mixer, and mix well.
- Add more if needed, until the desired color of Pink is achieved. Remove the Pan from the freezer, and pour 1/2 of the Pink Cheesecake Batter into the Spring-form pan, and place it back in the Freezer.
- When the Pink Batter is firm to the touch, about 2 – 3 hours, remove the White layer of Cheesecake Batter from the refrigerator, and pour it on top of the Pink Layer, and place the pan back in the Freezer, until the White layer is set, 2 to 3 hours.
- When the White layer is firm to the touch, remove the remaining Pink Cheesecake Batter from the refrigerator, and pour the Pink layer on top of the White layer, and place the pan back in the Freezer, overnight for best results.
- TO DECORATE:
- Remove the Frosting from the container to a bowl, and add the Green Food Coloring Gel and stir, until you get a color that resembles green grass.
- Place the Tip in a Pastry bag, and fill the bag with the Green Frosting.
- Using the bag/tip, pipe the Frosting onto the cheesecake in small short upward strokes – you may need to practice a little with the tip; place a piece of Parchment Paper on the counter, and pipe the Frosting onto the Parchment to practice with the tip – you can just place the Frosting back into the Pastry bag when finished.
- Build up the Grass, by piping one layer on top of another, and using about 3 layers total.
- Using a sharp, thin, serrated knife, cut the ends off of the Snowball cupcakes, making the Bunny Butts.
- Place the Sno-ball cupcake ends on top of the Grass – See photos for placement.
- Place the White Chocolate – melting chocolate – in a small dish, and melt in the microwave. (you only need about 1/4 cup melted White Chocolate)
- Dip the Bunny Feet in the White Chocolate, only barely dipping the NON DECORATED SIDE of the Feet in the Chocolate – you only need enough to make them stick on the Cupcakes.
- Place the Bunny Feet, one at a time, on the Cupcakes – see photos for placement.
- Place the White Nonpareils in a shallow dish, and Dip one Mini Marshmallow in the White Chocolate, and immediately into the Nonpareils, and stick on the Cupcake, using the Photos as a guide for placement.
- Continue with the other two Mini Marshmallows, and add to the Cupcakes.
- With the Piping bag, go around the Cupcakes, placing grass around the edges, to make the Bunny Butts look as if they are burrowing into the Grass – See Photo.
- Place the Cheesecake back into the Freezer until time to serve. Do not remove the Spring-form until time to serve.
- When ready to serve, slice the Cheesecake into 2 inch pieces. Serve, and Enjoy!
Notes
Disclaimer
Any nutritional data I provide is an approximation and actual dietary information can vary based on ingredients and proportion sizes.


